Have you ever wanted to bring more birds into your garden or balcony? Making a bird feeder out of a mason jar is a simple and fun way to do just that.
You don’t need fancy tools or skills—just a few easy steps and some basic materials. Imagine watching colorful birds visit your feeder every day, right outside your window. In this guide, you’ll discover how to create your own beautiful and practical bird feeder that attracts a variety of feathered friends.
Keep reading, and you’ll be surprised at how quickly you can turn a plain jar into a lively bird hotspot.

Credit: www.ishouldbemoppingthefloor.com
Materials Needed
Gathering the right materials is the first step in making a bird feeder from a mason jar. Choosing quality items ensures your project lasts and attracts birds effectively. Keep things simple and focus on items that are easy to find and use.
Choosing The Right Mason Jar
Select a mason jar that suits your space and style. A standard pint-sized jar works well for small birds. Larger jars hold more seed and attract bigger birds. Clear glass helps you see the seed level inside. Make sure the jar has a sturdy lid for attaching parts securely.
Additional Supplies
- Strong wire or twine for hanging the feeder
- Drill or nail to make holes in the lid
- Wooden spoons or small perches for birds to sit on
- Birdseed mix suitable for your local birds
- Waterproof glue or sealant to secure parts
- Sandpaper to smooth any rough edges
Preparing The Mason Jar
Preparing the mason jar is a key step in building a bird feeder. A clean and well-prepared jar ensures safety for the birds and durability for the feeder. Taking time to prepare the jar properly makes the project easier and more effective.
Cleaning The Jar
Start by washing the mason jar with warm water and soap. Remove all labels and sticky residue. Use a scrub brush to clean inside and outside thoroughly. Rinse the jar well to remove soap. Dry the jar completely before moving on.
Drilling Drainage Holes
Drainage holes prevent water from pooling inside the jar. Use a small drill bit to make holes in the jar’s lid. Make two or three holes spaced evenly. Drill slowly to avoid cracking the glass. Clean any glass dust from the lid before assembly.
Assembling The Feeder
Assembling the bird feeder is a simple process that brings all parts together. The mason jar and other materials start to form a useful feeder. Secure each piece carefully to ensure durability and ease of use. This section covers attaching the perch and securing feeding ports.
Attaching The Perch
The perch gives birds a place to sit while feeding. Use a small wooden dowel or sturdy stick for the perch. Drill a hole near the jar’s base, about 1 inch wide. Insert the dowel through the hole, leaving enough length on both sides.
Use strong glue or waterproof adhesive to hold the perch in place. Let the glue dry completely before adding seeds. The perch must be stable to support small birds comfortably.
Securing The Feeding Ports
Feeding ports allow birds to access the seeds inside the jar. Cut small holes near the perch area. The holes should be about 1/2 inch wide to prevent seed spillage.
Attach small plastic or metal cups beneath each hole. These cups catch seeds and give birds easy access. Use waterproof glue to fix the cups under the holes. Make sure the cups are secure and level for seed collection.
Decorating Your Feeder
Decorating your mason jar bird feeder is where creativity meets function. This step lets you transform a simple jar into a charming garden feature that attracts birds and adds personality to your outdoor space. How you decorate can affect not just the look but also how well birds use the feeder.
Painting Tips
Choose paint that is safe for outdoor use and non-toxic to birds. Acrylic paint works well because it dries quickly and resists weather. You can use spray paint for a smooth finish or brush-on paint for detailed designs.
Apply thin layers to avoid drips and allow each layer to dry completely before adding another. If you want a rustic look, lightly sanding the paint after it dries can create a weathered effect. Remember to paint the outside only—birds need to see their food clearly inside.
Adding Personal Touches
Think about what makes your garden unique and bring that into your design. You might glue small decorative stones or shells around the lid or tie a colorful ribbon around the neck of the jar. These simple touches can make your feeder stand out and reflect your style.
Consider adding a small wooden perch or attaching a miniature birdhouse to the side for extra charm. Have you ever noticed how birds favor feeders that look inviting and safe? Adding natural elements like twine or small pinecones can create that effect.
Placing The Feeder Outdoors
Placing your mason jar bird feeder outdoors needs some thought. The right spot makes feeding easy and safe for birds. It also helps you enjoy watching them up close. Consider where birds like to visit and how to keep the feeder steady and protected.
Choosing The Best Location
Pick a quiet place away from heavy foot traffic. Birds feel safer near bushes or trees. Shade helps keep the seeds fresh longer. Avoid spots too close to windows to prevent bird collisions. A location with some shelter from wind and rain works best. Make sure the area is visible so you can watch birds easily.
Hanging Techniques
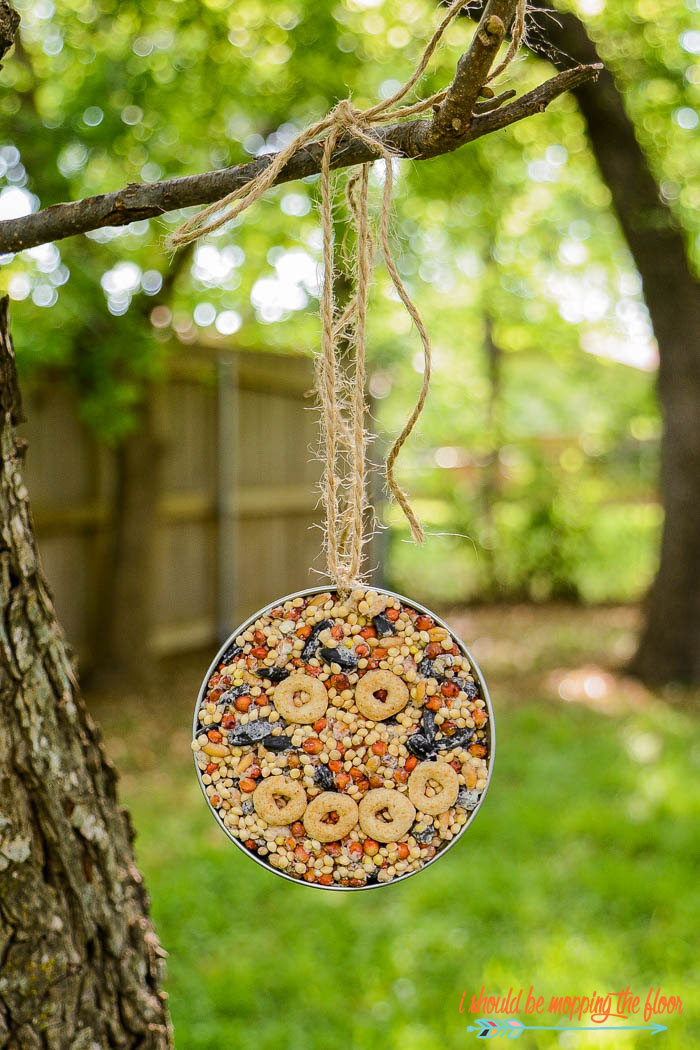
Use strong wire or twine to hang your feeder. Secure it tightly to avoid swinging in the wind. A hook on a sturdy branch or a dedicated pole works well. Keep the feeder at least 5 feet off the ground to protect from cats. Check the hanging material often for wear or damage. Adjust the height if needed for different bird species.

Credit: www.ishouldbemoppingthefloor.com
Maintaining The Feeder
Keeping your mason jar bird feeder in good shape is key to attracting happy, healthy birds. Regular maintenance ensures the feeder stays clean and the seeds fresh, making your backyard a favorite spot for feathered visitors. Let’s look at simple ways you can keep your feeder inviting and safe for birds.
Cleaning Schedule
Cleaning your feeder every two weeks helps prevent mold and bacteria buildup. Use warm water and mild soap to wash the jar and feeding ports thoroughly. Avoid harsh chemicals that could harm the birds.
If you notice seeds getting wet or clumping, clean the feeder immediately. This keeps the food fresh and stops birds from getting sick. Dry the feeder completely before refilling to avoid moisture problems.
Refilling Seeds
Check your feeder daily or every few days, depending on how many birds visit. Refill with fresh seeds before the supply runs low to keep birds coming back.
Mixing different types of seeds can attract a variety of birds. Try combining sunflower seeds, millet, and cracked corn to see which birds show up. Also, store seeds in a cool, dry place to keep them fresh longer.
Attracting Birds
Creating a bird feeder from a Mason jar is a fun way to welcome birds to your garden. Attracting birds requires more than just a feeder. The right seeds and environment play a big role. Birds visit places where they find food, water, and shelter. Making your feeder appealing helps bring more birds closer to your home.
Best Seeds To Use
Select seeds that attract a variety of birds. Black oil sunflower seeds work well for many types. They have a thin shell and high oil content. Nyjer seeds are great for small finches like goldfinches and siskins. Millet attracts ground-feeding birds like sparrows and doves.
- Black oil sunflower seeds
- Nyjer seeds
- White proso millet
- Safflower seeds
- Peanuts (unsalted and chopped)
Mixing seeds can attract different bird species. Avoid cheap mixes with a lot of filler seeds. Birds usually leave these behind.
Tips To Encourage Visits
Place the feeder in a quiet, safe spot. Near trees or shrubs is best for cover. Birds feel safer with nearby hiding places. Keep the feeder clean to prevent disease. Change seeds regularly to keep them fresh. Offer water nearby for drinking and bathing. Watching birds is easier if the feeder is visible from a window.
- Put feeder near shrubs or trees
- Keep feeder clean and dry
- Refill seeds often
- Provide fresh water close by
- Place feeder where you can watch
Credit: www.ishouldbemoppingthefloor.com
Frequently Asked Questions
How To Clean A Mason Jar Bird Feeder?
To clean a mason jar bird feeder, first, disassemble the parts. Rinse the jar and components with warm soapy water. Use a brush to scrub any residue. Rinse thoroughly to remove soap. Let all parts dry completely before reassembling to prevent mold.
Clean regularly to ensure birds’ health.
What Materials Are Needed For A Mason Jar Bird Feeder?
To make a mason jar bird feeder, you’ll need a mason jar, lid, small plate, twine or wire, and birdseed. You may also need a drill or glue for assembly. These materials ensure a sturdy and functional feeder, attracting various bird species to your garden.
How Do You Hang A Mason Jar Bird Feeder?
To hang a mason jar bird feeder, securely attach twine or wire around the jar’s neck. Choose a strong tree branch or hook. Ensure it’s stable and reachable for easy refilling. Position the feeder in a quiet, safe area, away from predators.
Check regularly to maintain its position and refill birdseed.
Can You Use Any Mason Jar Size?
Yes, various mason jar sizes work for bird feeders. Larger jars hold more birdseed, requiring fewer refills. Smaller jars are suitable for compact spaces and lighter feeders. Choose a size based on your garden space, bird traffic, and maintenance preference.
Ensure the jar is sturdy and weather-resistant.
Conclusion
Making a bird feeder from a mason jar is simple and fun. It uses common materials you already have. Birds will love visiting your garden with fresh food. This project helps you enjoy nature up close. Plus, it adds charm to your outdoor space.
Give it a try and see the birds gather. Small steps can create big moments with wildlife. Enjoy watching your new feathered friends every day.