If you love watching birds visit your feeder, keeping it clean is key to their health and your enjoyment. But how do you clean a bird feeder the right way?
You might think it’s simple, but without proper cleaning, your feeder can become a breeding ground for harmful bacteria and mold. You’ll discover easy, effective steps to keep your bird feeder fresh and safe. By following these tips, you’ll help create a welcoming spot for birds while protecting them from illness.
Ready to learn how? Let’s dive in!
Why Clean Bird Feeders
Cleaning bird feeders is essential for bird health and your enjoyment. Dirty feeders can spread germs and make birds sick. Clean feeders attract more birds and keep your feeder in good shape. Regular cleaning helps create a safe and welcoming spot for wild birds.
Preventing Disease
Birds can catch illnesses from dirty feeders. Mold, bacteria, and fungus grow quickly on old seed and droppings. These germs spread among birds feeding at the same spot. Cleaning stops diseases from spreading. Healthy birds return often to clean feeders.
Attracting More Birds
Birds prefer fresh food and clean places. Dirty feeders repel birds because of smell and appearance. A clean feeder looks inviting and safe. More birds visit feeders that are well maintained. This means better bird watching and more feathered friends in your yard.
Maintaining Feeder Longevity
Regular cleaning protects your feeder from damage. Seed dust and moisture can cause rust and mold. Clean feeders last longer and work better. Taking care of your feeder saves money and effort. It stays attractive and functional season after season.

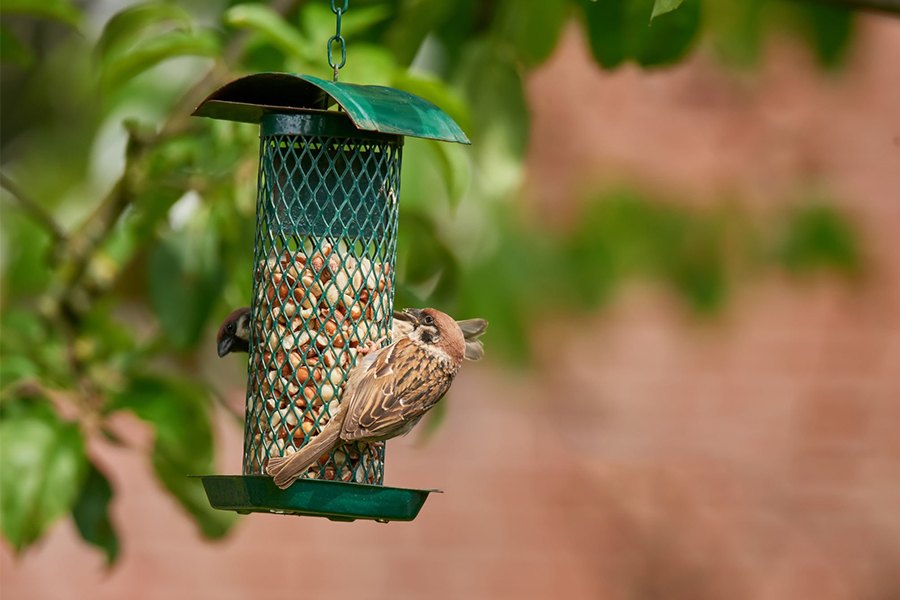
Credit: green-backyard.com
When To Clean Your Feeder
Keeping your bird feeder clean is essential for bird health and enjoyment. Knowing the right time to clean helps prevent disease and mold buildup. Timing also depends on the weather and how often birds visit.
Regular Cleaning Schedule
Clean your feeder every two weeks during mild weather. In wet or humid conditions, clean it once a week. Cold weather allows a longer gap between cleanings. Adjust your schedule based on bird activity and seed spillage.
Signs Your Feeder Needs Cleaning
- Seed clumps or mold visible inside the feeder
- Unpleasant odors coming from the feeder
- Birds avoid the feeder or act sick
- Seed becomes wet or damp
- Excessive bird droppings around the feeder
Essential Cleaning Supplies
Cleaning a bird feeder keeps birds healthy and happy. Using the right supplies makes the job easier and safer. Essential cleaning supplies help remove old seeds, mold, and bacteria. Clean feeders attract more birds and reduce disease risks. Prepare your supplies before starting to save time and effort.
Safe Cleaning Solutions
Choose cleaning solutions that kill germs but do not harm birds. Avoid harsh chemicals like bleach or ammonia. Use mild dish soap mixed with warm water for regular cleaning. A solution of one part white vinegar to nine parts water works well. These options clean effectively and rinse off easily. Always rinse feeders thoroughly after cleaning to remove any residue.
Tools And Equipment
- Soft brush or sponge for scrubbing hard-to-reach areas
- Old toothbrush for corners and crevices
- Bucket or basin to soak feeder parts
- Gloves to protect your hands during cleaning
- Clean towel or paper towels for drying
Use tools that avoid damaging the feeder’s surface. Scrub gently to remove dirt and mold. Dry feeders completely before refilling with fresh seeds. Proper tools ensure a thorough clean and longer feeder life.

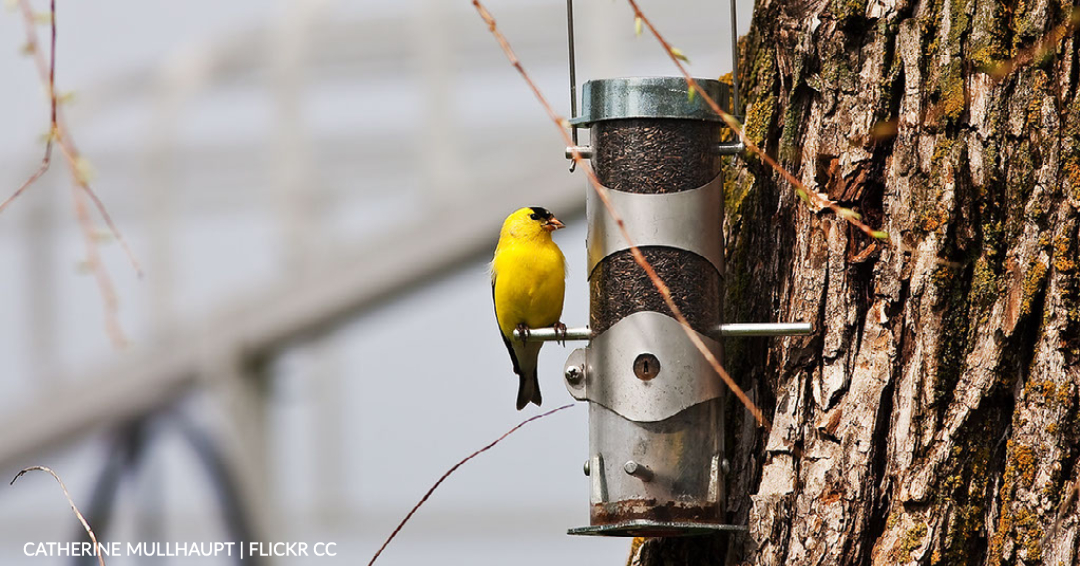
Credit: valleyfarms.shop
Step-by-step Cleaning Process
Cleaning a bird feeder is essential for healthy birds and a neat feeding area. This step-by-step process makes cleaning easy and effective. Follow these simple steps to keep your feeder safe and inviting.
Disassembling The Feeder
Start by taking the feeder apart carefully. Remove all detachable parts like trays, lids, and perches. This helps clean every corner and prevents mold growth. Lay the pieces on a clean surface for easy access.
Removing Old Seed And Debris
Empty all the old seeds from the feeder. Use a brush or cloth to sweep out dirt, husks, and leftover debris. Removing old seed stops mold and bacteria from growing inside the feeder.
Soaking And Scrubbing
Fill a bucket with warm water and mild soap or vinegar. Soak all feeder parts for at least 15 minutes. Use a soft brush or sponge to scrub every surface gently. Pay close attention to small crevices and feeding ports.
Rinsing And Drying
Rinse all parts thoroughly with clean water to remove soap or vinegar. Make sure no residue remains, as it can harm birds. Let the feeder parts air dry completely before reassembling. Drying well prevents moisture buildup and mold growth.
Tips For Maintaining Clean Feeders
Keeping your bird feeder clean is essential for the health of visiting birds and the enjoyment you get from watching them. A clean feeder prevents mold, bacteria, and pests from spoiling the seed and harming birds. Here are some practical tips to help you maintain a clean and inviting feeder year-round.
Choosing The Right Location
Where you place your feeder can make a big difference in how often it needs cleaning. Position your feeder in a shaded spot to slow down seed spoilage caused by heat and moisture. Avoid areas near dense bushes or trees where droppings and debris can accumulate quickly.
Consider placing your feeder over a hard surface like a patio or deck instead of bare soil. This makes it easier to spot and clean up spilled seeds and bird droppings. Have you noticed how feeders near open windows attract more birds? Location affects not just cleanliness but also your bird-watching experience.
Using Quality Bird Seed
Not all bird seeds are created equal when it comes to cleanliness and freshness. Choose high-quality, fresh seed that resists mold and pests better than cheaper options. Seed mixes with fillers like milo or cracked corn can spoil faster, so opt for blends primarily made of sunflower seeds or safflower seeds.
Store your seed in airtight containers to keep it dry and prevent insects from getting in. Have you ever opened a bag of seed only to find it clumped or smelling off? That’s a clear sign it’s time to replace your stock. Feeding birds fresh seed reduces the risk of contamination and keeps your feeder cleaner longer.
Regular Inspection
Check your feeder at least once a week for signs of mold, wet seed, or seed husks piling up. Wet seed can quickly become a breeding ground for bacteria. Remove old or clumped seed promptly and clean the feeder thoroughly using warm water and mild soap.
Look for cracks or damage to your feeder that might trap moisture or debris. A small crack can turn into a big hygiene problem. How often do you inspect your feeder? Making it a routine helps catch problems early and keeps your feathered visitors safe.
Credit: www.michiganaudubon.org
Frequently Asked Questions
How Often Should I Clean A Bird Feeder?
Clean your bird feeder every two weeks to prevent mold and bacteria. During wet seasons, clean more frequently to keep birds healthy.
What Is The Best Cleaning Solution For Bird Feeders?
Use a mixture of one part bleach to nine parts water. Rinse thoroughly and let dry before refilling to ensure safety.
Can I Clean A Bird Feeder With Vinegar?
Yes, vinegar is a safe, natural cleaner. Mix equal parts water and vinegar for effective cleaning without harmful chemicals.
Why Is Cleaning Bird Feeders Important?
Cleaning prevents disease spread among birds. It also keeps feeders attractive and safe for wildlife to enjoy.
Conclusion
Cleaning your bird feeder keeps your backyard birds healthy. Regular cleaning removes mold and bacteria. This simple task helps prevent bird diseases. Use soap, water, and a brush for the best results. Rinse thoroughly to remove any soap residue. Dry the feeder completely before refilling.
This ensures the seeds stay fresh and dry. A clean bird feeder attracts more birds. They feel safe and welcome. Make cleaning a habit every month. Your feathered friends will thank you. Enjoy watching them in a safe and clean environment.