
Are you wondering if it’s safe to stain your bird feeder? You want it to look great and last longer, but you also care about the birds visiting your yard.
Choosing the right stain and applying it safely can make all the difference. You’ll discover what you need to know to protect your feathered friends while giving your bird feeder a beautiful finish. Keep reading to find out how to do it right and enjoy watching birds in a safe and healthy environment.
Choosing The Right Stain
Choosing the right stain for your bird feeder is important for its safety and durability. The stain protects the wood from weather damage and insects. At the same time, it should not harm the birds or the environment. Selecting a stain that balances protection and safety ensures your feeder lasts longer and stays bird-friendly.
Types Of Stains Suitable For Bird Feeders
Wood stains come in different types, each with unique qualities. Oil-based stains penetrate deeply and offer strong protection. Water-based stains dry quickly and have low odor. Both types can be good if chosen carefully. Avoid stains with harsh chemicals or strong scents that can scare birds.
- Oil-based stains: Good for weather resistance but check for low toxicity.
- Water-based stains: Safer for birds and easier to clean up.
- Semi-transparent stains: Let the wood grain show and protect against UV rays.
- Semi-solid stains: Provide more color and protection but may hide wood texture.
Non-toxic And Eco-friendly Options
Non-toxic stains are best for bird feeders. They keep birds safe from harmful chemicals. Eco-friendly stains use natural ingredients and have low environmental impact. Look for stains labeled as bird-safe or food-safe. These products avoid toxic solvents and heavy metals.
- Plant-based stains: Made from natural oils and resins.
- Low-VOC stains: Emit fewer harmful fumes.
- Water-based stains: Less toxic and biodegradable.
- Milk paint or natural dyes: Safe alternatives but less durable outdoors.
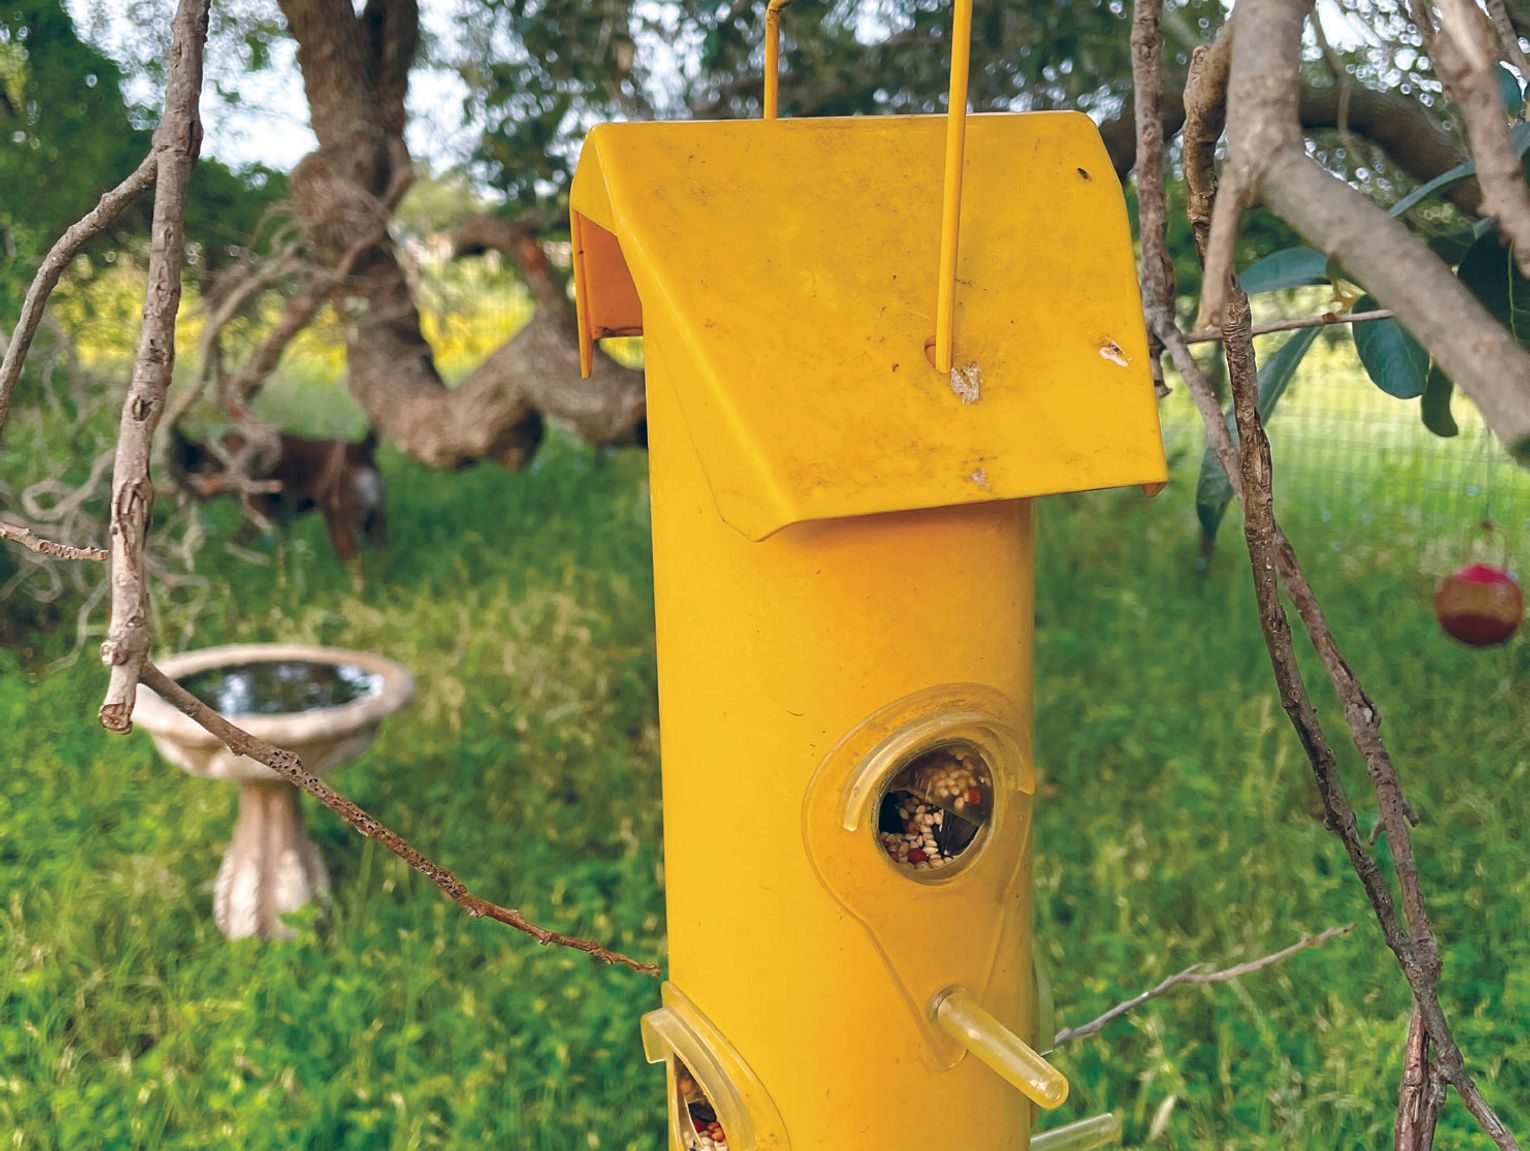
Credit: www.highlandernews.com
Preparing The Bird Feeder
Preparing your bird feeder before staining is crucial to ensure the finish lasts longer and looks great. Skipping this step can lead to uneven color, peeling, or even harm to the birds visiting your feeder. Let’s dive into how you can get your feeder ready for staining safely and effectively.
Cleaning And Sanding The Surface
Start by thoroughly cleaning your bird feeder. Dirt, old paint, and bird droppings can prevent the stain from adhering properly. Use a mild soap and water solution, and scrub gently with a soft brush or sponge.
After cleaning, let the feeder dry completely. Once dry, lightly sand the surface to remove rough spots and old finishes. Sanding not only smooths the wood but also opens up the pores, allowing the stain to penetrate better.
Have you ever noticed how rough wood doesn’t absorb stain evenly? That’s why sanding is a small step that makes a big difference.
Ensuring Proper Drying
After sanding, the next step is to ensure the feeder is completely dry before applying any stain. Moisture trapped under the stain can cause peeling or mold growth. Place the feeder in a well-ventilated area and give it at least 24 hours to dry.
Check the weather forecast—staining just before rain or high humidity can ruin your efforts. If you’ve ever stained wood that felt damp, you know how frustrating it is to see bubbles or blotches form.
Remember, patience here pays off. Dry wood absorbs stain evenly and creates a durable finish that protects your feeder and keeps the birds safe.
Staining Process Tips
Staining a bird feeder can protect the wood and enhance its look. The process requires care to keep the feeder safe for birds. Using the right technique ensures the stain lasts and does not harm the birds or the feeder.
Applying Even Coats
Use a soft brush or cloth to apply the stain. Spread the stain smoothly to avoid thick spots. Thick areas can peel or attract dirt. Thin, even coats dry faster and look better. Work with the grain of the wood for a natural finish. Avoid overloading your brush with stain to keep control.
Drying Time Between Coats
Let each coat dry fully before adding another. Drying time depends on the stain type and weather. Usually, wait 4 to 6 hours for drying. Touch the surface gently; it should feel dry and not sticky. Proper drying prevents the stain from peeling off later. Patience helps build a strong, protective layer on the feeder.
Safety Concerns For Birds
Staining a bird feeder might enhance its look, but safety for birds is key. Birds are sensitive to many chemicals and fumes. Protecting them should be the top priority when applying any stain. Understanding the risks helps keep birds healthy and safe.
Avoiding Harmful Chemicals
Choose stains that are non-toxic and water-based. These stains contain fewer harmful chemicals. Avoid oil-based or solvent-based stains, as they can release toxic fumes. Read labels carefully to confirm the stain is safe for outdoor use near animals. Natural or plant-based stains are better options. They reduce the risk of poisoning or skin irritation in birds.
Ensuring Proper Ventilation
Apply stain in a well-ventilated area outdoors. Good airflow helps fumes dissipate quickly. Avoid staining on windy days to prevent stain particles from spreading. Let the stain dry completely before placing the feeder outside. This reduces the chance of birds inhaling or touching wet chemicals. Proper ventilation protects birds and keeps the environment safe.
Maintenance After Staining
Staining a bird feeder not only enhances its appearance but also protects the wood from weather damage. However, the job isn’t done once the stain dries. Proper maintenance after staining is crucial to keep your feeder safe for birds and looking great for years.
Regular Inspection For Wear
Check your bird feeder frequently for signs of wear or damage. Look for fading, peeling, or cracking in the stain, especially after harsh weather like heavy rain or snow.
Spotting these early helps you avoid bigger problems. If you notice any rough patches or exposed wood, it’s time to take action before the feeder becomes unsafe for birds.
Reapplying Stain Safely
When reapplying stain, choose a bird-safe, non-toxic product. Avoid stains with harmful chemicals that can harm the birds or their food.
Lightly sand the feeder to remove old, peeling stain, then apply a thin, even coat. Make sure the feeder is completely dry before filling it with seed to prevent any chemical exposure to your feathered friends.
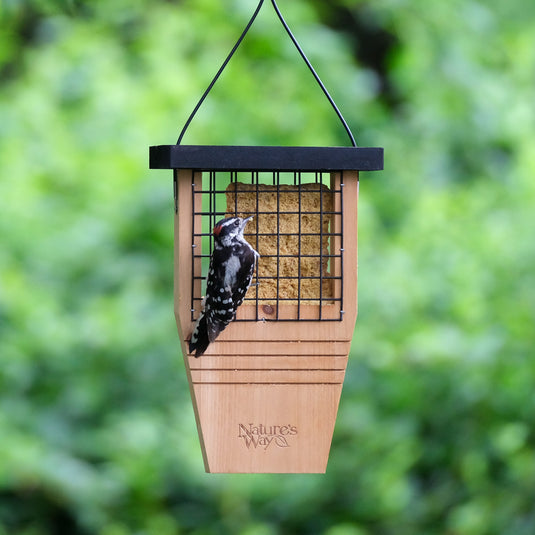
Credit: www.natureswaybirds.com
Alternatives To Staining
Staining a bird feeder might harm birds if the stain contains toxic chemicals. Choosing safer alternatives protects feathered friends and keeps feeders looking good. Several options enhance wood naturally or add color without risks to birds. These choices last outdoors and keep your garden vibrant and safe.
Using Natural Finishes
Natural finishes protect wood while staying safe for birds. Oils like linseed or tung oil soak into wood, making it water-resistant. These oils come from plants and do not contain harmful chemicals. They keep wood breathable, avoiding cracks and splits over time.
Applying natural finishes is simple. Use a brush or cloth to spread oil evenly. Let it dry fully before placing the feeder outside. Reapply every year to maintain protection and appearance. Natural finishes keep feeders looking warm and natural.
Painting With Bird-safe Paints
Bird-safe paints offer color without danger. These paints use non-toxic ingredients that do not harm birds. Look for paints labeled as water-based or acrylic with low or no VOCs (volatile organic compounds).
Painting allows customization of feeders with bright or soft colors. It also adds a layer of protection against weather. Apply thin coats and let each dry before adding another. Avoid peeling or chipping paint by preparing the wood surface well.
Always check paint ingredients and safety labels before use. Safe paint keeps birds healthy and feeders attractive for many seasons.

Credit: www.youtube.com
Frequently Asked Questions
Is It Safe To Stain Wood Bird Feeders?
Yes, it is safe if you use non-toxic, water-based stains. Avoid oil-based or solvent stains as they can harm birds. Always let the stain dry completely before placing food inside.
Can Stained Bird Feeders Harm Birds?
Properly stained feeders using bird-safe products do not harm birds. Avoid toxic chemicals or strong odors. Always choose eco-friendly, non-toxic stains to ensure bird safety.
How Long Does Stain Last On Bird Feeders?
A quality stain typically lasts 1 to 2 years outdoors. Weather exposure may shorten its lifespan. Regular maintenance and reapplication help protect the feeder and extend its life.
Should I Seal The Stain On My Bird Feeder?
Yes, sealing with a non-toxic, water-based sealant adds protection. It prevents moisture damage and prolongs the stain’s durability. Ensure the sealant is safe for birds.
Conclusion
Staining a bird feeder can be safe with care. Choose non-toxic stains. Ensure the stain is dry before use. This protects birds from harmful chemicals. Avoid strong-smelling stains. Birds have sensitive respiratory systems. Consider painting only the outside. This keeps the inside safe for birds.
Regularly check for wear and tear. Maintain your feeder for bird safety. Keep the feeder clean and inviting. Safe practices help protect our feathered friends. Enjoy watching birds visit your safe, stained feeder. Make your backyard a bird-friendly haven.