Do you want to bring more life and color to your garden? Creating a bird feeder is a simple way to attract beautiful birds right outside your window.
Imagine watching vibrant feathers and hearing cheerful bird songs every day. In this guide, you’ll learn easy steps to build your own bird feeder using materials you already have. Whether you’re a beginner or just looking for a fun project, this will help you connect with nature and enjoy peaceful moments.
Keep reading, and discover how you can turn your outdoor space into a bird’s favorite hangout.
Credit: diyjoy.com
Choosing The Right Materials
Choosing the right materials for your bird feeder is crucial to ensure it lasts long, stays safe for birds, and looks great in your garden. The materials you pick affect how easy the feeder is to build and maintain. Let’s dive into what you need to consider for wood, paints, finishes, and hardware.
Selecting Wood And Tools
Opt for untreated, natural wood like cedar, pine, or redwood. These woods resist weather and won’t harm birds. Avoid pressure-treated wood, which contains chemicals that could be toxic.
Keep your tools simple but effective. A saw, hammer, screwdriver, and sandpaper are essential. If you don’t have power tools, a hand saw and manual screwdriver work just fine.
Safe Paints And Finishes
Choose non-toxic, water-based paints and finishes. Birds might peck or come into contact with painted surfaces, so safety is key. Avoid glossy or oil-based paints, which can be harmful.
Try natural oils like linseed oil or beeswax for a protective finish. They keep the wood safe without adding harsh chemicals. Have you checked the labels on your paint cans to ensure they’re bird-safe?
Essential Hardware
Use galvanized or stainless steel screws and nails to prevent rusting. Rust can weaken your feeder and pose risks to birds. Hinges and hooks should also be corrosion-resistant if you plan to add a roof or hanging mechanism.
Consider adding mesh or wire to protect seeds from larger pests. Just make sure the wire spacing is safe so small birds don’t get stuck. What kind of birds do you want to attract, and how might that influence your hardware choices?
Designing Your Feeder
Designing your bird feeder is the key step that blends function with creativity. The shape, size, and features you choose will directly affect which birds visit and how easily they can feed. Thoughtful design makes your feeder a welcoming spot for feathered friends and a delightful project for you.
Simple Shapes For Beginners
Starting with simple shapes like a rectangular box or a small cylinder keeps the building process manageable. These shapes are easy to cut, assemble, and clean, which is essential for maintaining a healthy feeding environment.
Using basic shapes lets you focus on the feeder’s functionality before adding more complex details. Have you noticed how a straightforward design often attracts a wide variety of birds? Sometimes, less really is more.
Incorporating Feeding Ports
Feeding ports are the openings where birds access the seeds. Their size and placement influence which birds can use your feeder comfortably.
Try adding multiple ports spaced evenly around the feeder. This gives more birds room to eat at the same time and reduces crowding.
Make sure the ports are just the right size—not too big to waste seed, and not too small to exclude larger birds. What types of birds do you want to welcome most?
Considering Bird Types
Different birds have different preferences for feeder design and seed types. Small songbirds like finches prefer narrow perches and smaller ports, while larger birds such as cardinals need sturdier perches and wider openings.
Think about the birds common in your area and design your feeder to match their needs. Have you ever watched which birds visit your yard and adjusted your feeder to suit them?
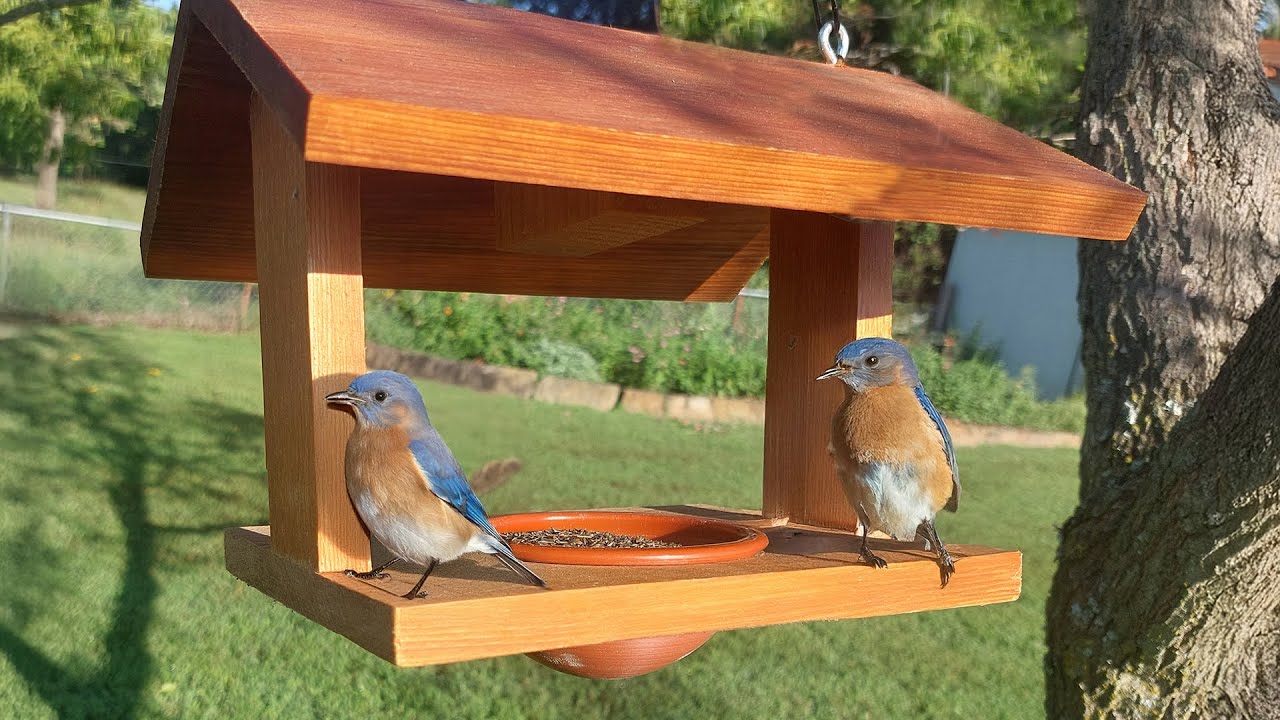
Adding elements like perches, roof overhangs, or even a tray can make your feeder more inviting. Your design choices can encourage a diverse group of birds to stop by and keep coming back.
Building The Feeder
Building the bird feeder is where your project truly takes shape. This stage transforms raw materials into a cozy haven for your feathered visitors. It’s a chance to get hands-on and customize your feeder exactly how you want it.
Cutting And Assembling Parts
Start by carefully measuring and cutting the wood pieces according to your feeder design. Precision here is key because well-cut parts fit together better, making your feeder sturdier. Use a saw that you feel comfortable with, whether it’s a handsaw or a power saw.
Once all pieces are cut, lay them out to check the fit. Assemble the base and sides first, using wood glue to hold parts together before securing them with nails or screws. This step helps prevent shifting and makes your structure more solid.
Drilling And Securing Components
Drilling holes before adding screws prevents the wood from splitting, especially near edges. Use a drill bit slightly smaller than your screws for a snug fit. This small detail will save you frustration and ensure your feeder lasts longer.
Secure all parts tightly but avoid over-tightening screws, which can strip the wood or crack it. If the wood feels fragile, consider adding corner braces for extra support. Think about how each component connects and holds up under weather conditions.
Adding Perches And Roof
Perches give birds a place to land and rest while feeding. Attach small dowels or sticks near feeding holes, making sure they’re stable and spaced well. Too close or too far apart, and birds might struggle to find a comfortable spot.
The roof protects the food from rain and snow, keeping your feeder dry and inviting. Use waterproof materials or add a sealant to wooden roofs. Angling the roof slightly helps water run off instead of pooling, which can spoil the birdseed.
Have you thought about how your feeder’s design might influence which birds visit? Small details like perch placement and roof angle can make a big difference in attracting different species.

Credit: debraleebaldwin.com
Painting And Decorating
Painting and decorating your bird feeder adds charm and personality. It also helps protect the wood from weather damage. Choose colors and designs that attract birds and fit your outdoor space. Use safe materials to keep birds healthy. Brighten your feeder while keeping it practical and inviting.
Choosing Bird-friendly Colors
Pick colors that attract birds without scaring them. Soft blues, greens, and yellows work well. Avoid bright reds and shiny metallic paints. These colors may frighten birds or confuse them.
Use non-toxic, water-based paints. They are safer for birds and the environment. Let paint dry completely before hanging the feeder outside.
Creative Decoration Ideas
- Paint simple patterns like stripes or dots for a playful look.
- Use stencils to add shapes like leaves or flowers.
- Glue small natural items like pinecones, seeds, or twigs for texture.
- Wrap twine or colorful ribbons around parts of the feeder.
- Attach small wooden or ceramic bird figures for extra charm.
Keep decorations minimal to avoid blocking seed access.
Protecting Your Feeder
Apply a clear, non-toxic sealant after painting. This shields the feeder from rain and sun. Choose sealants safe for wildlife and outdoor use.
Reapply sealant each year to keep the feeder strong. Clean the feeder regularly to prevent mold and bacteria buildup. A well-protected feeder lasts longer and stays safe for birds.
Placing Your Feeder
Placing your bird feeder thoughtfully is key to attracting a variety of birds while keeping them safe and comfortable. Choosing the right spot can make your feeder a favorite hangout for feathered visitors. Let’s look at where and how you should place your feeder for the best results.
Ideal Locations In Your Yard
Pick a spot visible from a window so you can enjoy watching the birds up close. Near shrubs or trees is great because birds use them for cover and resting between feedings. Avoid areas with heavy foot traffic or loud noises, which can scare birds away quickly.
Think about the sun and wind direction too. A sheltered spot that gets morning sun warms the birds up and helps keep seed dry. Do you have a quiet corner with natural protection? That’s often the best choice.
Mounting And Hanging Tips
Secure your feeder at a height that’s easy for you to refill but safe from ground predators—usually about 5 to 6 feet off the ground. Use sturdy hooks or brackets that won’t wobble in the wind. If hanging from a tree branch, choose a strong limb and ensure the feeder swings freely to prevent squirrels from grabbing it.
Consider adding a baffle above or below the feeder to keep squirrels and larger birds away. Regularly check that your mounting hardware remains solid—loose feeders can fall and injure birds or get damaged.
Ensuring Bird Safety
Place your feeder at least 10 feet away from places where cats can hide or pounce. Clear the area beneath of dense bushes that predators might use for cover. Also, avoid placing feeders too close to windows to reduce collision risks—adding decals or screens nearby can help prevent accidents.
Keep the ground under the feeder clean to avoid attracting rodents or spreading disease. Regularly clean your feeder and change the seed to maintain a healthy environment for your visitors. How will you balance accessibility for birds with their safety in your yard?

Credit: www.youtube.com
Maintaining Your Feeder
Maintaining your bird feeder is key to keeping birds healthy and encouraging them to visit often. A clean, well-stocked feeder not only attracts more feathered friends but also prevents the spread of diseases. How often do you check your feeder to ensure it’s in good shape for the birds?
Regular Cleaning Routine
Cleaning your bird feeder regularly prevents mold, bacteria, and old seed buildup that can harm birds. Use warm, soapy water and a brush to scrub all surfaces thoroughly. Rinse well and let it dry completely before refilling.
A good rule of thumb is to clean your feeder every two weeks, or more often during wet weather. I noticed that after skipping cleaning for a month, fewer birds visited, and some looked unwell. Keeping a cleaning schedule can make a big difference.
Refilling And Monitoring
Check your feeder daily to refill it with fresh seeds and to remove any wet or clumped food. Birds prefer fresh seed, so don’t wait until the feeder is empty to add more. Overfilling can lead to waste and spoilage, so aim to refill in small amounts.
Watch how the birds interact with your feeder. Are certain seeds disappearing faster? Adjust your seed mix accordingly. Also, keep an eye out for signs of pests like squirrels or ants, and take action to deter them without harming the birds.
Seasonal Care Tips
Adjust your feeder maintenance based on the season. In hot weather, clean more frequently to prevent mold growth. During winter, keep your feeder accessible by clearing snow and ice around it so birds can easily reach food.
Spring and fall are great times to inspect your feeder for damage and make repairs. A feeder in good condition lasts longer and remains safe for birds. How prepared is your feeder for the changing seasons?
Frequently Asked Questions
What Materials Do I Need To Build A Bird Feeder?
You need wood, nails, screws, a saw, and birdseed. Optional items include paint and waterproof sealant. Choose sturdy, weather-resistant materials to ensure durability.
How Do I Attract Birds To My Feeder?
Use fresh, high-quality birdseed like sunflower seeds or millet. Place the feeder in a quiet, sheltered spot near trees or shrubs for safety.
How Often Should I Clean The Bird Feeder?
Clean your bird feeder every two weeks. Use warm, soapy water to prevent mold and disease. Rinse thoroughly and dry before refilling.
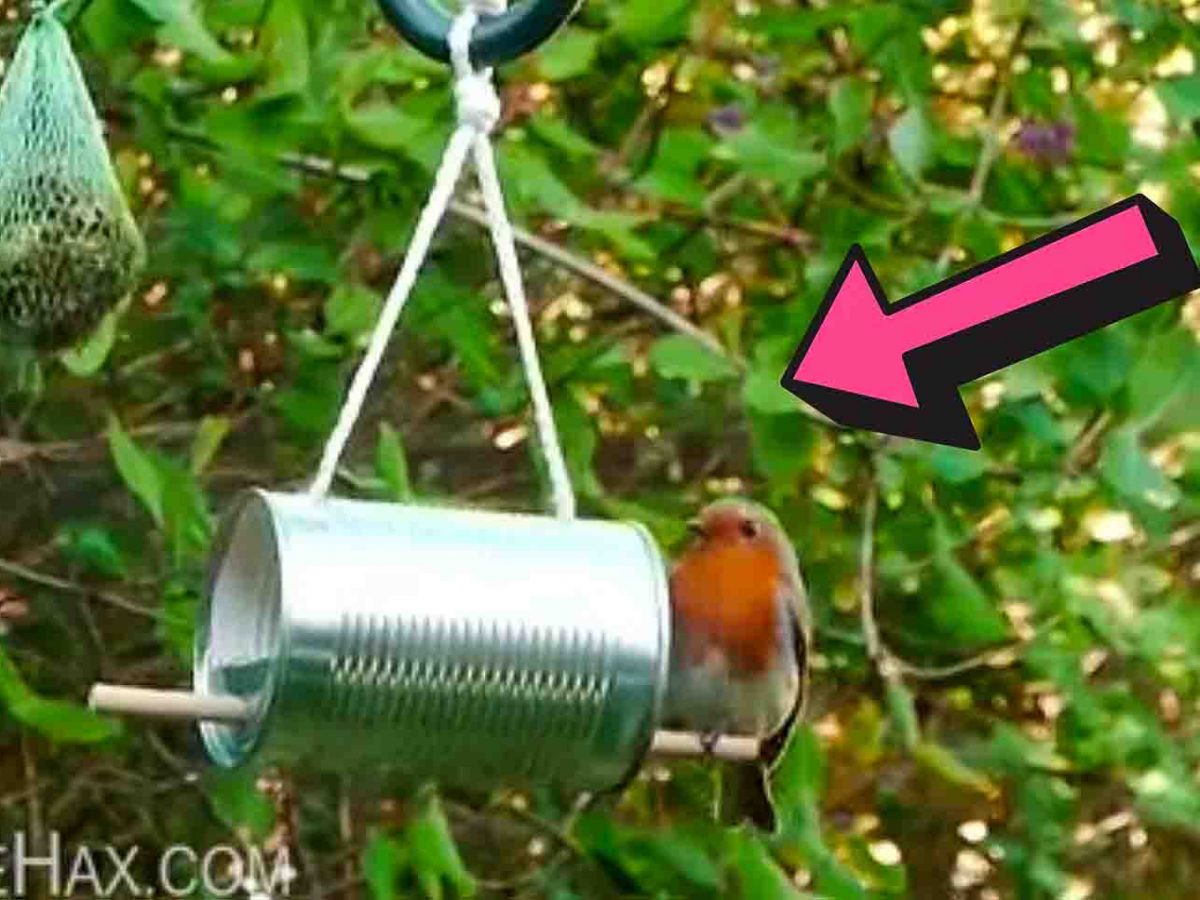
Can I Make A Bird Feeder From Recycled Materials?
Yes, recycled items like plastic bottles or milk cartons work well. Ensure holes are smooth and feeder is safe from sharp edges.
Conclusion
Creating a bird feeder is simple and rewarding. You attract beautiful birds to your garden. Enjoy their songs and colors daily. Use materials you already have at home. Follow easy steps for a great project. Engage kids and make it a family activity.
Watch birds visit your feeder. Feel the joy of helping nature. A small step for a greener world. Share your experience with friends. Encourage them to create their own feeders. Enjoy every moment with your new feathered friends. Building a feeder connects you with nature.
A delightful experience awaits you.