Are you looking for a fun, easy project that brings nature right to your backyard? Making a simple pallet bird feeder is a perfect way to do just that.
Not only will you enjoy watching colorful birds visit, but you’ll also create something useful and charming with your own hands. In this guide, you’ll discover step-by-step instructions that anyone can follow, even if you’ve never worked with wood before.
Ready to attract more birds and add a touch of life to your outdoor space? Let’s get started!
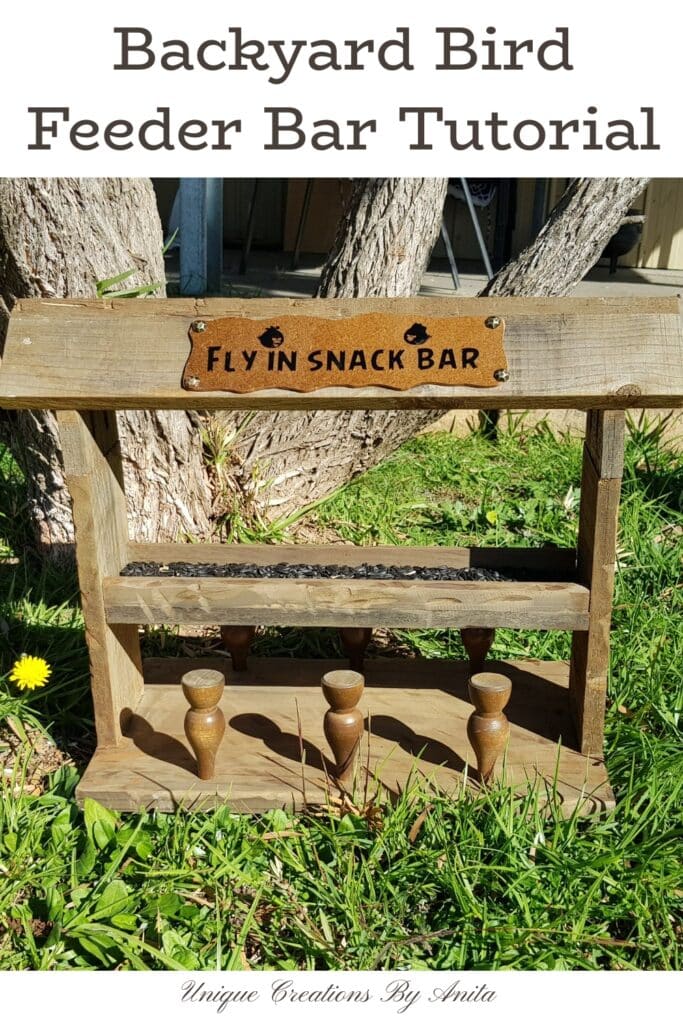
Credit: uniquecreationsbyanita.com
Choosing The Right Pallet Wood
Choosing the right pallet wood is crucial for making a safe and durable bird feeder. Not all pallets are created equal, and the wood type and treatment can affect the safety of your feathered visitors. You want to pick wood that lasts outside and is free from harmful chemicals.
Safe Wood Selection
Look for pallets stamped with HT, which means heat treated and free from chemicals. Avoid pallets marked MB, as they were treated with methyl bromide, a toxic pesticide.
Inspect the wood for signs of rot, mold, or insect damage. These can shorten the life of your feeder and may harm the birds.
Hardwoods like oak or maple work well, but softwoods such as pine are easier to handle and still durable enough. Consider the thickness and sturdiness of the slats to hold seed and withstand weather.
Preparing The Pallet
Start by cleaning the pallet thoroughly with soap and water to remove dirt and residues. Let it dry completely in the sun; moisture can cause mold growth later.
Next, sand the wood surfaces to smooth out rough edges and splinters. This step protects birds from injury and gives your feeder a neat finish.
Think about sealing the wood with a non-toxic, water-based sealant to extend its life. Avoid paints or varnishes with harsh chemicals that could harm wildlife.
Tools And Materials Needed
Gathering the right tools and materials makes building a pallet bird feeder easier and more fun. You need simple tools and some extra supplies to create a sturdy and attractive feeder.
This list covers everything to prepare before starting your project. Having these items ready saves time and helps avoid interruptions.
Basic Tools
- Hammer – for nailing pieces together
- Hand saw or electric saw – to cut pallet wood
- Measuring tape – to measure wood accurately
- Screwdriver – for screwing parts in place
- Sandpaper – to smooth rough edges
- Drill – to make holes for screws
- Pliers – for pulling out nails or bending wire
Additional Supplies
- Pallet wood – clean and free of chemicals
- Wood screws or nails – to join wood pieces
- Wood glue – for extra strength
- Exterior paint or wood sealant – to protect from weather
- Birdseed – to fill the feeder
- Hanging wire or rope – to hang the feeder
- Small hooks or eye screws – for hanging purposes
Cutting And Assembling The Base
Cutting and assembling the base is where your pallet bird feeder starts to take shape. This stage sets the foundation, so accuracy and care matter. You’ll soon see how simple measurements and solid joins create a sturdy platform for your feathered friends.
Measuring And Cutting
Begin by measuring the pallet wood carefully. Use a tape measure to mark the lengths you need for the base—usually a square or rectangle around 12 by 12 inches works well. Double-check your marks before cutting to avoid mistakes that waste wood.
When cutting, a handsaw or a power saw will work fine. Keep your cuts straight and steady, as uneven edges can make assembly tricky. Remember, precise cuts mean your feeder will fit together better and last longer outdoors.
Joining Pieces Together
Once your pieces are cut, arrange them on a flat surface to see how they fit. Align the edges so the base is even and stable. You can join the pieces using nails or screws—screws often hold better and allow for adjustments.
To make the base stronger, add a couple of cross supports underneath. These supports keep the base from bending or breaking once the bird feeder is filled with seeds. Have you tried using wood glue along with screws? It adds extra hold and prevents wobbling over time.

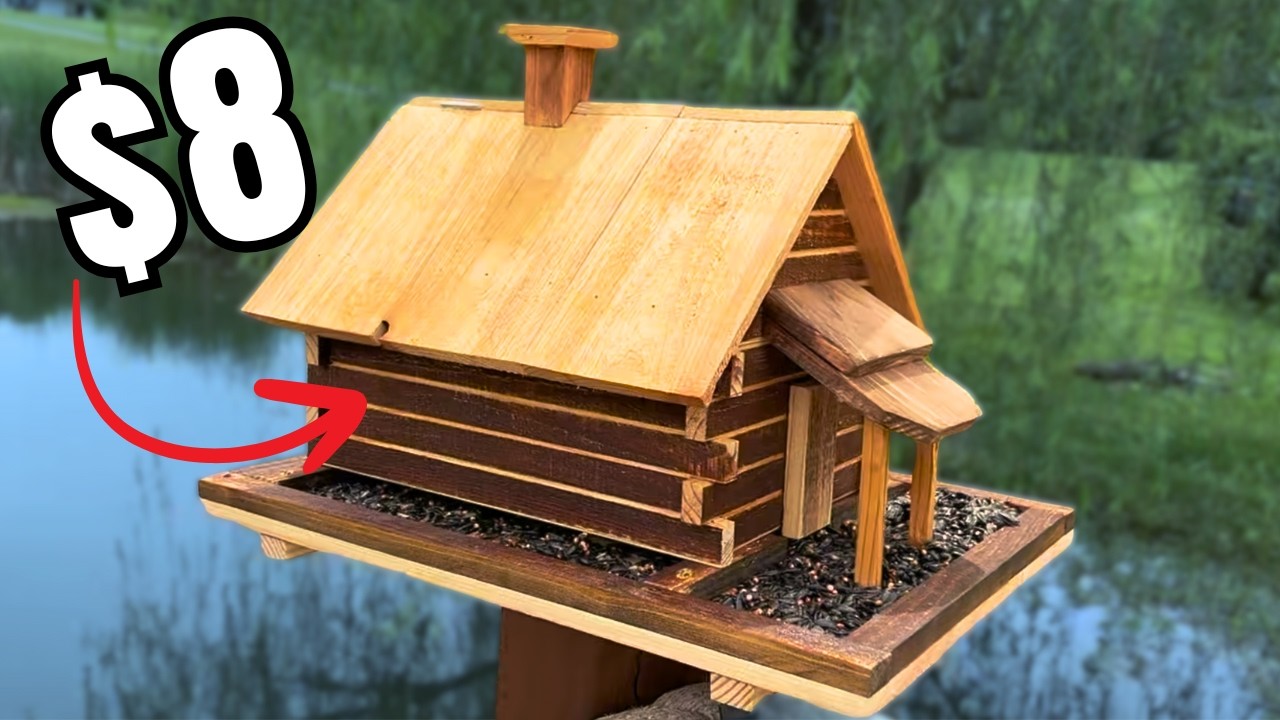
Credit: www.youtube.com
Building The Bird Feeder Walls
Building the walls of your pallet bird feeder is where the structure begins to take shape. This stage is crucial because sturdy walls will protect the birdseed from wind and rain while giving birds a safe place to perch. Let’s focus on making strong side panels and securely attaching them to the base for a durable feeder.
Creating Side Panels
Start by selecting pallet slats that are in good condition—avoid any that are cracked or splintered. Cut the slats to match the desired height and width of your feeder’s walls. You’ll need at least two panels, one for each side.
Lay the slats side by side on a flat surface. Use two horizontal support pieces across the back of the slats to hold them together. Nail or screw the support pieces firmly onto the slats to prevent any movement.
Think about how open or enclosed you want your feeder’s sides. More gaps allow better airflow but less protection from weather. Have you considered what local birds prefer in terms of shelter?
Attaching Walls To Base
Once the side panels are ready, it’s time to attach them to the base. Position the panels vertically along the edges of your base, making sure they are aligned properly. Use a carpenter’s square to check for right angles—this helps the feeder look neat and stay stable.
Secure the panels with screws or nails through the support pieces into the base. Don’t just rely on the front slats; fastening through the supports gives extra strength. If you have clamps, use them to hold the panels while you work—this makes the process easier and safer.
Ask yourself: Is the structure solid enough to withstand wind or the weight of visiting birds? Test it gently by applying pressure—if it feels loose, add more fasteners or reinforce with small corner brackets.
Adding A Roof For Shelter
Adding a roof to your pallet bird feeder is essential for keeping the birdseed dry and providing shelter to visiting birds. It helps protect your feeder from rain and snow, which can spoil the food and deter birds from stopping by. Plus, a well-designed roof can enhance the overall look of your feeder and make it a charming feature in your garden.
Design Options
You have several choices when it comes to designing the roof for your pallet bird feeder. A simple flat roof made from a single pallet board is quick and easy, offering basic protection. If you want something more durable, consider a slanted roof to allow rainwater to run off easily.
Another option is a pitched roof, similar to a small house roof, which not only looks attractive but also improves water drainage. You can use leftover pallet wood or other scrap materials like old shingles or metal sheets. Think about the weight of the material too—lighter roofs are easier to handle and secure.
Securing The Roof
Once you choose your roof style, the next step is to attach it firmly to the feeder. Use screws or nails that are rust-resistant to ensure your feeder lasts through all seasons. Make sure the roof extends beyond the feeder’s edges so rainwater falls away from the seed tray.
Check stability by gently shaking the feeder after attaching the roof. If it feels loose, add extra brackets or small wooden blocks to reinforce the connection. Have you ever noticed birds avoiding a feeder that looks unstable? Ensuring a secure roof can make your feeder a favorite spot for your feathered friends.
Sanding And Finishing Touches
After assembling your pallet bird feeder, the next vital stage is sanding and finishing touches. This step ensures that your feeder is safe for birds and weather-resistant, while also giving it a polished look. Taking the time to smooth the edges and apply a protective coat can make a big difference in the feeder’s durability and appeal.
Smoothing Edges
Start by running sandpaper over all surfaces, focusing especially on corners and edges. Rough wood can hurt birds and snag their feathers, so smoothness is essential. Use medium-grit sandpaper first to remove splinters, then finish with fine-grit for a soft touch.
Pay extra attention to where birds will land or perch. If you feel rough spots, keep sanding until the wood feels safe and pleasant to touch. Have you ever noticed how a small snag can discourage birds from visiting? Avoid that by checking every inch.
Applying Protective Coating
Choose a bird-safe, water-resistant finish to protect your feeder from rain and sun damage. Natural oils like tung or linseed oil work well and keep the wood breathable. Avoid toxic paints or finishes that might harm wildlife.
Apply the coating evenly with a brush, covering all surfaces, including the underside. Multiple thin layers are better than one thick coat—this helps the wood absorb the finish and last longer. After each layer dries, lightly sand again for a smooth final feel.
Would your feeder still look good after months outside? This finishing step answers that question. Taking care now saves you time and effort later, keeping your bird feeder inviting season after season.
Mounting And Placing The Feeder
Mounting and placing your pallet bird feeder correctly helps attract more birds. The right spot offers safety and easy access for birds. Careful placement keeps the feeder clean and stable. Consider sun, shade, and shelter from wind while choosing a location.
Best Locations
- Choose a quiet area, away from busy paths.
- Place near trees or bushes for bird cover.
- Avoid spots too close to windows to prevent collisions.
- Keep feeder visible from your window for easy watching.
- Pick a place with some sunlight to keep food dry.
Hanging Vs. Standing
Hanging feeders sway and keep some pests away. Use strong hooks or branches for hanging securely. Ensure it hangs at least 5 feet from the ground.
Standing feeders stand on poles or tables. They offer easy refilling and cleaning. Place standing feeders on flat ground to avoid tipping.
Both types need protection from cats and squirrels. Add baffles or place feeders in open spots for safety.
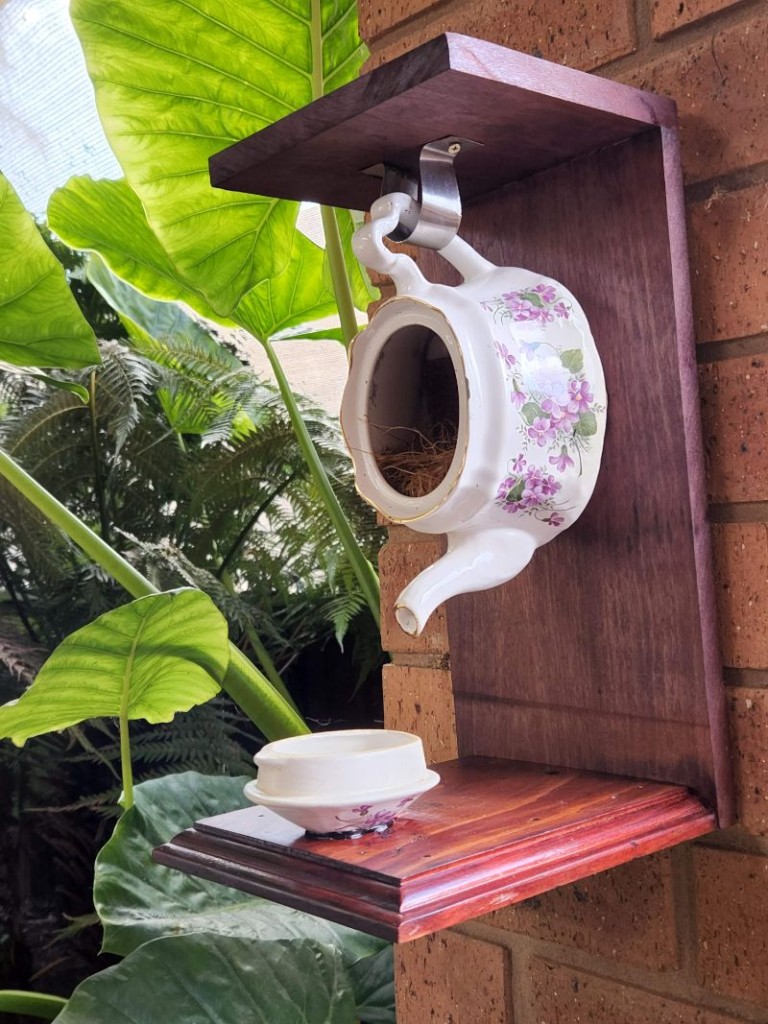
Credit: uniquecreationsbyanita.com
Choosing Bird Feed
Choosing the right bird feed is key to attracting birds to your pallet feeder. Different birds prefer different seeds. Using the correct feed keeps birds healthy and coming back. Quality feed prevents mold and waste. Let’s explore popular seed types and smart feeding tips.
Types Of Seeds
- Black Oil Sunflower:Popular with many birds. High in oil and easy to crack.
- Nyjer (Thistle):Small seeds loved by finches and siskins.
- Safflower:Attracts cardinals and grosbeaks. Less favored by squirrels.
- Millet:White or red millet is good for ground-feeders like sparrows.
- Peanuts:Great for woodpeckers and jays. Use shelled or unshelled.
- Cracked Corn:Attracts larger birds like doves and pigeons.
Feeding Tips
- Keep feed fresh and dry to avoid mold growth.
- Clean the feeder regularly to prevent disease spread.
- Place feeder where birds feel safe from predators.
- Offer water nearby to help birds stay hydrated.
- Refill feeder before it becomes empty to maintain visits.
- Avoid using old or spoiled seeds to protect bird health.
Frequently Asked Questions
How Do I Start Making A Pallet Bird Feeder?
Begin by selecting a clean, sturdy pallet. Disassemble and sand the wood pieces. Then, cut the wood to desired feeder dimensions before assembling.
What Tools Do I Need For A Pallet Bird Feeder?
You’ll need a saw, hammer, nails or screws, sandpaper, and a drill. Optional items include wood glue and paint for finishing touches.
How Can I Make My Bird Feeder Weatherproof?
Use outdoor sealant or waterproof paint. Apply multiple coats to protect the wood from rain and sun damage, ensuring durability.
Which Birds Will Use A Pallet Bird Feeder?
Common visitors include sparrows, finches, chickadees, and cardinals. The feeder attracts a variety of small backyard birds depending on seed type.
Conclusion
Creating a simple pallet bird feeder brings nature closer to home. The process is easy and enjoyable. With basic tools and materials, anyone can do it. Watch as birds visit your backyard more frequently. This project not only benefits birds but also enhances your outdoor space.
Invite friends to admire your handiwork. Enjoy the cheerful chirping of grateful birds. A little effort goes a long way in supporting local wildlife. Try it out and see the difference it makes. Your garden becomes a lively, inviting place for both birds and humans.