If you love watching birds visit your garden, creating a unique feeder can make it even more enjoyable. Imagine a charming umbrella bird feeder hanger that not only holds your feeder but also adds a touch of style to your outdoor space.
In this guide, you’ll discover simple steps to make one yourself, using easy materials and tools. By the end, you’ll have a beautiful and functional hanger that attracts more feathered friends to your yard. Ready to bring your garden to life with this creative project?
Let’s get started!
Materials Needed
Gathering the right materials is key to making a sturdy and attractive umbrella bird feeder hanger. Choosing tools and supplies carefully can save you time and frustration. You might be surprised how a few simple items can turn into a charming garden feature.
Essential Tools
- Drill:You’ll need this to create holes for hanging the feeder securely.
- Screwdriver:Handy for tightening screws and assembling parts.
- Measuring tape:Ensures your hanger is the perfect size for your umbrella and feeder.
- Pliers:Useful for bending wires or holding small parts in place.
- Wire cutters:If you plan to use wire for hanging or securing parts, these are essential.
Having these tools on hand before you start will keep your project smooth and enjoyable. I once began a similar project without a measuring tape and ended up with a hanger that was too short—don’t make that mistake!
Recommended Supplies
- Sturdy wire or metal hooks:These hold the feeder firmly in place under the umbrella.
- Wooden or metal base:Acts as the main support for your feeder hanger.
- Zip ties or strong string:Great for securing parts without permanent fixtures.
- Water-resistant paint or sealant:Protects your hanger from weather damage.
- Optional decorative items:Small bells, beads, or painted accents to personalize your feeder hanger.
Think about your local weather when choosing materials. Will your feeder hanger face rain, wind, or intense sun? Selecting weather-resistant supplies ensures your creation lasts longer and keeps birds coming back.

Credit: homeiswheretheboatis.net
Choosing The Right Umbrella
Choosing the right umbrella is key to making a sturdy and attractive bird feeder hanger. The umbrella acts as the main structure, so its size and material matter a lot. The perfect umbrella holds the feeder securely and lasts through all weather.
Size And Shape
Pick an umbrella size that fits your space well. A medium to large umbrella works best for most feeders. Too small, and it won’t hold the feeder properly. Too big, and it may be heavy and hard to hang.
The shape also matters. Round umbrellas provide even support all around. Flat or square umbrellas may not balance the feeder evenly. Choose a shape that keeps the feeder steady and allows easy access for birds.
Material Considerations
Umbrella materials affect durability and weight. Metal frames offer strong support but can rust over time. Look for rust-resistant coatings if choosing metal.
Plastic umbrellas are lightweight and resist water damage. They may not hold heavy feeders well, though.
Fabric umbrellas add charm but can degrade quickly outdoors. Use waterproof and UV-resistant fabrics for longer life.
Choose materials that suit your climate and the feeder’s weight. This ensures your umbrella bird feeder hanger lasts longer.
Preparing The Umbrella Frame
Preparing the umbrella frame is a crucial first step in creating a sturdy and attractive bird feeder hanger. Taking the time to carefully clean and inspect the frame ensures it will hold up well outdoors and provide a safe spot for birds to visit. Removing the fabric properly sets the stage for a neat and functional project.
Cleaning And Inspection
Start by wiping down the umbrella frame with a damp cloth to remove dust, dirt, and any leftover debris. Pay special attention to the joints and spokes where grime can build up. This prevents rust and helps you spot any weak or broken parts that need fixing or reinforcing.
Look closely for rust spots or bent wires. If you find any rust, use sandpaper or a wire brush to clean it off thoroughly. Bent wires can often be gently straightened, but if parts are too damaged, consider replacing them for safety.
Have you ever tried to hang something heavy only to have it fail because of overlooked damage? Taking this step seriously saves you from frustration and keeps your bird feeder secure.
Removing Fabric
Once the frame is clean and inspected, carefully remove the umbrella fabric. Depending on your umbrella, the fabric might be sewn, glued, or attached with small screws or clips. Use scissors or a seam ripper to cut the fabric away, starting from the edges.
Be patient during this process to avoid damaging the frame. If you encounter stubborn spots where the fabric is glued, gently use a putty knife or a similar tool to pry it off. Removing the fabric completely allows you to repaint or treat the frame if needed.
Think about how many times you’ve reused something just by giving it a little extra care. Stripping the fabric clean gives your project a fresh start and opens up more creative possibilities for customization.
Credit: dengarden.com
Creating The Hanging Mechanism
Creating a reliable hanging mechanism is essential for your umbrella bird feeder hanger to stay secure and functional. This part of the process ensures that your feeder won’t fall or sway too much in the wind, which could scare away the birds you want to attract. Let’s focus on choosing the right hook and attaching it in a way that guarantees stability and ease of use.
Selecting The Hook
Choosing the right hook sets the foundation for your bird feeder hanger’s durability. Look for hooks made from weather-resistant materials like stainless steel or coated metal to prevent rusting over time.
Consider the weight of your feeder and any potential additions like birdseed or decorations; the hook should comfortably hold this combined weight.
Simple S-hooks work well for lightweight feeders, but if your setup is heavier, a sturdy screw hook or even a carabiner clip might be more suitable. Have you checked your local hardware store for various hook sizes and strengths? Sometimes, the perfect option is right at your fingertips.
Attaching The Hook Securely
Once you’ve selected your hook, securing it properly is the next crucial step. Drill a pilot hole if you’re attaching the hook to wood—this prevents splitting and makes the process smoother.
Use a screwdriver or a drill to twist the hook firmly into place. It should feel snug and not wiggle when you tug on it gently.
If you’re hanging your feeder from a metal or plastic umbrella frame, use zip ties or heavy-duty cable ties to fasten the hook. This adds extra grip and keeps the hook from slipping. What’s your plan to ensure the hook won’t loosen over time?
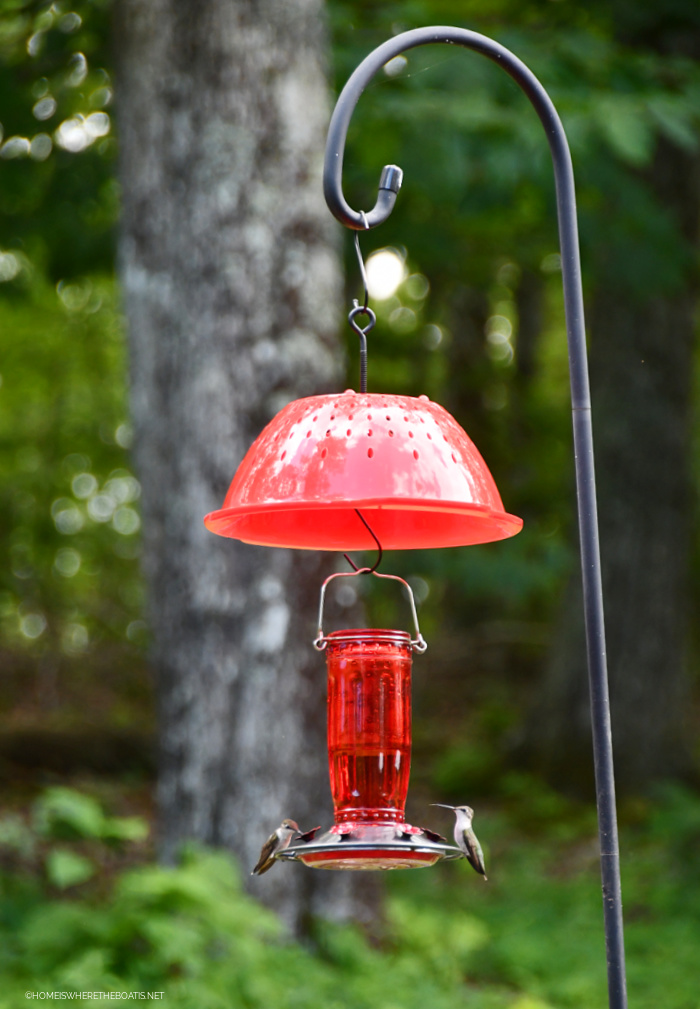
Adding The Bird Feeder
Adding the bird feeder to your umbrella bird feeder hanger is an exciting part of the project. This step brings your creation to life and invites feathered visitors right to your backyard. Choosing the right feeder and securing it properly ensures the birds will feel safe and comfortable while feeding.
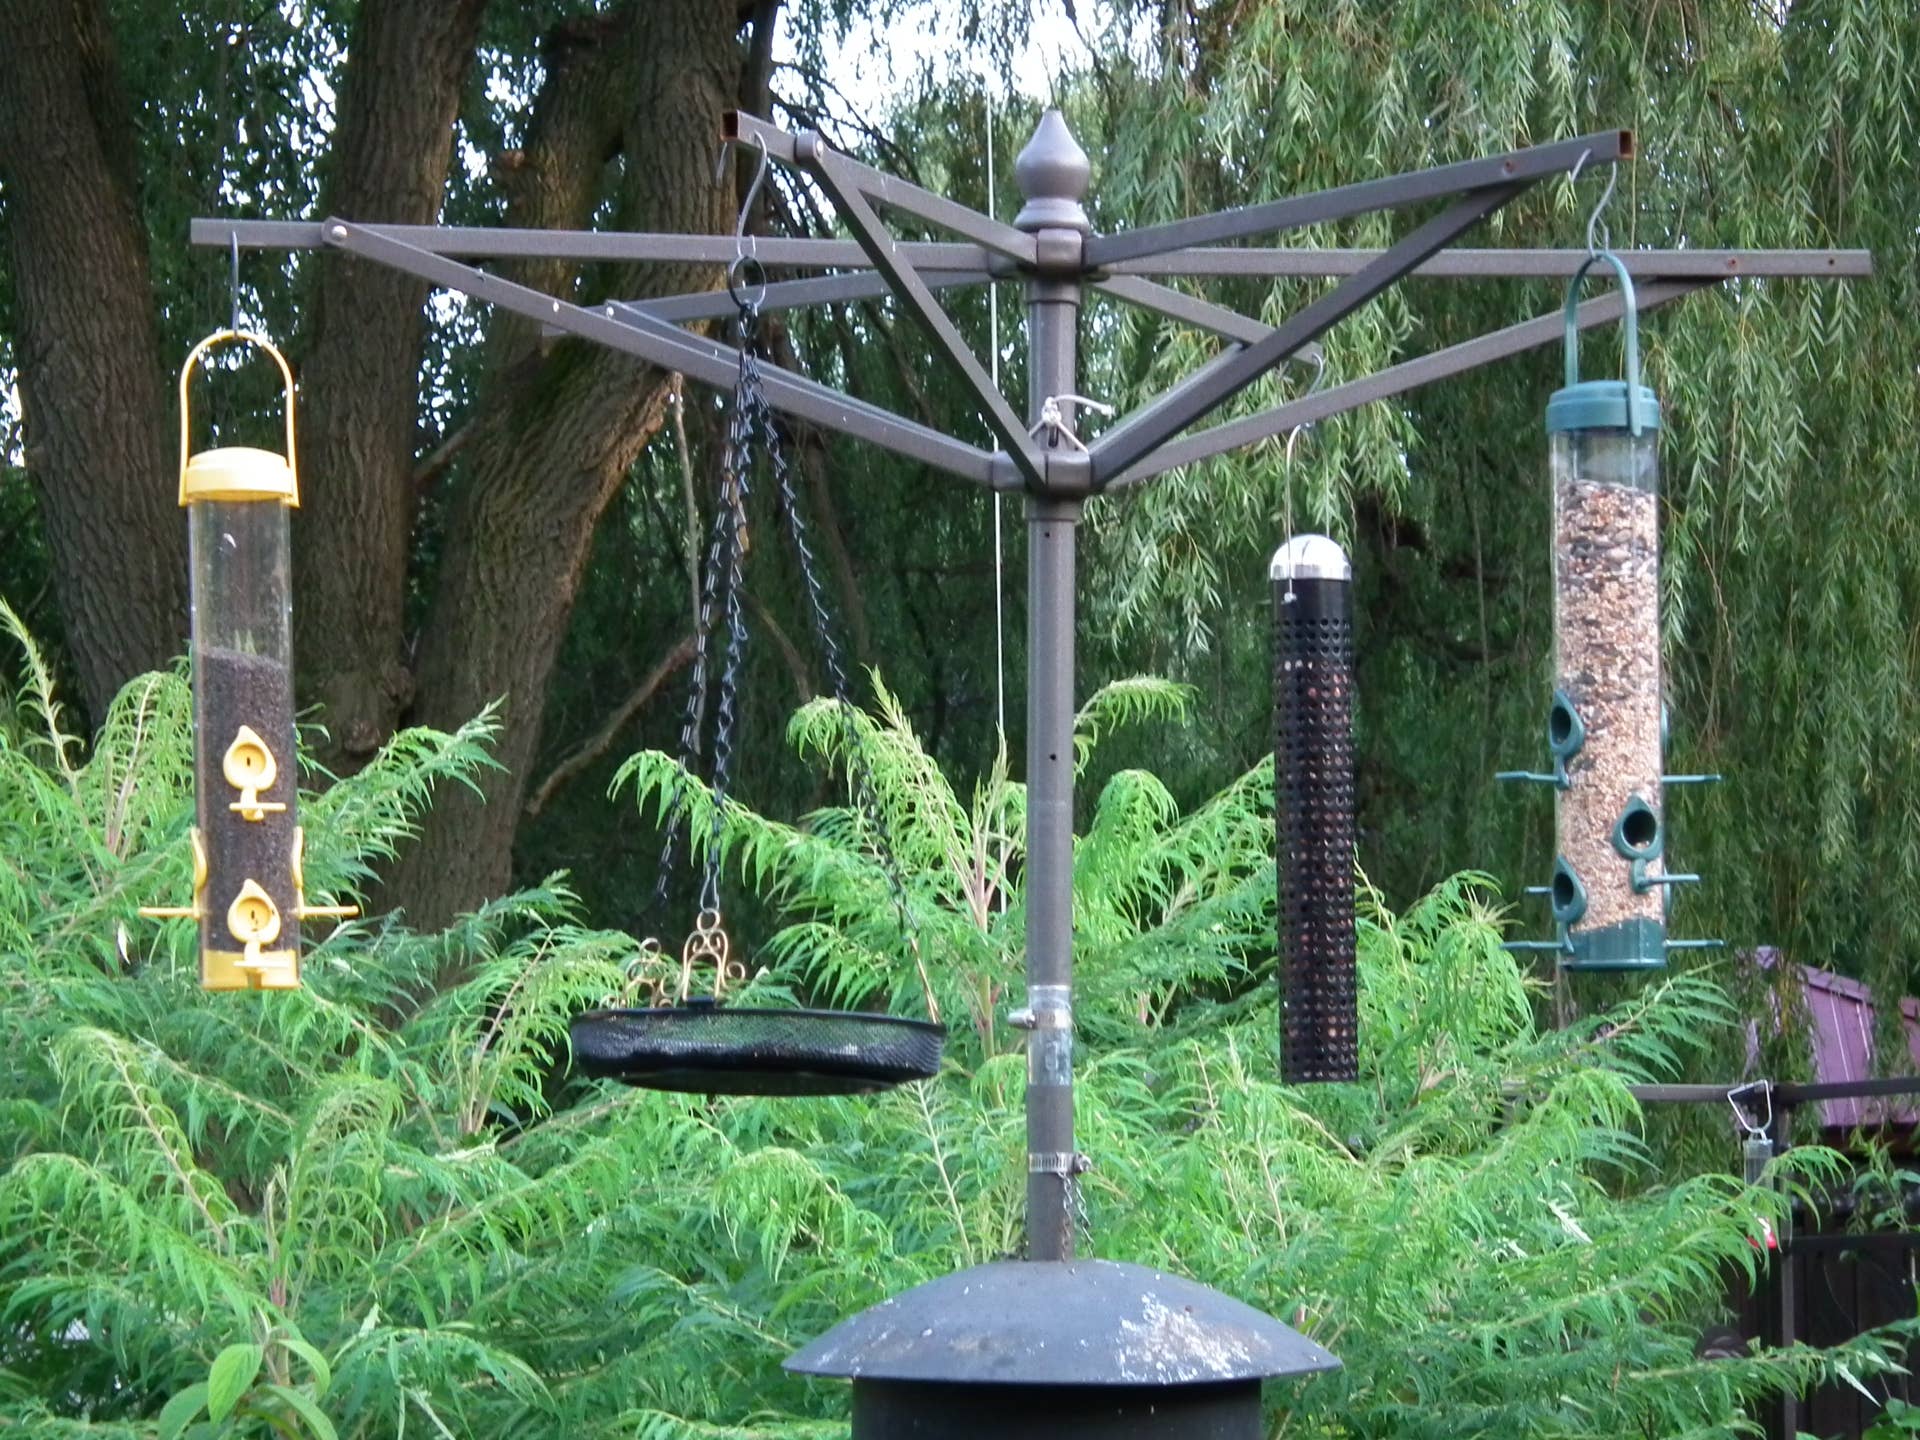
Types Of Feeders To Use
Not all bird feeders work well with an umbrella hanger. Consider feeders that are lightweight and easy to attach. Tube feeders, platform feeders, and small hopper feeders are excellent choices because they balance well on the frame.
Think about the type of birds you want to attract. Tube feeders are great for finches and chickadees, while platform feeders attract a variety of birds like cardinals and sparrows. Avoid heavy feeders that could tip the hanger or cause damage in windy weather.
Securing The Feeder To The Frame
Once you have your feeder, securing it properly is key to prevent accidents. Use strong hooks or S-shaped hangers to attach the feeder to the umbrella ribs or central frame. Make sure the feeder hangs evenly to avoid tipping or spilling seed.
Tie a sturdy string or thin rope around the feeder’s handle and the frame if hooks aren’t enough. This extra support keeps the feeder stable during windy days. Have you noticed how birds prefer feeders that don’t sway much? Stability makes a big difference in how often they visit.

Credit: homeiswheretheboatis.net
Positioning Your Bird Feeder Hanger
Positioning your umbrella bird feeder hanger is key to attracting birds and keeping your feeder secure. The right spot will make birds feel safe and help you enjoy watching them. It also protects your feeder from strong wind and weather.
Choosing The Best Location
Select a quiet area away from heavy foot traffic or noisy machines. Birds prefer calm places to feed. Place the hanger near trees or shrubs for natural cover. This helps birds hide from predators.
Make sure the spot gets sunlight but also some shade during hot days. Avoid locations near windows to prevent bird collisions. Keep the feeder at least 5 feet off the ground for safety.
Mounting Tips For Stability
Secure the umbrella hanger tightly to avoid swinging. Use sturdy hooks or brackets that can hold the feeder’s weight. Check that the mounting surface is strong and stable.
Use a level to keep the hanger straight. This prevents seeds from spilling and birds from getting hurt. Tighten all screws and fasteners to stop wobbling.
Consider wind direction. Mount the hanger where the wind will not push it around too much. This keeps birds comfortable and seeds inside the feeder.
Maintenance And Care
Keeping your umbrella bird feeder hanger in top shape ensures that birds visit often and stay healthy. Maintenance and care are simple but require regular attention. A little effort goes a long way in making your feeder a safe and attractive spot for birds.
Cleaning The Feeder
Regular cleaning prevents mold, bacteria, and old food buildup that can harm birds. Use warm water and mild soap to scrub the feeder gently. Avoid harsh chemicals that might leave harmful residues.
Rinse thoroughly to remove soap traces. Dry the feeder completely before refilling it to avoid clumps of wet seeds. If you notice any cracks or damage, fix or replace the feeder immediately to keep it safe.
Have you ever seen birds avoid a feeder? Dirty feeders are often the cause. Cleaning every two weeks, or more frequently in rainy weather, keeps the feeder inviting.
Seasonal Adjustments
Adjust your feeder based on the season to keep it effective year-round. In summer, place the feeder in shaded areas to protect seeds from spoiling quickly. This also keeps birds cool while they feed.
During winter, check that the feeder is free from ice and snow. You might want to add high-energy foods like suet or sunflower seeds to help birds survive colder days. Moving the feeder to a more sheltered spot can also protect it from harsh winds.
Spring and fall are great times to inspect the feeder’s structure and hanging mechanism. Replace worn parts before the busy migration seasons begin. How might small changes in placement affect bird visits in your yard?
Frequently Asked Questions
What Materials Are Needed For An Umbrella Bird Feeder Hanger?
You need a sturdy umbrella frame, strong wire or rope, hooks, and a bird feeder. Optional items include paint and decorations. These materials ensure durability and attract birds effectively.
How Do I Safely Hang An Umbrella Bird Feeder?
Choose a stable spot with enough sunlight and shelter from strong wind. Use strong hooks or wires to secure the feeder. Ensure it hangs at a height safe from predators and easy for birds to access.
Can I Customize The Umbrella Bird Feeder Hanger?
Yes, you can paint the umbrella frame in bright colors or add decorative elements. Customization makes your feeder more attractive to birds and adds a personal touch to your garden.
How Often Should I Clean The Umbrella Bird Feeder Hanger?
Clean the feeder and hanger every two weeks to prevent mold and bacteria. Use mild soap and water, then rinse thoroughly. Regular cleaning keeps birds healthy and feeder functional.
Conclusion
Creating an umbrella bird feeder hanger is simple and fun. It adds charm to any garden. Birds enjoy the space, and you enjoy watching them. Remember to choose a sturdy umbrella. Hang it securely to prevent accidents. Regularly clean to keep birds healthy.
Invite a variety of feathered friends. Enjoy the beauty they bring. Encourage kids to help with this project. It’s a great way to teach them about nature. A little effort can make a big difference. Happy bird watching!