Are you ready to give your bird feeder that perfect finishing touch? How you finish your bird feeder can make all the difference—not just in how it looks, but in how long it lasts and how safe it is for your feathered visitors.
Whether you’re building from scratch or refreshing an old one, the right finish keeps your feeder weatherproof, attractive, and inviting. Keep reading, and you’ll discover simple, effective ways to finish your bird feeder that will have birds flocking to your yard in no time.
Let’s get your project looking great and working even better!

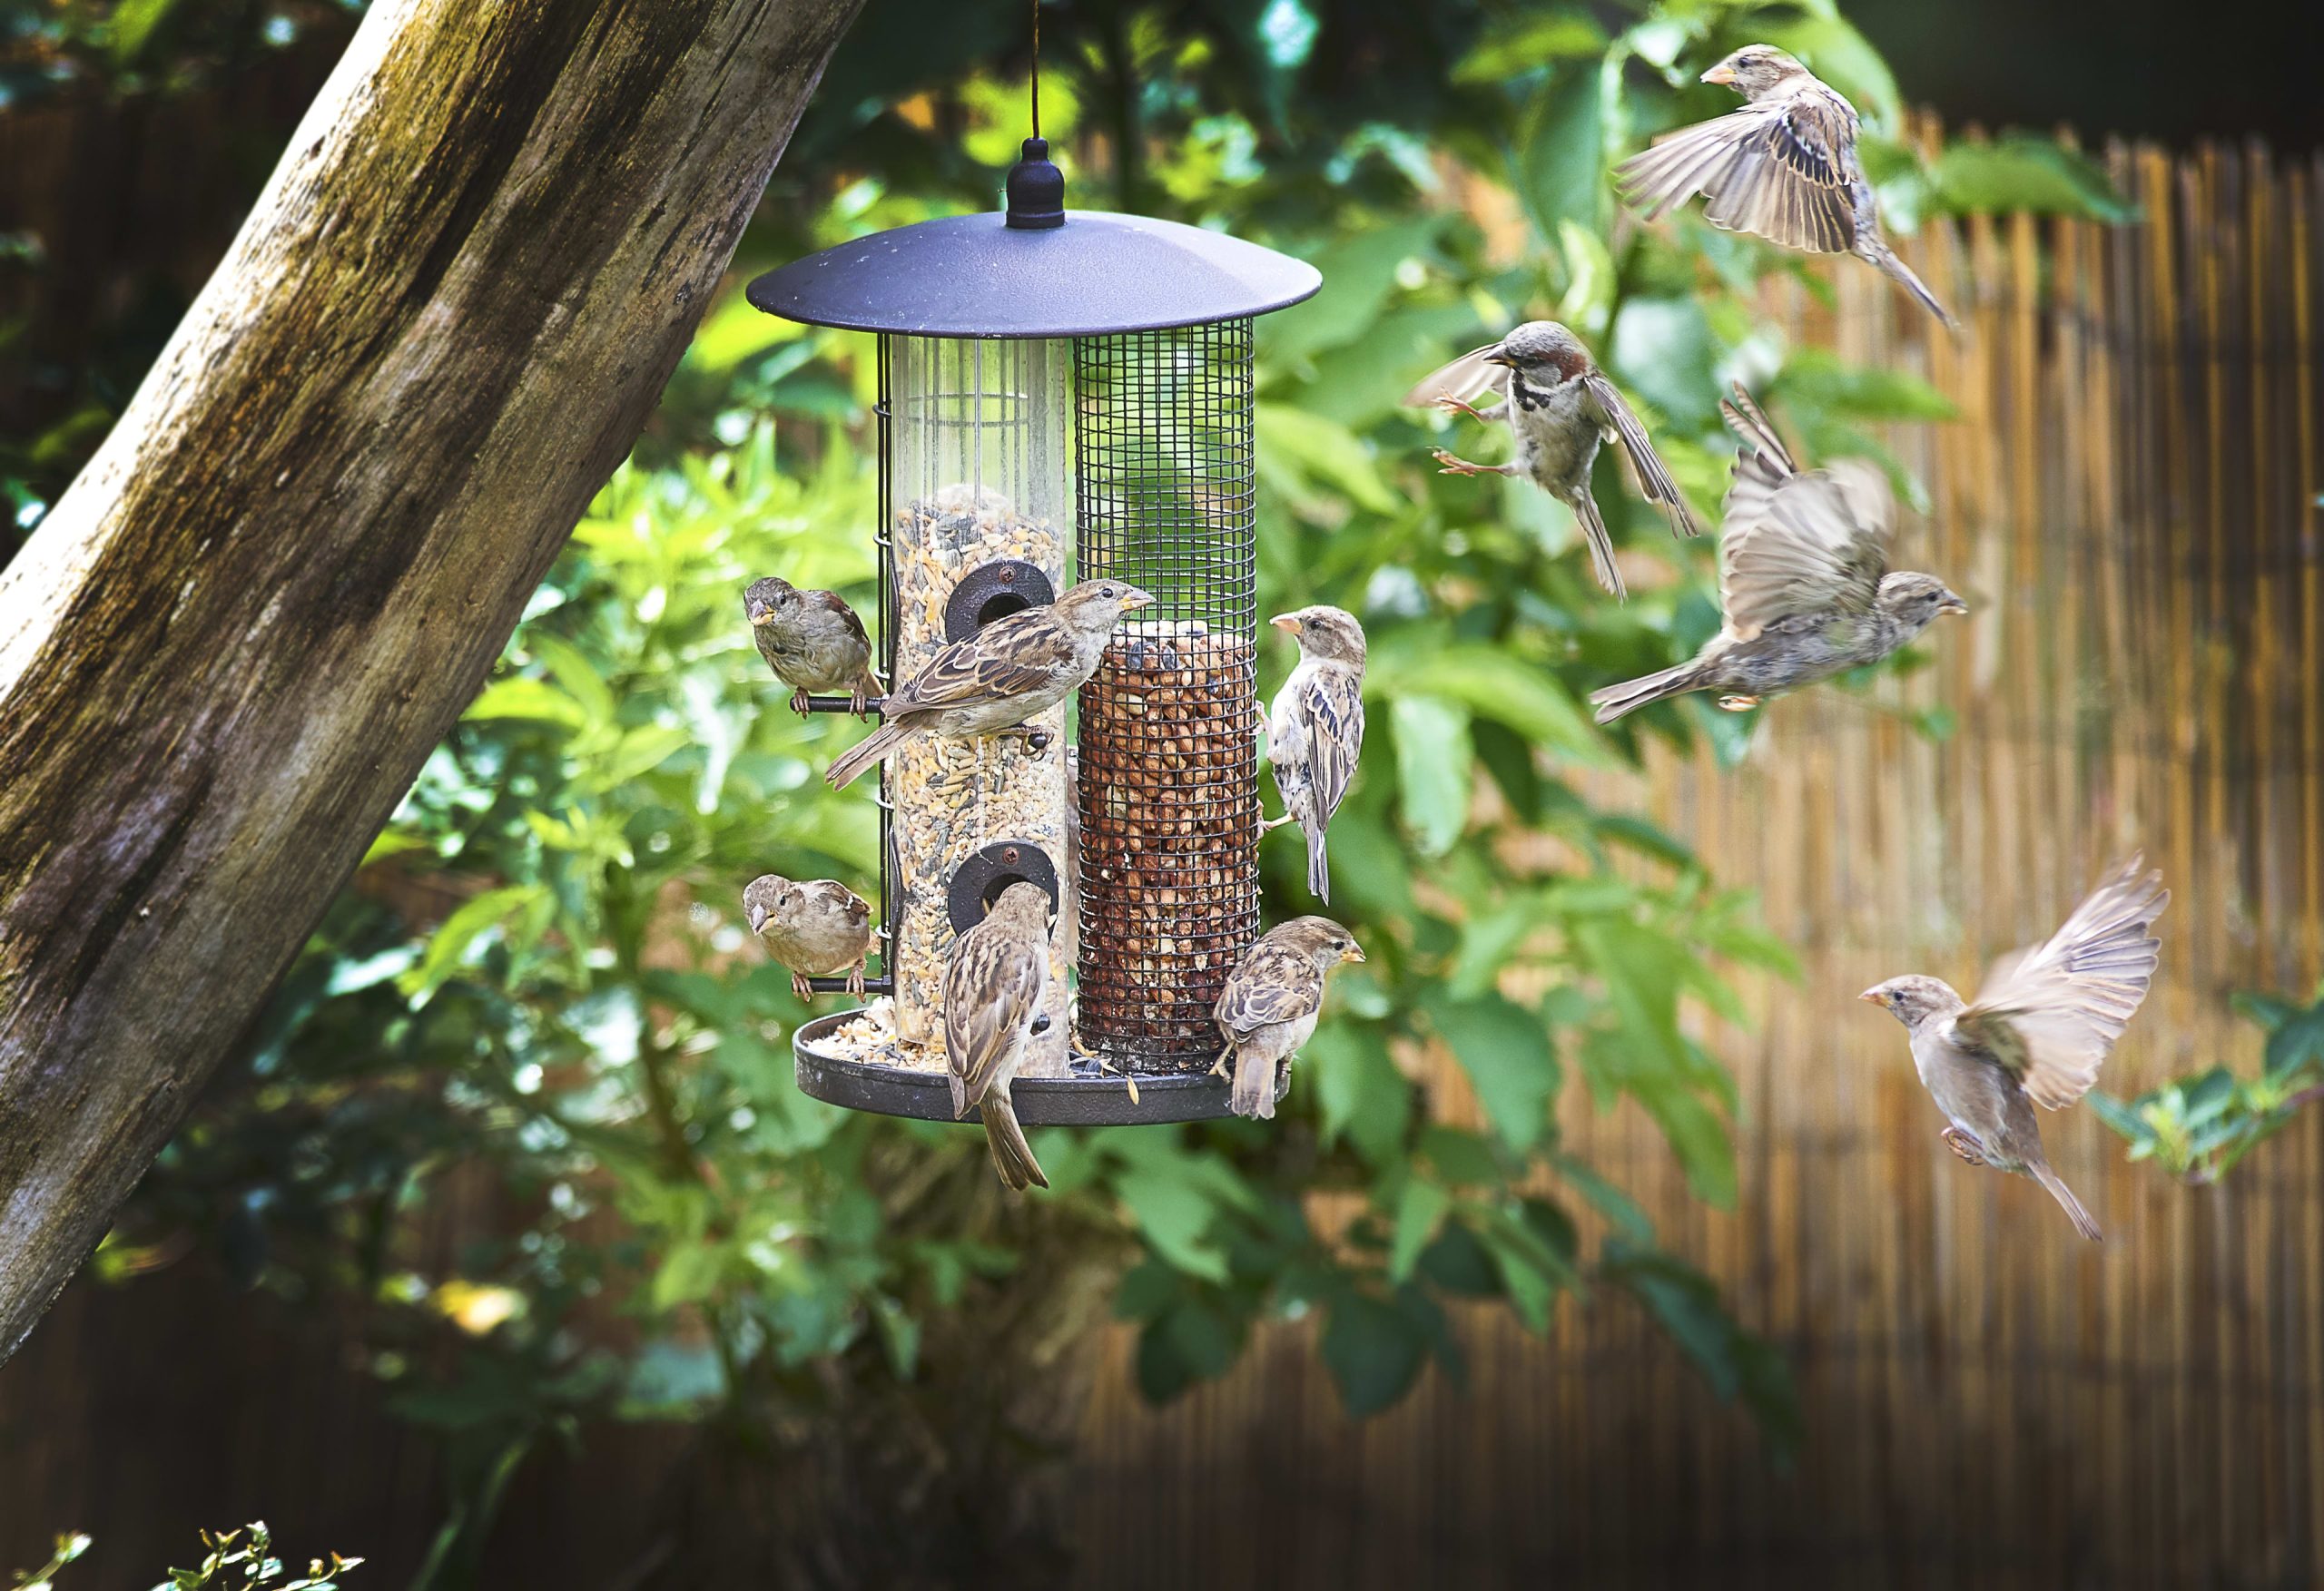
Credit: www.greenmatters.com
Choosing The Right Finish
Choosing the right finish for your bird feeder is essential. It protects the wood and keeps the feeder looking great. The finish also helps the feeder last longer outdoors. Careful selection ensures safety for the birds visiting your feeder.
Types Of Finishes
There are several finishes to consider for bird feeders. Paint offers bright colors and good coverage. Stains show the wood grain and add color. Clear sealers protect the wood without changing its look. Each type serves a unique purpose and style.
Weather Resistance
Outdoor bird feeders face rain, sun, and wind. A weather-resistant finish prevents water damage and fading. Look for finishes that repel moisture and block UV rays. This keeps your feeder strong and attractive through all seasons.
Non-toxic Options
Birds are sensitive to chemicals. Use non-toxic finishes to keep birds safe. Natural oils like linseed or tung oil work well. Water-based, low-VOC paints and sealers are safer choices. Always check labels for bird-friendly products.
Preparing The Bird Feeder
Preparing your bird feeder properly sets the foundation for a long-lasting, attractive finish. Taking the time to clean, sand, and repair ensures the materials hold paint or sealant well and keeps your feeder safe for the birds. Skipping these steps can lead to peeling, splinters, or even damage that shortens your feeder’s life.
Cleaning The Surface
Start by removing any dirt, dust, or old paint flakes from your bird feeder. Use a mild soap and water solution with a soft brush or cloth to scrub the surface gently.
Rinse thoroughly and let it dry completely before moving on. Have you noticed how even a small layer of grime can prevent paint from sticking properly? Don’t overlook this crucial step.
Sanding Techniques
Sanding smooths out rough patches and helps paint or varnish adhere better. Use fine-grit sandpaper (around 120-150 grit) to gently sand the entire surface.
Pay extra attention to edges and corners where splinters often form. If your feeder is made of metal or plastic, use the appropriate sandpaper type to avoid damage. How smooth is smooth enough? Run your hand over the surface; it should feel even but not overly polished.
Repairing Imperfections
Check for cracks, holes, or loose parts that need fixing before applying any finish. Wood fillers work well for small cracks, while waterproof glue can secure loose joints.
After repairs, sand the patched areas again to blend them with the rest of the surface. Taking time here ensures your bird feeder looks neat and holds up well under weather exposure. Would you trust a feeder with obvious gaps to protect the seeds or withstand the elements?
Applying The Finish
Applying the finish to your bird feeder is a crucial step that protects the wood from weather damage and enhances its appearance. It’s more than just slapping on some paint or varnish; how you apply the finish affects durability and the final look. Let’s break down the best ways to apply your finish, how many layers you’ll need, and the drying times you should expect.
Brushing Vs Spraying
Choosing between brushing and spraying depends on your tools, space, and the finish type. Brushing is hands-on and lets you control every stroke, which is great for getting into corners and detailed areas.
Spraying offers a smooth, even coat quickly, but it requires a well-ventilated area and some practice to avoid drips. If you’re outdoors with a simple finish like a clear sealant, spraying can save time. But for oil-based or thicker finishes, brushing often gives better control and less mess.
Number Of Coats
Applying multiple coats is key to long-lasting protection. Typically, two to three coats give the best results, but it depends on the finish type and wood condition.
Each coat builds up a stronger barrier against rain, sun, and bird activity. Skipping extra layers might save time, but your feeder won’t hold up as well. Think about how often you want to refinish—more coats now means less work later.
Drying Times
Patience matters when drying your finish. Different finishes require different drying times between coats, ranging from a few hours to a full day.
Rushing this step can cause tacky or uneven surfaces and weaken protection. Always check the product instructions and plan your project timeline accordingly. Have you noticed how a well-cured finish looks smoother and lasts longer? That’s the payoff of proper drying.
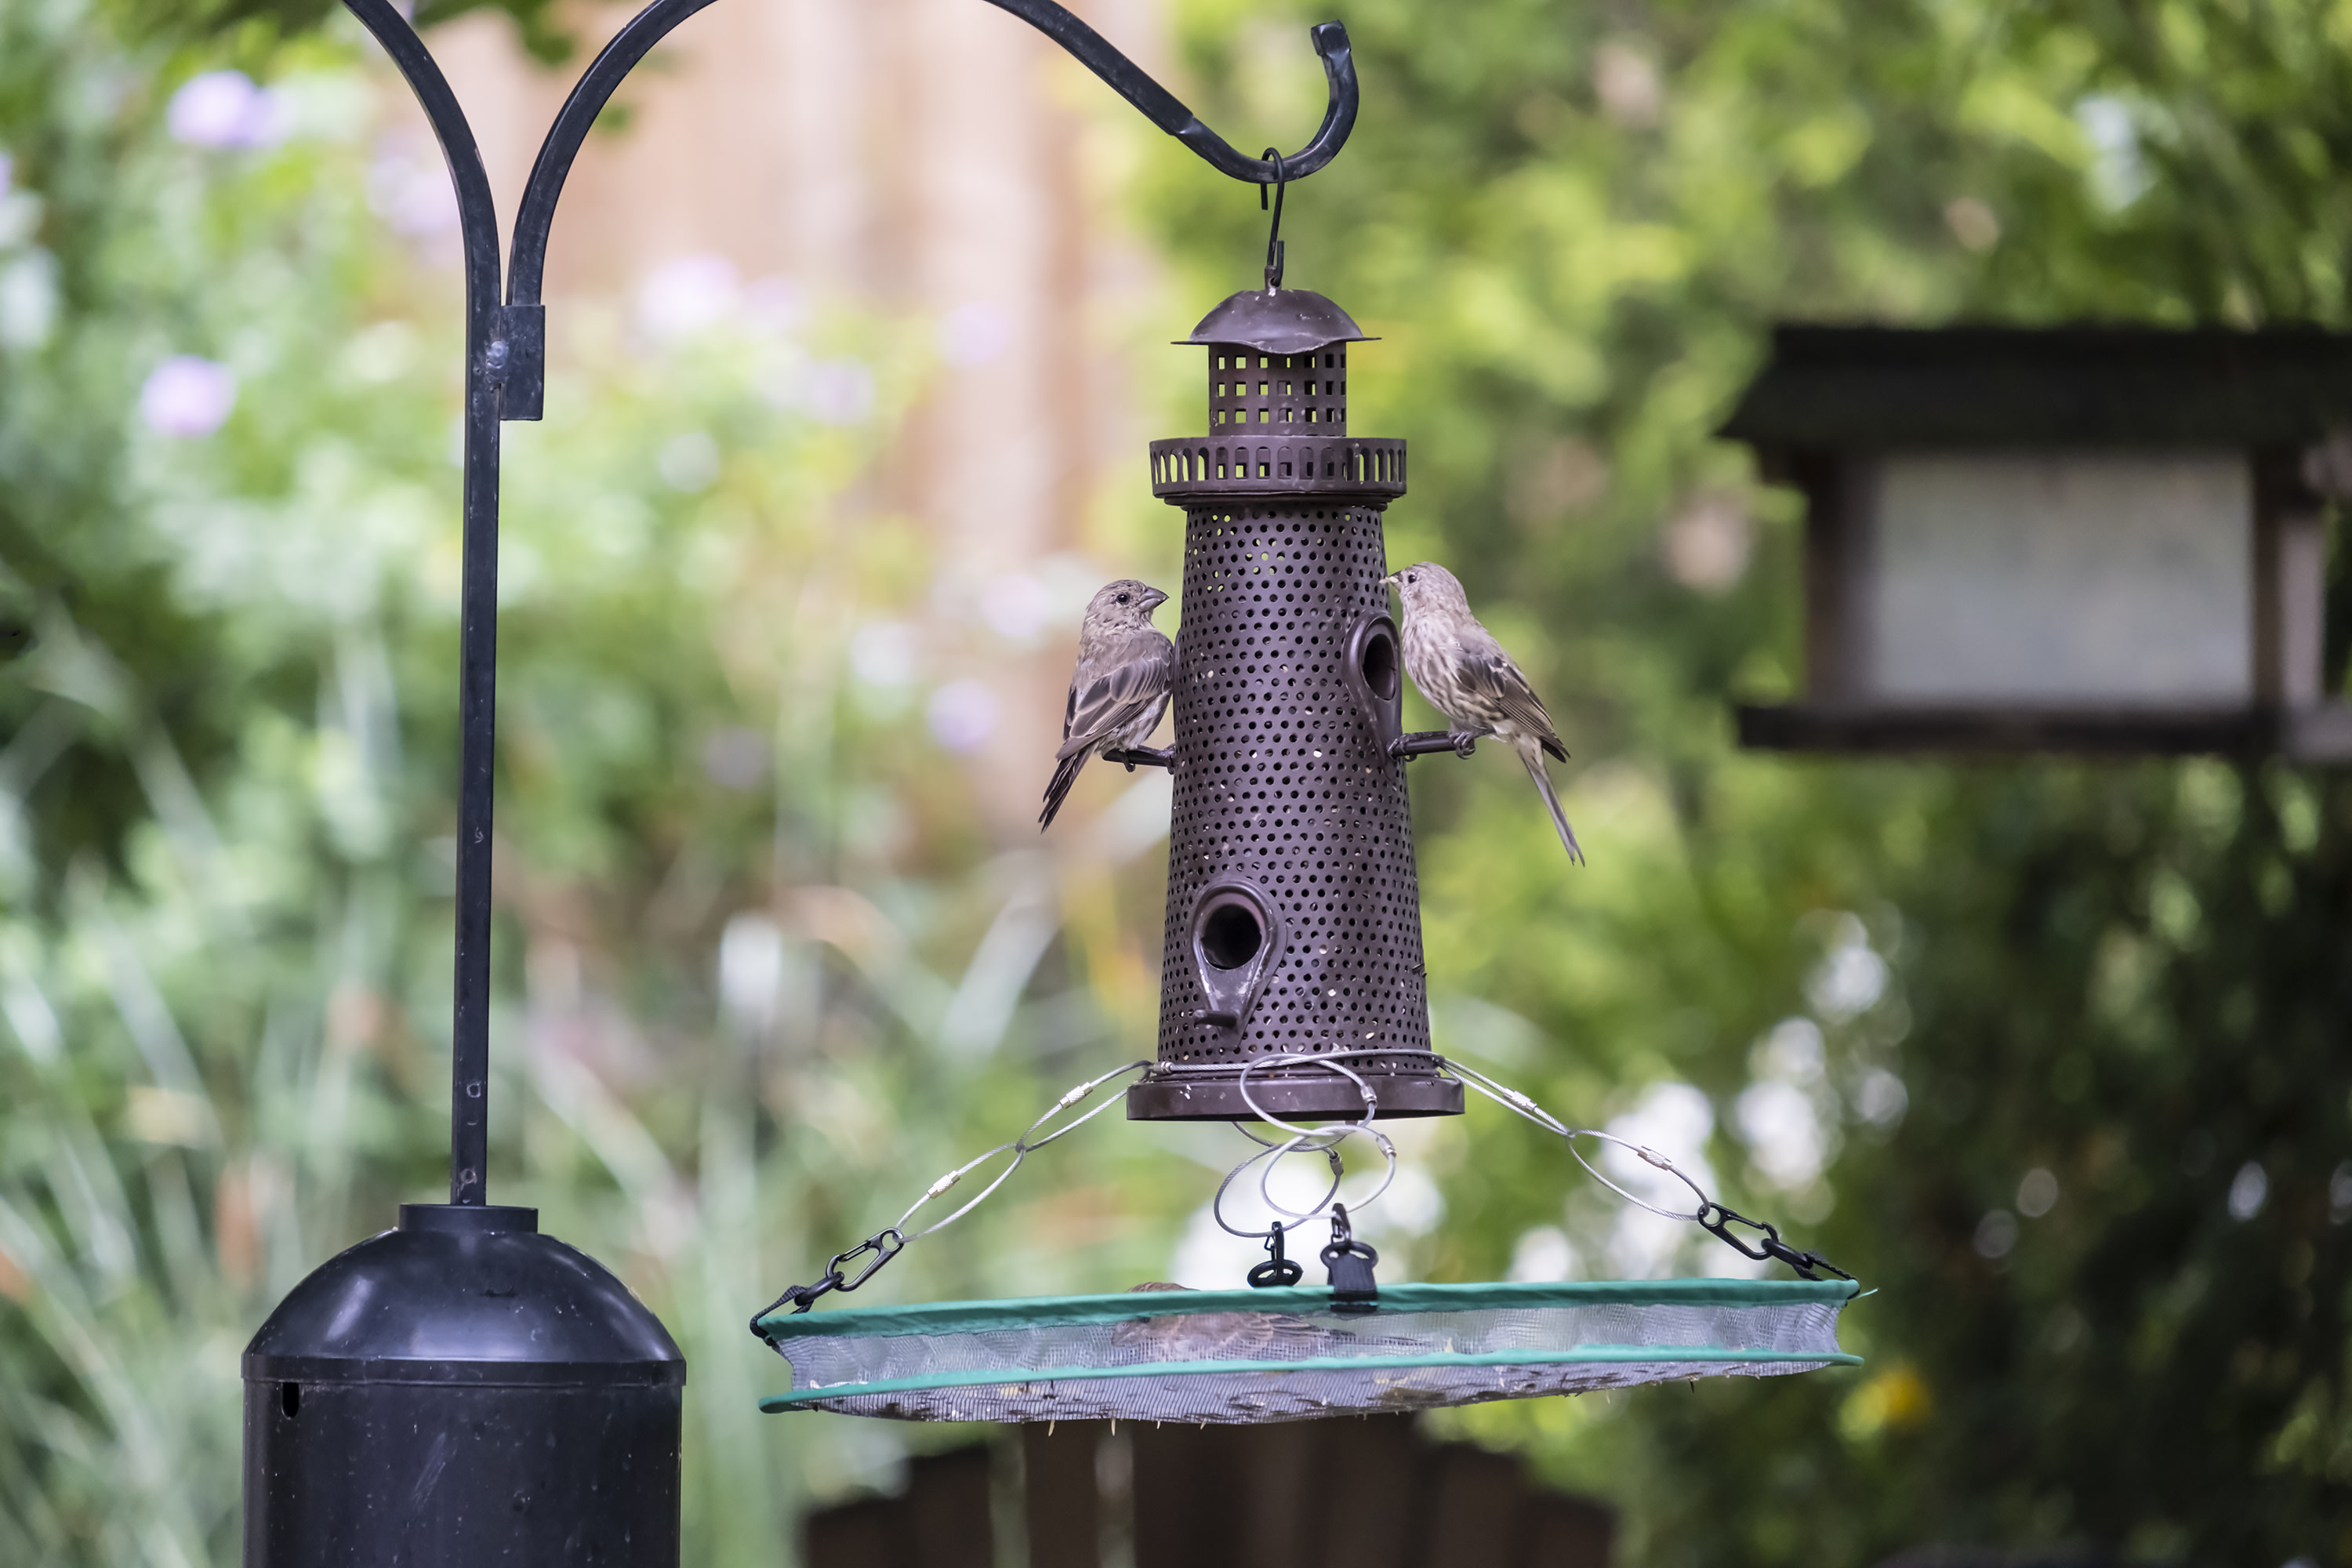
Credit: dengarden.com
Enhancing Durability
Enhancing the durability of your bird feeder helps it last through many seasons. A strong finish protects it from weather and wear. This keeps the feeder safe for birds and maintains its look. Simple steps can greatly improve its lifespan.
Sealing Edges And Corners
Edges and corners are the most vulnerable parts of a bird feeder. They often face water and wind damage first. Use a waterproof sealant to coat all edges and joints. This prevents moisture from entering and causing wood to rot or metal to rust. Apply the sealant evenly and allow it to dry completely. Check these areas regularly and reapply as needed.
Using Uv Protection
Sunlight can fade colors and weaken materials over time. A UV-protective finish shields your feeder from harmful rays. Choose a clear varnish or paint with UV blockers. This keeps the wood or metal looking fresh longer. Apply multiple thin layers for better coverage. Allow each layer to dry before applying the next.
Regular Maintenance Tips
- Clean the feeder regularly to prevent mold and dirt buildup.
- Inspect for cracks or peeling paint and fix them quickly.
- Reapply sealant and UV protection every year.
- Store the feeder indoors during harsh winter months.
- Use gentle cleaning solutions to avoid damaging finishes.
Following these tips ensures your bird feeder stays strong and inviting. Birds will enjoy it for years to come.
Creative Finishing Touches
Creative finishing touches bring life to a bird feeder. They make it stand out and invite birds to visit. Simple additions can turn a plain feeder into a charming garden feature. These touches reflect your style and brighten the space.
Adding Decorative Elements
Decorative elements add personality and charm. Small items like beads, shells, or buttons work well. Use weatherproof glue to attach these safely. Natural materials like twigs or pinecones blend nicely with outdoor settings. Avoid anything sharp or toxic that could harm birds.
Color Choices
Color influences bird attraction and aesthetics. Bright colors like red, yellow, or blue catch birds’ eyes easily. Soft colors create a calm, natural look. Paint with non-toxic, outdoor-safe paint. Avoid dark colors that absorb heat and can harm birds in summer.
Personalizing Your Feeder
Personal touches make your feeder unique. Add your name or a short message using stencils or markers. Attach small photo frames or family initials for a creative touch. Customize shapes with carved wood or small sculptures. This makes your feeder a special spot in your yard.

Credit: www.jackery.com
Frequently Asked Questions
How Do I Sand A Bird Feeder For A Smooth Finish?
Start with medium-grit sandpaper to remove rough spots. Then use fine-grit sandpaper for a smooth surface. Sand evenly in the direction of the wood grain. This prevents splinters and ensures a polished look. Always wipe off dust before finishing.
What Type Of Paint Is Best For Bird Feeders?
Use non-toxic, water-based acrylic paint for safety. It resists weather and dries quickly. Avoid spray paints with harmful chemicals. Choose colors that attract birds, like red or blue. Always apply a sealant for extra protection.
How Long Should I Wait Before Hanging A Finished Bird Feeder?
Wait at least 24 hours after painting or sealing. This allows the finish to dry and cure fully. Hanging too soon can damage the surface. Ensure the feeder is completely dry to protect birds and maintain durability.
Can I Use Varnish On A Wooden Bird Feeder?
Yes, use a non-toxic, outdoor varnish for protection. It enhances wood grain and shields from moisture. Apply multiple thin coats for best results. Avoid varnishes with harmful chemicals to keep birds safe.
Conclusion
Completing a bird feeder feels rewarding. Your garden now invites nature’s beauty. Birds bring life and color. Enjoy their cheerful songs and playful flights. Remember to refill with seeds regularly. Clean the feeder to keep birds healthy. Share your bird-watching moments with friends.
They might join in the fun. Bird feeders connect us to nature. A simple project with big rewards. Now, watch and relax. Nature’s show is ready for you. Happy bird watching!