If you love watching hummingbirds up close, making your own wire hummingbird feeder bottles is a great way to bring these tiny wonders right to your backyard. You don’t need to be a crafting expert or spend a lot of money to create a beautiful, functional feeder.
With simple materials and easy steps, you can build a feeder that attracts hummingbirds and adds charm to your outdoor space. Keep reading, and you’ll discover how to make your own hummingbird feeder bottles that are both practical and eye-catching.

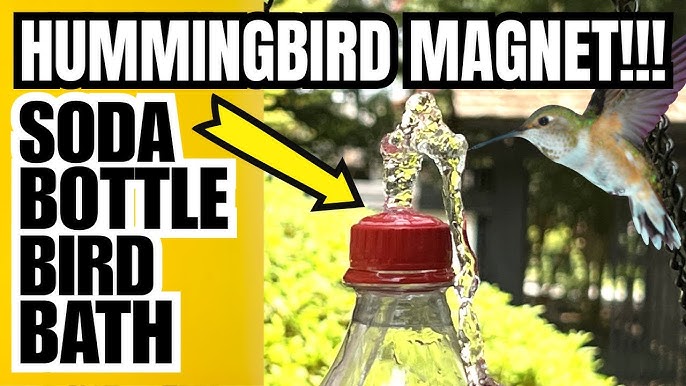
Credit: homeiswheretheboatis.net
Materials Needed
Gathering the right materials is the first key step to crafting wire hummingbird feeder bottles that are both durable and attractive. The choice of wire and bottle affects not only the feeder’s longevity but also how easy it is to hang and refill. Knowing what additional supplies you’ll need can save time and frustration as you build your feeder.
Types Of Wire
Not all wire is created equal when it comes to hummingbird feeders. Galvanized wire is a popular choice because it resists rust and holds up well outdoors. Copper wire, while more expensive, adds a beautiful patina over time and is flexible enough for easy shaping.
Think about the thickness too. Wire around 16 to 18 gauge strikes a good balance between strength and bendability. Too thin, and it won’t support the bottle’s weight; too thick, and it becomes difficult to work with.
Choosing The Right Bottle
Glass bottles are often preferred because they’re easy to clean and don’t retain odors. Small to medium-sized bottles work best — something around 12 to 16 ounces is ideal. Avoid plastic bottles that might crack under sun exposure or degrade over time.
Look for bottles with a narrow neck, which makes attaching the wire easier and helps prevent nectar spills. Have you noticed how some vintage bottles add charm and uniqueness? Choosing an unusual shape can make your feeder stand out in your garden.
Additional Supplies
- Wire cutters:Essential for cutting your wire cleanly without fraying.
- Needle-nose pliers:Perfect for bending wire precisely and twisting tight loops.
- Hummingbird feeder ports:These small feeding holes can be purchased or crafted yourself to attach to the bottle.
- Food-grade sealant or glue:Use this to secure parts and prevent leaks.
- Hooks or hanging hardware:To hang your feeder safely from a tree branch or stand.
Having these supplies ready before you start can make the building process much smoother. What’s your biggest challenge when assembling outdoor feeders? Often, it’s finding supplies that combine practicality with aesthetic appeal.
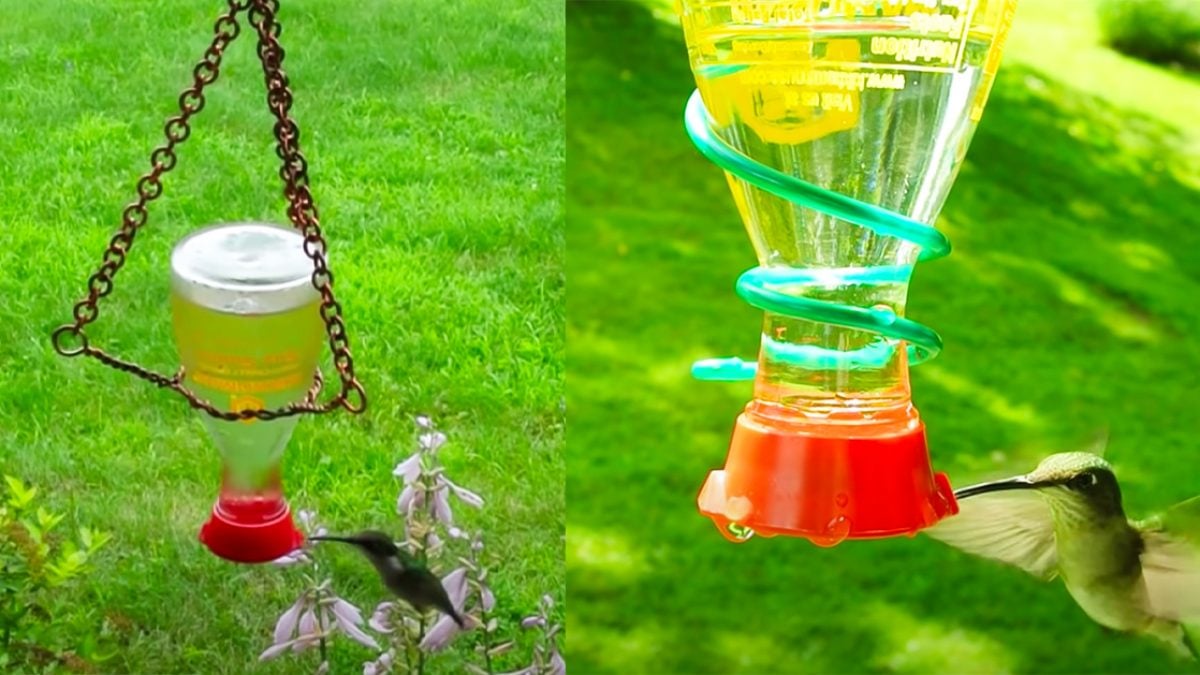
Credit: diyjoy.com
Preparing The Bottle
Preparing the bottle is a key part of making wire hummingbird feeder bottles. It ensures the feeder is safe and ready to hold nectar. This process helps avoid contamination and makes the feeder attractive to hummingbirds. Taking time to prepare the bottle well improves the feeder’s function and lifespan.
Cleaning And Drying
Start by removing any labels or stickers from the bottle. Wash the bottle with warm water and mild soap. Use a bottle brush to clean inside thoroughly. Rinse well to remove all soap residue. Let the bottle air dry completely to prevent mold growth. Drying fully also stops water spots from forming on the glass or plastic.
Marking Placement Points
Use a marker or tape to mark where the feeder holes will go. Place marks evenly around the bottle for balanced feeding spots. Measure carefully to keep the holes at the right height. Marking before drilling or cutting helps avoid mistakes. Clear marks guide you through the next steps with confidence.
Shaping The Wire
Shaping the wire is a key part of making hummingbird feeder bottles. The wire needs to be bent carefully to hold the bottle securely and allow easy hanging. Good wire shaping ensures the feeder is strong and looks nice. It also helps keep the hummingbirds safe while they feed. This section covers simple techniques to shape the wire, create the hanger, and form the bottle holder.
Basic Wire Bending Techniques
Start with a strong, flexible wire. Use pliers for bending, not your hands. Hold the wire firmly near the bend point. Make smooth bends to avoid weak spots. Use round-nose pliers for curves and flat-nose pliers for straight angles. Cut excess wire with wire cutters. Practice making loops and hooks for better control.
Creating The Hanger
Make a loop at one end of the wire to hang the feeder. The loop should be large enough to fit on a branch or hook. Twist the wire below the loop to secure it. Make sure the hanger is strong and balanced. This keeps the feeder steady in the wind. Use pliers to tighten twists and shape the loop evenly.
Forming The Bottle Holder
Bend the wire to fit snugly around the bottle base. Create a circular frame that supports the bottom securely. Add vertical wire pieces from the base to the top for extra hold. Twist or wrap wire ends tightly to hold the shape. Make sure the holder fits the bottle without squeezing it. The holder must hold the bottle steady without blocking feeding ports.
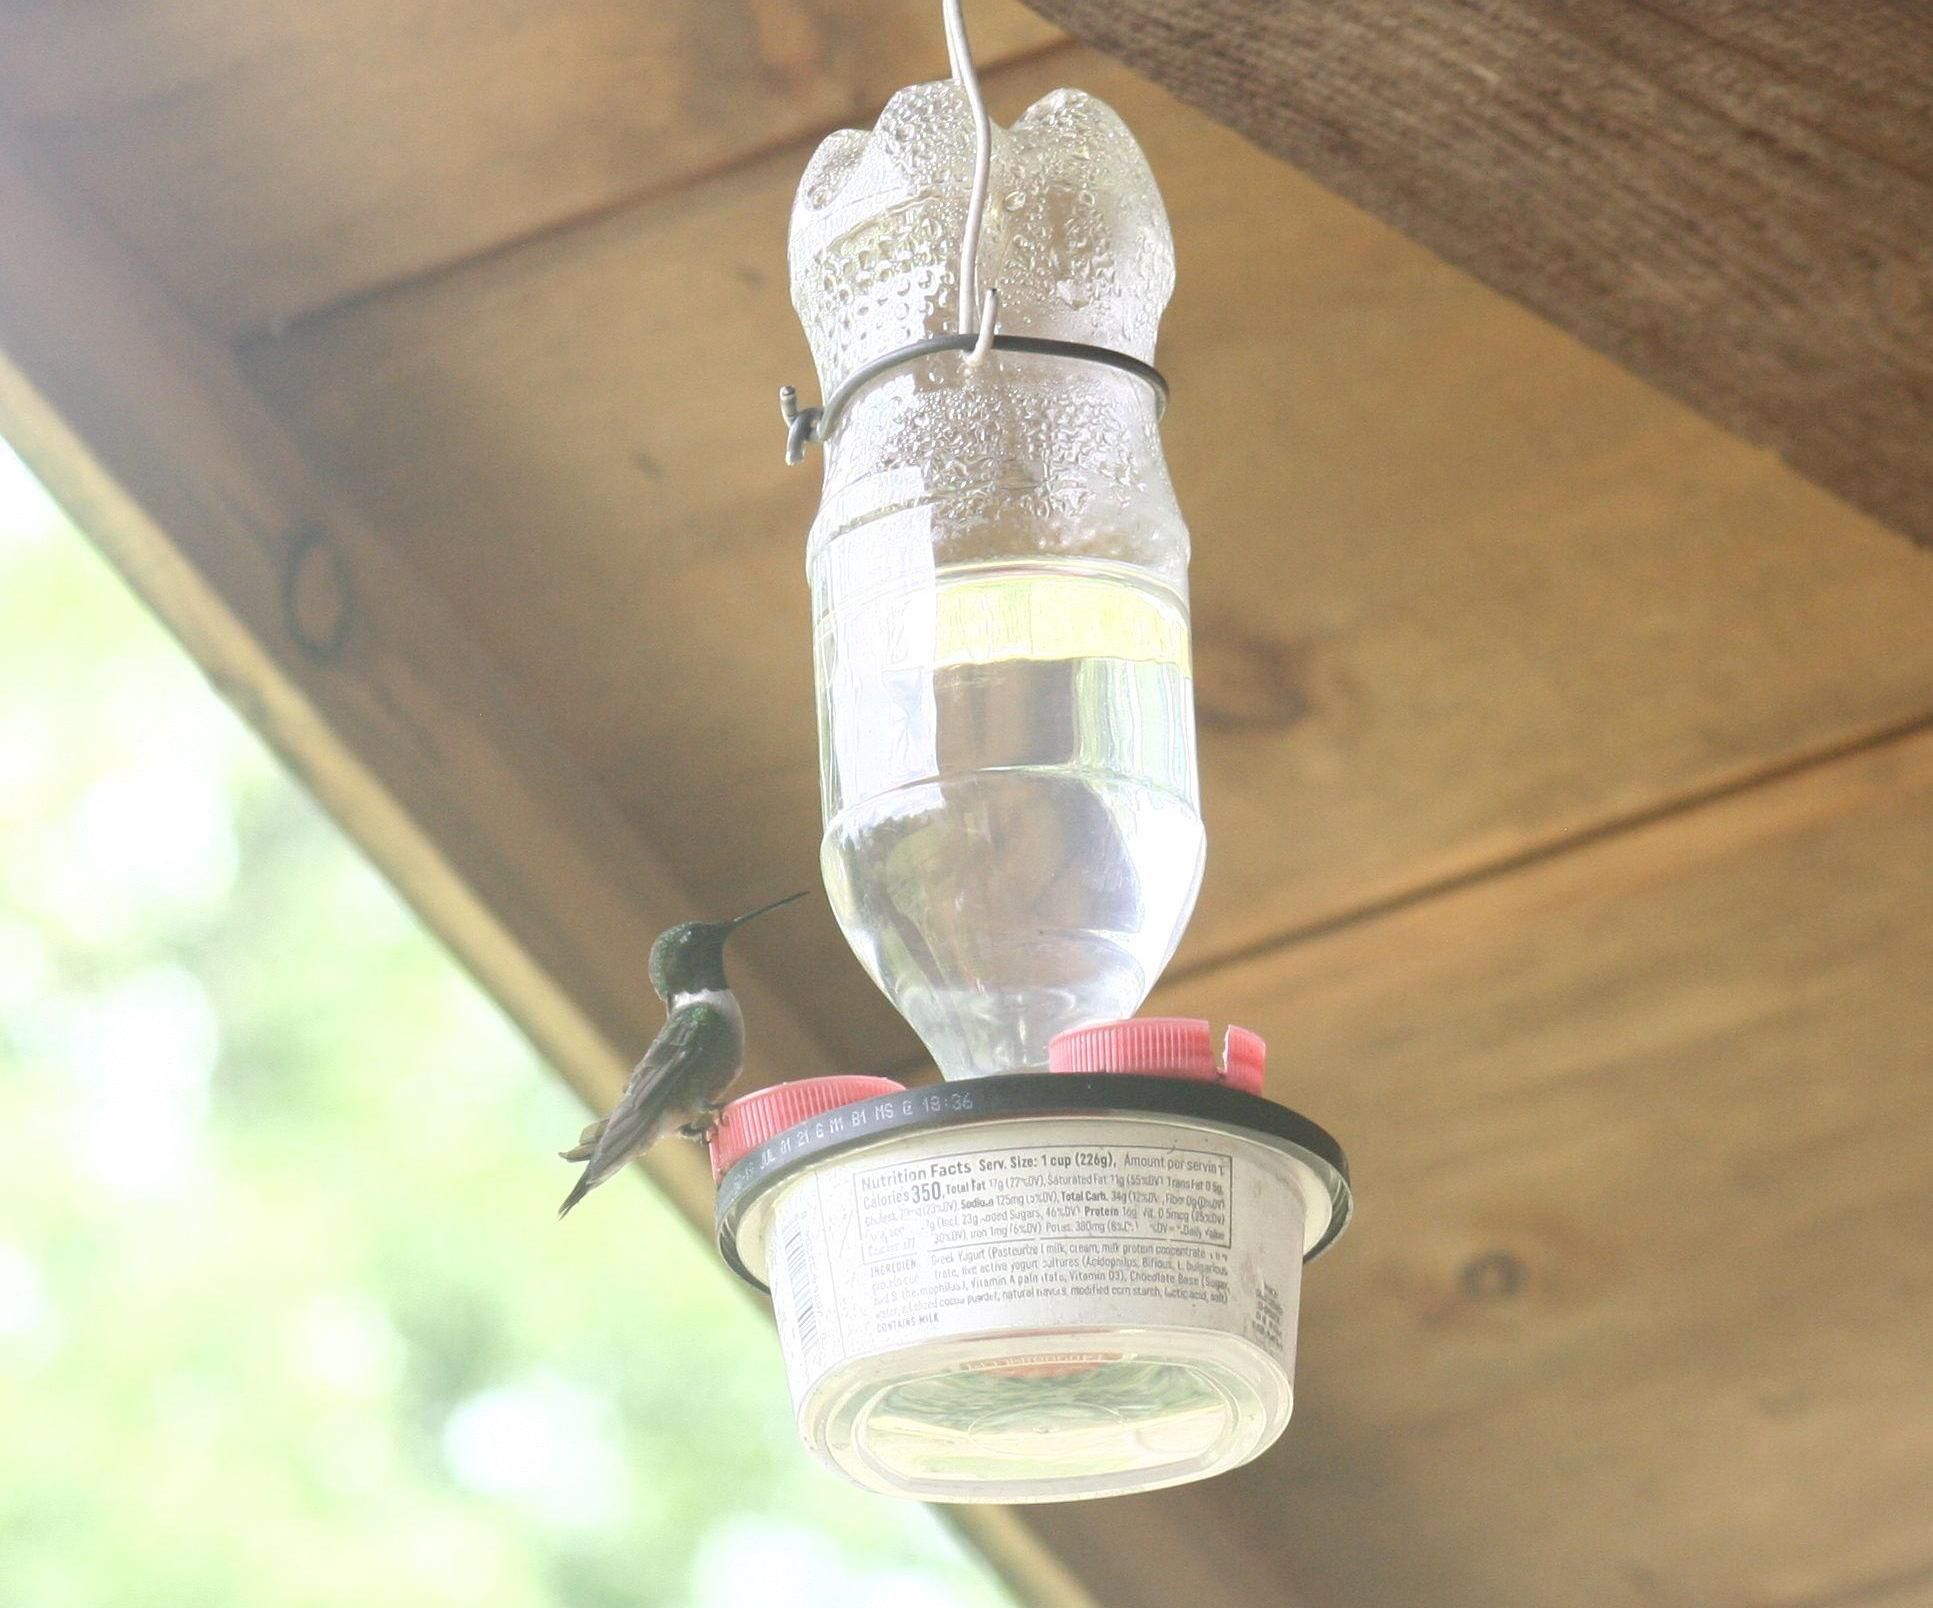
Credit: www.instructables.com
Assembling The Feeder
Assembling the hummingbird feeder bottle is a key part of the project. It brings together all pieces into a functional feeder. This step requires focus and patience to ensure the feeder is sturdy and safe for birds.
Start by preparing the bottle and wire. The wire will form the hanger and support, so it must be firmly attached. Proper assembly prevents leaks and helps the feeder hang securely in your garden.
Attaching Wire To Bottle
Choose a strong, flexible wire for attaching. Wrap the wire tightly around the bottle neck. Make sure it fits snugly without damaging the bottle.
Leave enough wire length to create a loop for hanging. Twist the wire ends together to secure the loop. Trim any sharp wire tips to avoid injury to birds or yourself.
Securing The Structure
Check the wire attachment for firmness. The bottle should not slip or wobble. Use pliers to tighten any loose twists in the wire.
Test the hanger by gently lifting the bottle. Adjust the wire loop to balance the bottle evenly. A stable feeder attracts more hummingbirds and lasts longer.
Finishing Touches
The finishing touches on your wire hummingbird feeder bottles add charm and function. These final steps make your feeder attractive and reliable. Careful details invite hummingbirds and keep the feeder sturdy.
Adding Decorative Elements
Decorations brighten the feeder and attract birds. Use colorful beads or small glass gems on the wire frame. Wrap bright floral tape or ribbon around the neck of the bottle. Attach small metal or wooden shapes like flowers or leaves to the wire. These touches create a welcoming look for hummingbirds.
Choose weather-resistant materials to keep decorations vibrant. Avoid anything that might harm the birds or block the feeding ports. Keep decorations simple to maintain easy cleaning and refilling.
Ensuring Stability
Stability prevents spills and keeps the feeder in place during wind. Secure the base of the wire frame with extra coils or a small heavy weight. Use sturdy hooks or strong wire loops for hanging. Check that the bottle sits firmly in the wire cradle without wobbling.
Test the feeder by gently shaking it. Adjust the wire frame if the bottle moves too much. A stable feeder lasts longer and provides a safe feeding spot for birds.
Filling And Hanging
Filling and hanging your wire hummingbird feeder bottles correctly is key to attracting these delicate visitors and keeping them coming back. The right nectar preparation ensures your feeders offer a safe and tasty treat. Meanwhile, choosing the best spot to hang your feeders can make all the difference in visibility, safety, and ease of access for the birds.
Preparing Nectar
Making nectar is simple and requires just two ingredients: sugar and water. Use a ratio of 1 part white granulated sugar to 4 parts water. Boil the water first to kill any impurities, then stir in the sugar until it fully dissolves.
Let the mixture cool completely before filling your feeder bottles. Avoid using honey, artificial sweeteners, or red dye—these can harm hummingbirds. Change the nectar every 3 to 5 days to prevent mold and fermentation, especially in warm weather.
Best Hanging Locations
Pick a spot that is visible but offers some shade to keep nectar fresh longer. Hummingbirds prefer areas near flowers or plants where they can rest and find natural food. Try hanging your feeder near windows for easy watching but avoid direct sunlight to prevent overheating.
- Place feeders at least 10 feet away from shrubs to deter predators like cats.
- Hang them 5 to 6 feet above the ground to keep hummingbirds safe and comfortable.
- Consider a location sheltered from strong winds to avoid spilling nectar.
Have you noticed how hummingbirds often return to the same spot? Positioning your feeders thoughtfully can turn your garden into a hummingbird hotspot. Experiment with different locations and observe which spot attracts the most activity.
Maintenance Tips
Keeping your wire hummingbird feeder bottles in top shape ensures they remain safe and attractive for the tiny visitors. Regular maintenance not only extends the life of your feeder but also helps prevent the growth of mold and bacteria that can harm hummingbirds. Here’s how you can care for both the feeder’s bottle and its wire components effectively.
Cleaning The Feeder
Clean your feeder every few days, especially during hot weather when mold can develop quickly. Use warm water and mild soap to wash the bottle thoroughly. Avoid harsh chemicals that could leave harmful residues.
Rinse the feeder well to remove any soap traces, then dry it completely before refilling. You might notice that even small bits of nectar residue can attract unwanted insects or cause the nectar to ferment faster. Have you checked the tiny feeding ports for blockages? Use a small brush or pipe cleaner to clear them out.
Wire Care And Repairs
The wire frame is the backbone of your feeder bottle setup, so inspect it regularly for any signs of rust or bending. Rusty wires can weaken the structure and may even be unsafe for the birds. You can easily clean rust spots with a wire brush and apply a light coat of bird-safe paint to protect the metal.
If you find any bends or breaks in the wire, try gently reshaping it or replacing that part. Sometimes, a quick twist with pliers can restore the wire’s original form. Think of your wire frame as a living part of the feeder that needs attention just as much as the bottle itself.
Frequently Asked Questions
What Materials Are Needed For Wire Hummingbird Feeder Bottles?
You need wire, glass or plastic bottles, hooks, and a feeder base. Use rust-resistant wire for durability. Choose bottles that hold nectar safely and are easy to clean.
How Do You Shape Wire For Hummingbird Feeders?
Use pliers to bend the wire into loops and hooks. Create a secure cage around the bottle. Ensure the wire holds the feeder firmly but allows easy removal for cleaning.
Can Wire Hummingbird Feeders Prevent Leaks?
Yes, properly shaped wire cages hold bottles securely, reducing spills. Ensure tight seals around feeding ports. Regularly check for damage or loose parts to maintain leak prevention.
How To Hang Wire Hummingbird Feeder Bottles Safely?
Hang feeders from sturdy hooks or branches. Use weather-resistant wire or chains. Position feeders in shaded areas to protect birds and nectar from heat.
Conclusion
Crafting wire hummingbird feeder bottles is fun and rewarding. You create a unique feeder that attracts beautiful hummingbirds. It’s simple, cost-effective, and adds charm to any garden. These feeders offer birds a lovely spot to visit. Enjoy watching them flutter and sip.
Plus, making these feeders allows creativity to shine. Gather your materials and start crafting today. You’ll soon enjoy the delightful sights and sounds of nature. Share this hobby with friends and family. Together, brighten up your gardens with these lovely feeders.
Enjoy the beauty and peace they bring.