If you love watching birds visit your feeder, you know how important it is to keep it steady and secure. A wobbly or easily tipped bird feeder can scare away your feathered friends and waste your birdseed.
But don’t worry—you can fix this problem quickly and affordably with cement. You’ll learn simple, step-by-step tips to firmly anchor your bird feeder using cement. By the end, you’ll have a strong, reliable setup that keeps your feeder in place no matter the weather or curious critters.
Ready to protect your bird feeder and enjoy peaceful birdwatching? Let’s get started!
Choosing The Right Bird Feeder
Choosing the right bird feeder is crucial when securing it with cement. The feeder you pick will affect how stable it becomes and how well it withstands weather and wildlife. You want a feeder that balances durability with attracting the birds you love to watch.
Materials That Work Best
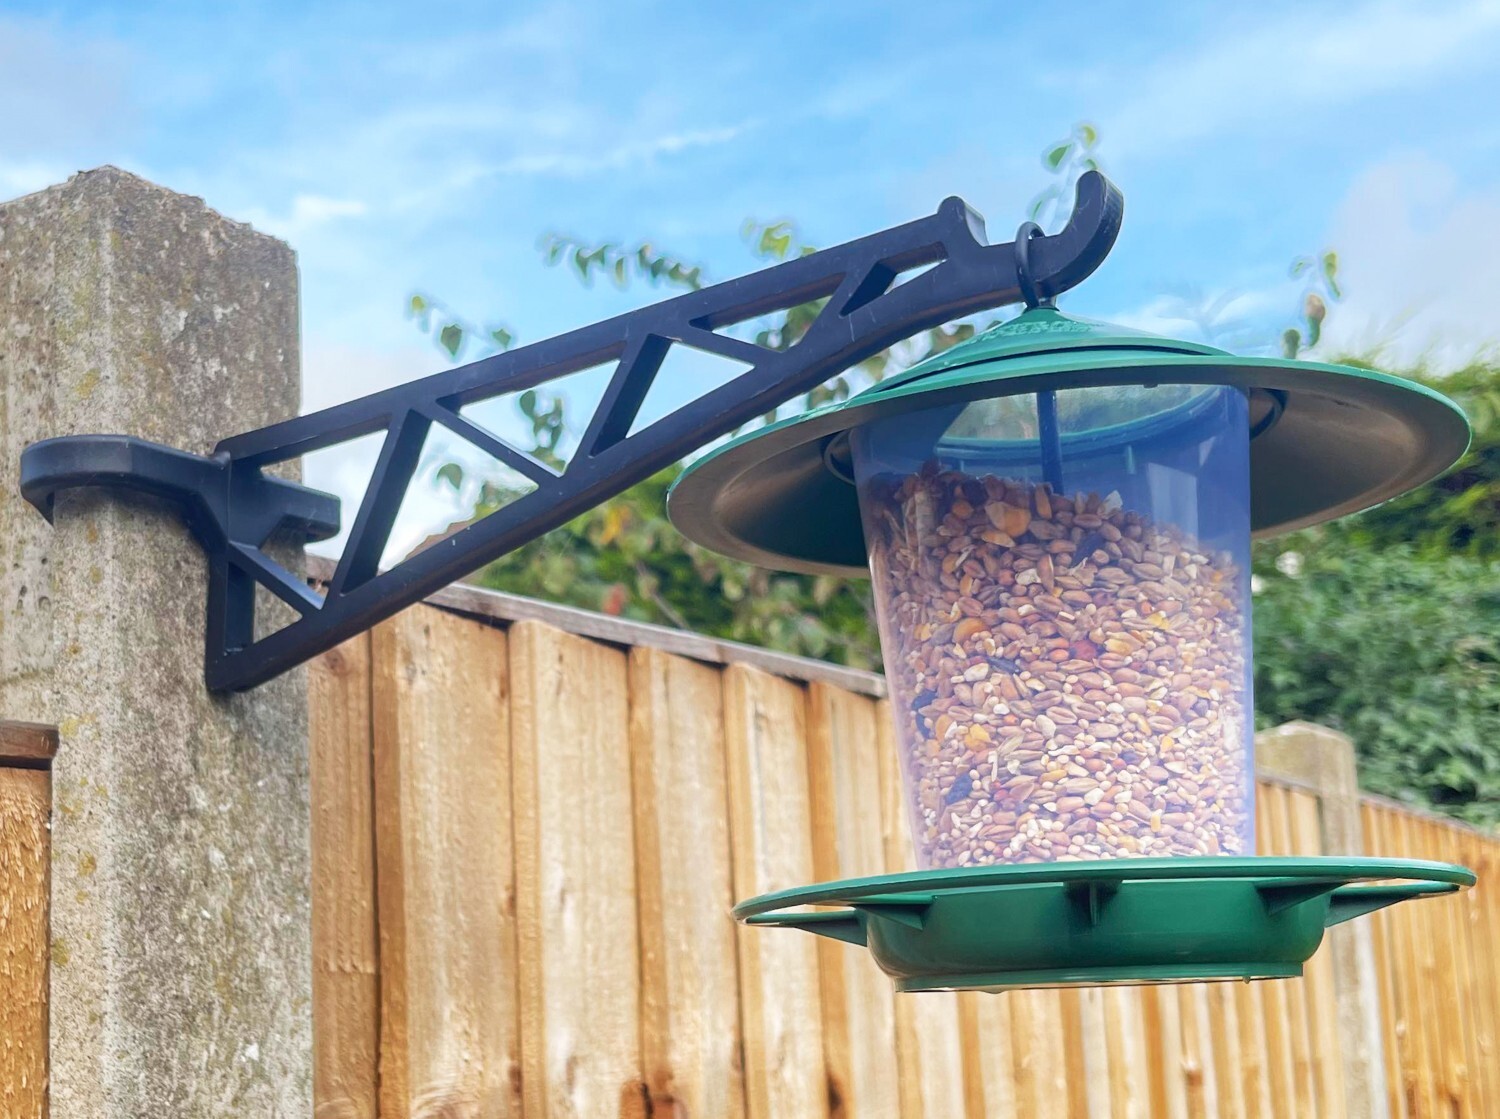
Think about feeders made from sturdy materials like metal, heavy-duty plastic, or wood treated for outdoor use. These materials hold up well when set in cement, providing a solid base that won’t easily tip over or break.
Metal feeders resist chewing from squirrels and other critters, while treated wood offers a natural look and good weight. Avoid flimsy plastic feeders—they may crack or shift when cemented, defeating your effort to secure them.
Size And Design Considerations
The size of your feeder affects how much cement you need and how stable the base will be. Larger feeders often require a wider cement base to prevent tipping, especially if they attract bigger birds.
Design also matters. Feeders with a narrow pole or small footprint can be tricky to cement securely. Look for designs with a broad base or flat bottom that will sit firmly in the cement without wobbling.
Have you noticed how some feeders sway dangerously in the wind? Choosing one with a balanced design can save you from frequent repairs and spills, letting you enjoy birdwatching without hassle.

Credit: www.amazon.co.uk
Selecting A Suitable Location
Choosing the right spot for your bird feeder is crucial before you secure it with cement. The location affects not only the birds’ safety but also your enjoyment while watching them. You want a place that balances protection and accessibility.
Avoiding Wind And Predators
Strong winds can topple your feeder, even if it’s cemented in place. Look for a spot shielded by trees or walls that block gusts but don’t trap debris or moisture.
Predators like cats and squirrels love easy access. Placing your feeder away from jump-off points like fences or low branches limits their chances of reaching the birds.
Have you noticed how birds avoid certain feeders? Often it’s due to nearby threats. You want your feeder to feel like a safe haven, not a hunting ground.
Ensuring Accessibility
You’ll need to refill and clean your feeder regularly. Choose a location that’s easy for you to reach without climbing awkwardly or risking injury.
Think about your viewing angle too. Placing the feeder near a window or patio lets you enjoy the birds up close while staying comfortable indoors.
Could a spot be convenient for you but inconvenient for birds? Keep pathways clear and avoid placing feeders near busy human traffic or noisy areas that scare birds away.
Preparing The Base For Cement
Preparing the base for cement is a crucial part of securing a bird feeder. A strong, stable foundation keeps the feeder safe and steady. It also helps the cement bond well with the surface. Proper preparation prevents cracks and shifting over time. This step ensures your bird feeder stays in place through wind and weather.
Start by making the surface clean and even. Gather all needed tools and materials before mixing the cement. These actions set up a smooth process and a durable result.
Cleaning And Leveling The Surface
Clear away dirt, leaves, and debris from the spot. Use a brush or broom to sweep the area well. Remove any loose soil or small stones that might cause unevenness.
Check the surface for bumps or dips. Level the area using sand or soil to create a flat base. Compact the ground by pressing it firmly with your hand or a tool. A flat surface helps the cement spread evenly and stick better.
Gathering Necessary Tools And Materials
Prepare these items before starting the cement work:
- Cement mix (ready-to-use or powder)
- Water for mixing
- A bucket or container for mixing cement
- A trowel or small shovel
- A brush or broom for cleaning
- Leveling tool or flat board
- Protective gloves and safety glasses
Having these tools handy saves time and helps you work safely. Mixing the cement properly is easier with the right equipment. This preparation leads to a strong, lasting base for your bird feeder.
Credit: www.outdoorguide.com
Mixing Cement Properly
Mixing cement properly is key to securing a bird feeder firmly. A strong mix holds the feeder steady against wind and weather. The right blend ensures the cement sets well and lasts long. Take care to prepare the cement with the correct materials and proportions. This avoids weak or crumbly results that might fail over time.
Choosing The Right Cement Type
Select a cement type suitable for outdoor use. Ordinary Portland cement works well for most bird feeder projects. Look for fast-setting or high-strength cement for better durability. Avoid cement mixes meant only for indoor or decorative use. These may not withstand rain or temperature changes. Waterproof or weather-resistant cement options provide extra protection.
Mixing Ratios And Consistency Tips
Follow the mixing ratios on the cement bag for best results. Typical ratios use three parts sand to one part cement. Add water slowly to reach a thick, paste-like consistency. The mix should be firm but spreadable, not runny or dry. Stir well to remove lumps and ensure even texture. Use clean tools and water to avoid contamination. Proper consistency helps the cement bond tightly around the feeder base.
Securing The Feeder With Cement
Securing your bird feeder with cement ensures it stays firmly in place, preventing it from tipping over during strong winds or visits from energetic animals. This method adds long-lasting stability and reduces the need for frequent adjustments. Let’s look at how you can position your feeder correctly and apply cement for the best results.
Positioning The Feeder
Choose a spot that is visible to you but also safe for birds. Ideally, pick an area away from heavy foot traffic to avoid disturbing the birds. The ground should be level to make cementing easier and more effective.
Think about accessibility when placing the feeder. You want to refill it without hassle but also ensure it’s not too close to shrubs or trees where predators might hide. A clear line of sight helps you enjoy watching your feathered visitors.
Applying Cement For Stability
Start by mixing the cement according to the package instructions, aiming for a consistency similar to thick oatmeal. Pour a small layer of cement at the base where the feeder pole will stand.
Set the feeder pole into the wet cement, making sure it’s perfectly vertical. Hold it steady for a few minutes, or use a support stick to keep it upright until the cement begins to set.
Allow the cement to cure fully, usually 24 to 48 hours, before attaching the feeder or filling it with birdseed. This curing time is crucial for maximum stability and will prevent the feeder from wobbling or leaning.

Credit: www.youtube.com
Curing And Drying Time
Understanding the curing and drying time of cement is crucial when securing your bird feeder. Proper curing ensures the cement reaches its full strength, making the feeder stable and safe for your feathered visitors. Rushing this process can lead to cracks or weak support, which defeats the purpose of your efforts.
Ideal Conditions For Cement Setting
Cement sets best under moderate temperatures, ideally between 50°F and 70°F (10°C to 21°C). Too hot, and the cement dries too quickly, causing cracks. Too cold, and the setting slows down, increasing the risk of weak bonding.
Humidity plays a key role as well. High humidity helps keep the cement moist during curing, preventing it from drying out too fast. If the air is dry, consider misting the cement occasionally to maintain moisture.
Windy conditions can speed up drying but often unevenly, which might weaken the structure. If you notice a breeze, protect the area with a tarp or shield until the cement cures fully.
How Long To Wait Before Use
After pouring and smoothing the cement, you generally need to wait at least 24 to 48 hours before handling the feeder base. This initial period allows the cement to harden enough to support some weight but not full stress.
For full strength, wait about 7 days before mounting or placing any heavy objects on your cement base. Cement continues to cure over time, reaching maximum durability after 28 days.
Patience here pays off. Rushing to attach your bird feeder too soon can cause cracks or instability. Have you ever tried to rush a DIY project only to fix it later? Taking the time now saves frustration later.
Maintaining Your Cemented Feeder
Maintaining your cemented bird feeder is essential to keep it sturdy and inviting for your feathered visitors. Over time, dirt, weather, and wear can affect both its appearance and stability. Taking a few moments regularly to care for your feeder will extend its life and ensure it remains a safe spot for birds.
Cleaning Without Damage
Cleaning a cemented feeder requires a gentle touch. Avoid harsh chemicals that can eat away at the cement or harm birds. Instead, use a soft brush and warm water to remove dirt and debris.
If you notice stubborn stains, mix a mild soap with water and gently scrub the area. Rinse thoroughly to ensure no residue remains. You might be surprised how much a simple cleaning refreshes the feeder’s look and keeps birds coming back.
Inspecting For Cracks Or Wear
Regularly check your cemented feeder for small cracks or signs of wear. Even tiny cracks can grow over time, compromising the feeder’s stability. Look closely around the base and edges where weather damage often begins.
If you find any cracks, consider filling them with a cement patch or waterproof sealant. This small effort can prevent larger repairs later and keep your feeder safe for birds. Have you noticed any changes in your feeder after harsh weather? Catching issues early makes all the difference.
Tips For Longevity And Safety
Securing a bird feeder with cement ensures it stays stable and safe for birds. Proper care extends its life and protects it from damage. Following smart tips helps keep your feeder strong and safe for a long time.
Weather Protection Techniques
Seal the cement base with a waterproof coating. It prevents water from soaking in and causing cracks. Use weather-resistant paint on wooden parts near the cement. Place the feeder in a spot shielded from strong winds. Consider adding a small roof or cover to protect from rain. Clean the feeder regularly to remove dirt and mold. Remove snow and ice buildup quickly during winter. These steps help the feeder last through all seasons.
Avoiding Common Mistakes
- Don’t pour cement directly on soft soil; use a firm base.
- Avoid mixing cement too thin; it weakens the hold.
- Don’t ignore curing time; let cement dry fully before use.
- Avoid placing the feeder near trees that drop sap or leaves.
- Do not overload the feeder with heavy seeds or decorations.
- Keep the area around the feeder clean to prevent pests.
Frequently Asked Questions
How Do I Secure A Bird Feeder With Cement?
To secure a bird feeder with cement, dig a hole and fill it with wet cement. Insert the pole or stand of the feeder into the cement. Ensure it’s level and let it dry for at least 24 hours. This method provides stability and prevents tipping.
What Type Of Cement Is Best For Bird Feeders?
Use quick-setting concrete mix for securing bird feeders. It’s easy to work with and sets rapidly. This type offers durability and strong support for outdoor conditions. Ensure you mix it with the right water ratio for optimal results.
How Deep Should The Cement Base Be?
A cement base should be at least 12 inches deep. This depth ensures stability and prevents tipping. It’s essential for areas with strong winds or uneven ground. Adjust depth according to the size and weight of the bird feeder.
Can I Remove The Feeder From Cement?
Yes, you can remove the feeder from cement by cutting the pole. Use a hacksaw or reciprocating saw for this task. It’s a permanent solution, so plan accordingly. Consider alternatives if you anticipate frequent relocation.
Conclusion
Securing a bird feeder with cement keeps it steady and safe. It stops the feeder from tipping in wind or by animals. The process is simple and uses common materials. Take time to mix and set the cement well. A strong base helps birds feed peacefully without disturbance.
Try this method to enjoy watching birds without worries. Your garden will stay neat and feeders last longer. Give it a try and see the difference yourself. Safe feeders mean happy birds around your home.