Is your spring loaded bird feeder stuck or not working right? It can be frustrating when your favorite feeder won’t open or close properly.
But don’t worry—you can fix it yourself with a few simple steps. In this guide, you’ll learn easy tricks to get your feeder back in perfect shape. Imagine watching birds gather again, all thanks to a quick repair you did.
Keep reading, and you’ll have your feeder working smoothly in no time.

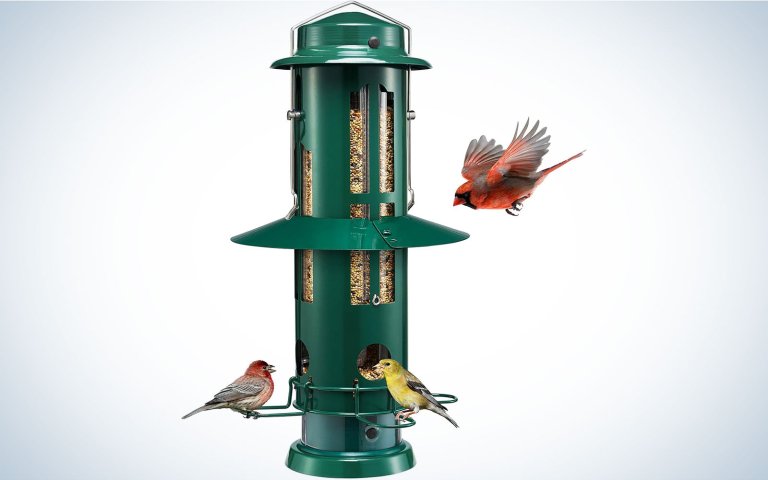
Credit: www.popsci.com
Common Issues With Spring Loaded Bird Feeders
Spring loaded bird feeders bring a lot of joy by making feeding birds interactive and fun. However, they can develop issues that stop them from working smoothly. Understanding these common problems helps you fix your feeder quickly and keep the birds coming back.
Spring Mechanism Problems
The spring inside the feeder can lose tension over time, making it less responsive. If the spring feels loose or doesn’t snap back properly, it may be stretched out or rusted.
Sometimes debris like dirt or old seed husks get stuck, blocking the spring’s movement. Cleaning the spring and applying a small amount of lubricant can often restore its function.
Have you checked if the spring is properly attached? A loose connection can cause the whole mechanism to fail.
Feeder Jamming Causes
Seed clumps or wet seed can cause the feeder to jam, preventing the spring from operating smoothly. Moisture is a common culprit that makes seeds stick together.
Another cause is misalignment of the feeder parts. If pieces shift due to wind or handling, the feeder can jam easily.
Regularly inspect and clean the feeder, and dry the seed before refilling. This simple habit can save you frustration and keep the feeder working flawlessly.
Wear And Tear Signs
Look for cracks, bends, or rust on metal parts. These signs indicate that the feeder is aging and may soon need replacement parts.
Plastic components can become brittle and break, especially if left in harsh weather conditions. Watch for discoloration or small breaks around the spring housing.
Have you noticed the feeder not closing properly or parts feeling loose? These are clear signs that wear is affecting its performance.
Tools And Materials Needed
Fixing a spring loaded bird feeder requires the right tools and materials to make the job easier and more effective. Having everything prepared before you start saves time and frustration. It also ensures you don’t miss small but important parts that can affect how well your feeder works.
Basic Repair Tools
Start with a small toolkit that includes screwdrivers, pliers, and needle-nose pliers. These help you remove screws, bend small metal parts, and handle delicate components.
A spring hook tool or tweezers can make handling the tiny spring easier, especially if it’s stuck or hard to reach. You might also want a small hammer or rubber mallet to gently tap parts back into place without damaging them.
Replacement Parts
Springs are the most common part that wear out or break in a spring loaded bird feeder. Keep a few different sizes on hand, since feeders vary in spring length and thickness.
Check the feeder’s hinges, screws, and locking mechanisms for wear. Having spare screws and small hinges ready means you won’t have to stop halfway through the repair.
Sometimes, you might need a new latch or clip to keep the feeder closed securely. These are easy to find online or at hardware stores, but knowing exactly what you need before you shop saves time.
Cleaning Supplies
Cleaning the feeder before repair is crucial. Dirt and old seed residue can hide problems and make reassembly tricky.
- Use a soft brush or old toothbrush to scrub corners and crevices.
- A mild soap solution works well to remove grime without damaging the feeder’s finish.
- Rinse thoroughly with water and dry completely to prevent rust or mold growth.
Have a clean cloth or paper towels ready to wipe parts during and after cleaning. A clean working environment helps you spot tiny parts that might otherwise get lost.
Step-by-step Repair Process
Repairing a spring loaded bird feeder can seem tricky, but breaking it down into clear steps makes the process manageable and even satisfying. You’ll gain a better understanding of how each part works, which helps prevent future issues. Let’s walk through the repair together, ensuring your feathered friends have a reliable feeding spot soon.
Disassembling The Feeder
Start by carefully taking apart your feeder to access the spring mechanism. Look for screws or clips holding the feeder together. Use the right tools to avoid damaging any parts, and keep track of where each piece belongs by laying them out systematically.
Have you noticed any parts that seem worn or out of place during this step? Identifying these early saves time later. Taking photos during disassembly can also guide you when putting everything back.
Cleaning The Components
Once disassembled, clean all parts thoroughly. Dirt and old seed residue often cause the spring to jam or lose tension. Use warm water and mild soap to scrub each piece, paying close attention to the spring and moving parts.
Dry everything completely before moving on. Moisture can lead to rust or mold, which will cause problems again. A clean feeder not only works better but also keeps birds healthier.
Fixing The Spring Mechanism
Check the spring for any signs of damage like stretching, rust, or breaks. If the spring is intact but stiff, apply a small amount of lubricant, like a silicone-based spray, to improve movement. Replace the spring if it’s broken or too worn out to function properly.
Test the spring action by pressing it a few times. Does it bounce back smoothly? If not, adjust the tension by carefully bending the spring coils closer together. Be gentle to avoid snapping it.
Reassembling The Feeder
After ensuring all parts are clean and the spring works well, start putting the feeder back together. Align each component as it was before, referring to your photos or notes. Tighten screws just enough to hold parts firmly without overdoing it and risking cracks.
Once assembled, test the feeder’s spring action again with the lid or seed door. Does it open and close easily? If you encounter resistance, check for misaligned parts or leftover debris. Your bird feeder is now ready for use and should work smoothly for seasons to come.
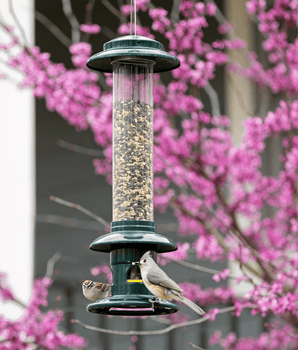
Credit: store.bromebirdcare.com
Preventive Maintenance Tips
Keeping your spring loaded bird feeder in top shape means less hassle and more bird visits. Preventive maintenance is about small, regular actions that stop problems before they start. It saves you time and money, and your feathered friends stay happy and healthy.
Regular Cleaning Routine
Dirt and old seeds can jam the spring mechanism quickly. Clean your feeder at least once every two weeks to keep it working smoothly. Use warm water and mild soap, and make sure to rinse thoroughly to avoid harming the birds.
Don’t forget to dry every part completely before reassembling. Moisture can cause rust or mold that damages the spring. Have you noticed how much cleaner feeders attract more birds? It’s true—clean feeders are simply more inviting.
Lubricating Moving Parts
Springs and hinges need occasional lubrication to avoid sticking or squeaking. Use a bird-safe lubricant like a silicone spray or vegetable oil. Apply a small amount and wipe off any excess to prevent attracting dirt.
Lubrication keeps the parts moving freely, which means fewer breakdowns. Have you checked if your feeder’s spring feels stiff? A quick oiling might fix it instantly.
Proper Placement For Longevity
Where you hang your feeder affects how long it lasts. Place it in a shaded area to protect the spring from extreme heat or freezing cold. Avoid spots where rain or snow soak the feeder regularly.
Strong winds can damage the spring mechanism, so choose a sheltered location. Think about how much time you spend fixing your feeder—could a better spot reduce that? Try moving it and observe any difference in wear and tear.
When To Replace Your Bird Feeder
Knowing when to replace your spring loaded bird feeder can save you time, money, and frustration. While some issues are easy to fix, others mean your feeder has reached the end of its life. Recognizing these moments helps you keep your feathered friends happy and your garden tidy.
Signs Of Irreparable Damage
Look closely for cracks or breaks in the spring mechanism or feeder body that can’t be securely fixed. Rust that eats through metal parts or causes the spring to lose tension is a common sign your feeder won’t work properly again.
If birds struggle to access food because the spring sticks or won’t close, it’s time to consider replacement. Small leaks or holes that let seeds spill out uncontrollably also indicate the feeder may no longer be functional.
Choosing A Durable Replacement
Pick a feeder made from materials like stainless steel, heavy-duty plastic, or powder-coated metal to withstand weather and wear. Check customer reviews focusing on durability and ease of cleaning—these details matter.
Think about your local bird species and their feeding habits. Some feeders suit small songbirds better, while others handle larger birds or squirrels. A well-chosen feeder reduces the chance of damage and improves your birdwatching experience.
Recycling Old Feeders
Before tossing your old feeder, find out if your local recycling center accepts its materials. Many plastic and metal feeders can be recycled, reducing waste and environmental impact.
If recycling isn’t an option, consider repurposing parts like hooks, springs, or containers for garden projects. Turning old feeders into planters or seed starters can give them a second life and keep your garden creative.
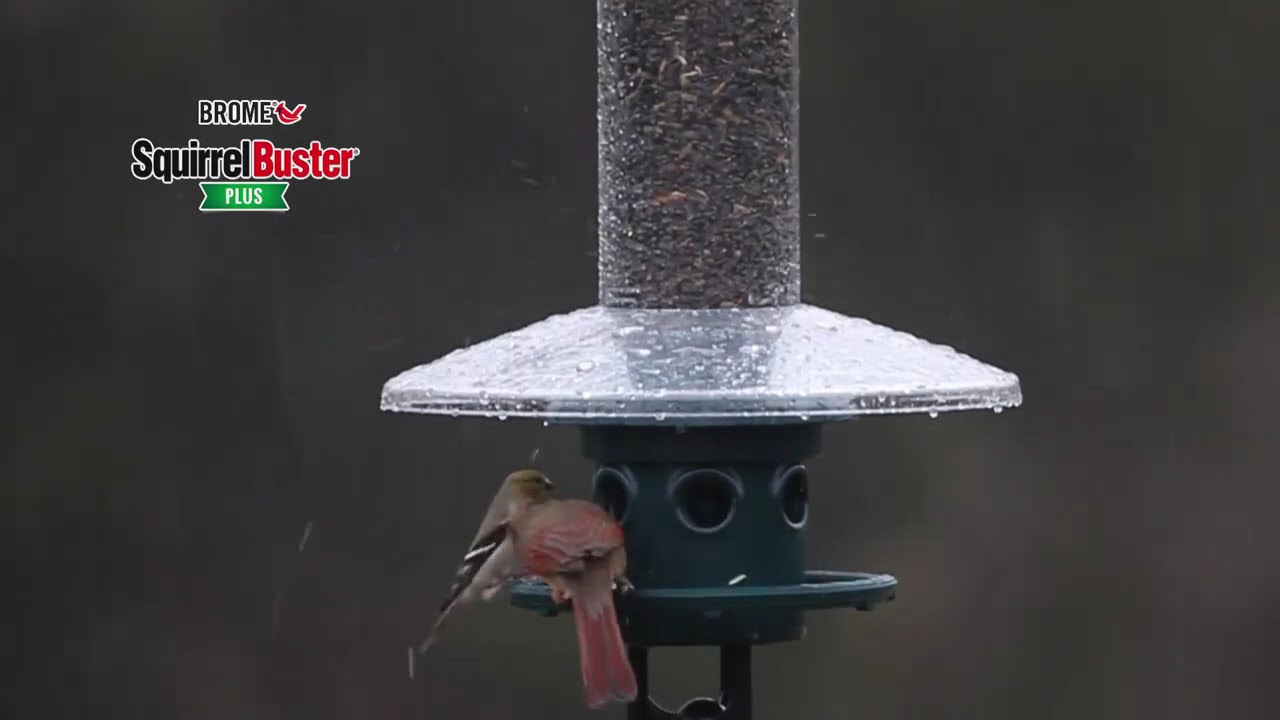
Credit: store.bromebirdcare.com
Frequently Asked Questions
How Do I Fix A Stuck Spring On My Bird Feeder?
To fix a stuck spring, first clean any debris around it. Apply a small amount of lubricant to loosen the spring. Gently move the spring back and forth to restore its motion. Avoid using excessive force to prevent damage.
Why Is My Spring-loaded Bird Feeder Not Closing?
The feeder may not close due to a dirty or damaged spring. Check for dirt, rust, or broken parts. Clean the mechanism thoroughly and replace any worn components to ensure proper closing action.
Can I Replace The Spring On A Bird Feeder Myself?
Yes, you can replace the spring by purchasing a compatible part. Remove the old spring carefully, then install the new one. Follow the feeder’s manual or online guides for proper installation to maintain functionality.
What Tools Do I Need To Repair A Spring-loaded Bird Feeder?
You typically need pliers, a screwdriver, and lubricant. These tools help remove and replace springs and clean the mechanism. Having a small brush for cleaning debris is also useful.
Conclusion
Fixing a spring-loaded bird feeder is simpler than it seems. Ensure all parts are clean and functioning. Check the springs and adjust if needed. Tighten any loose screws to secure parts. Test the feeder by filling it with seeds. Observe if birds can access the seeds easily.
A well-maintained feeder attracts more birds. Enjoy watching them visit your garden. Happy birdwatching! Remember, regular maintenance keeps feeders in good shape. Keep tools handy for quick repairs. Enjoy the beauty of nature right from your backyard. Your feathered friends will thank you.