Are you looking for a simple and creative way to attract colorful birds to your garden? Making a wire bird feeder is easier than you think, and it gives you the chance to enjoy nature up close.
Imagine watching your feathered friends visit every day, all because of a little DIY project you made yourself. In this guide, you’ll discover step-by-step how to build your own wire bird feeder that’s sturdy, stylish, and perfect for any backyard.
Keep reading to bring more life and joy to your outdoor space!
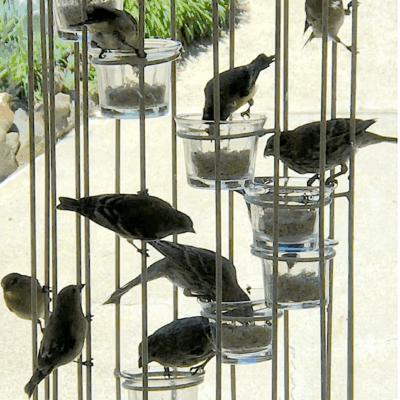
Credit: dengarden.com
Materials Needed
Gathering the right materials sets the foundation for making a wire bird feeder that lasts and works well. Choosing quality supplies can make your project smoother and your feeder more inviting to birds. Think about how each material affects durability, safety, and ease of use before you start.
Choosing The Right Wire
The wire you pick needs to be strong but flexible enough to shape easily. Galvanized steel wire is a popular choice because it resists rust and holds up outdoors. Avoid thin wires that bend too easily or get damaged by weather quickly.
Consider the thickness: a gauge between 16 and 18 is usually perfect. It’s thick enough to support the feeder’s weight but still manageable with basic tools. Have you tried bending wire that snaps or won’t hold shape? Picking the right gauge saves you from that frustration.
Additional Supplies
- Wire cutters:Essential for cleanly cutting wire without fraying.
- Pliers:Help twist and secure wire ends tightly.
- Protective gloves:Keep your hands safe from sharp wire edges.
- Birdseed:Choose seeds suited to the birds in your area to attract them effectively.
- Optional decorations:Small beads or natural materials can add personality but make sure they’re bird-safe.
Preparing these tools and materials ahead of time means you can focus on creativity instead of scrambling for supplies. What small supply do you think could make your feeder stand out? Sometimes, it’s the little touches that make the biggest difference.
Tools Required
Creating a wire bird feeder requires a few basic tools. These tools help you shape and secure the wire safely. Having the right tools makes the project easier and the results better. Prepare all tools before starting for a smooth building process.
Essential Hand Tools
- Wire cutters – to trim wire cleanly and accurately
- Needle-nose pliers – for bending and shaping wire
- Round-nose pliers – useful for making loops and curves
- Flat-nose pliers – to hold and flatten wire ends
- Measuring tape or ruler – for precise wire lengths
- Metal file – to smooth any sharp wire edges
Safety Gear
- Protective gloves – prevent cuts and scratches from wire
- Safety glasses – shield eyes from flying wire pieces
- Long sleeves – protect arms while handling wire
- Closed-toe shoes – safeguard feet from dropped tools or wire
Preparing The Wire
Preparing the wire is a crucial part of making a wire bird feeder. This step ensures the feeder has a strong and attractive structure. Proper preparation helps the feeder last longer outdoors. It also makes assembly easier and safer.
Measuring And Cutting
Start by measuring the wire carefully. Use a ruler or tape measure for accuracy. Mark the wire at the points where you need to cut. Cut the wire using wire cutters or strong scissors. Wear gloves to protect your hands from sharp edges. Cut the pieces slightly longer to allow for bending and shaping.
Shaping The Frame
Bend the wire gently to form the shape of the bird feeder. Use round-nose pliers for smooth curves. Create a base and sides that will hold birdseed securely. Make sure the frame is balanced and stable. Check the shape often to keep it even and neat. Twisting the wire ends tightly will hold the frame together. Avoid sharp points where birds might get hurt.

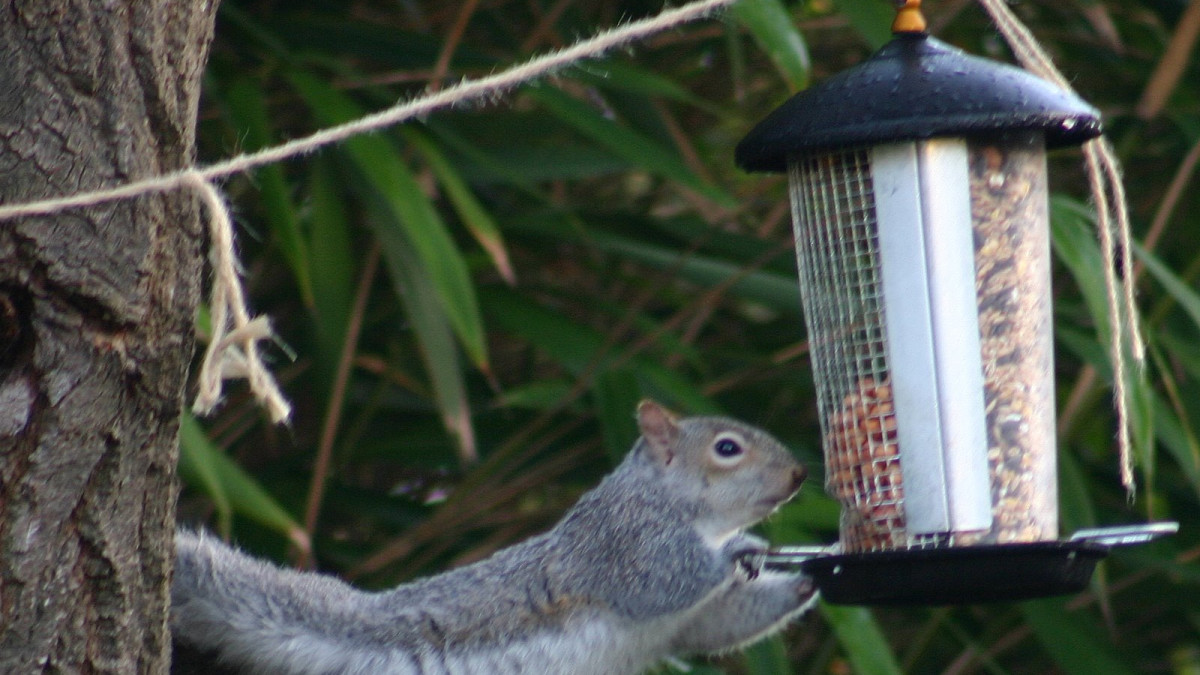
Credit: duncraft.com
Assembling The Feeder
Assembling the wire bird feeder brings your project to life. This part transforms simple wire into a cozy feeding spot for birds. Each step builds on the last, creating a sturdy and attractive feeder. Focus on neat work to ensure durability and safety for visiting birds.
Creating The Base
Start by shaping the base from a square or circular wire frame. Use thicker wire for strength. Wrap thinner wire tightly around the frame to form a flat surface. Make sure the base is stable and even. This platform will hold the birdseed securely.
Forming The Walls
Bend vertical wires upward from the base edges. Space them evenly to create a cage-like shape. Connect the vertical wires by wrapping horizontal wires around them. Keep the gaps small to prevent seed spillage and bird escape. Make sure the walls are firm and straight.
Adding A Hanging Mechanism
Attach a loop or hook at the top for hanging. Use strong wire to form a secure loop. Twist the wire ends tightly to avoid loosening. The hanging mechanism should support the feeder’s full weight. Check stability before filling the feeder with seeds.
Finishing Touches
Finishing touches complete your wire bird feeder and make it safe and durable. These final steps protect the feeder and ensure birds can use it comfortably. Taking time on these details improves the feeder’s look and lifespan.
Smoothing Sharp Edges
Wire ends can be sharp and dangerous for birds and people. Use a metal file or sandpaper to smooth all cut edges. Check every corner and bend carefully to avoid snags. This makes the feeder safer and more pleasant for birds to perch on.
Wear gloves to protect your hands while filing. Take your time and remove any rough spots until the surface feels smooth. This step prevents injuries and keeps your feeder looking neat.
Applying Protective Coating
Apply a clear spray paint or rust-resistant coating to protect the wire from weather. This coating helps the feeder last longer outside without rusting or fading. Choose a non-toxic product safe for animals.
Spray in a well-ventilated area and cover all wire surfaces evenly. Let the coating dry completely before hanging the feeder. This layer shields the wire and keeps your bird feeder looking fresh season after season.
Filling And Hanging
Filling and hanging your wire bird feeder is an important final step. This brings birds right to your yard. Proper filling and placement ensure birds find food easily and feel safe. Let’s explore how to choose the best birdseed and place the feeder perfectly.
Choosing Birdseed
Choose seeds that attract local birds. Sunflower seeds work well for many species. Mixed seeds offer variety for different birds. Avoid cheap mixes with many filler seeds. These fill the feeder but don’t attract birds.
- Black oil sunflower seeds are popular and nutritious.
- Nyjer seed attracts finches and small birds.
- Milo and cracked corn suit larger birds like doves.
Keep seeds dry and fresh to avoid mold. Fill the feeder just enough to prevent waste. Birds prefer fresh, clean food every day.
Best Placement For The Feeder
Place the feeder where birds feel safe. Near trees or bushes gives cover from predators. Avoid spots too close to windows to prevent collisions. Choose a place easy for you to watch and refill.
- Hang the feeder 5 to 6 feet above the ground.
- Keep it away from busy human paths or pets.
- Make sure it is visible to birds flying by.
Sunlight helps keep seeds dry and prevents mold. A shaded spot can protect birds from extreme heat. Check the feeder daily to clean and refill as needed.
Maintaining The Feeder
Maintaining your wire bird feeder keeps birds safe and happy. A clean feeder prevents disease and attracts more visitors. Regular care extends the feeder’s life and keeps it looking nice.
Regular Cleaning
Clean the feeder every two weeks. Use warm water and mild soap. Rinse well to remove soap residue. Let it dry completely before refilling. Remove old seeds and debris each time. Check for rust or damage during cleaning.
Seasonal Care Tips
In winter, clear snow and ice from the feeder. Use a brush to remove stubborn ice. In summer, rinse more often to stop mold growth. Store the feeder indoors during storms or harsh weather. Inspect it for wear and tear each season.
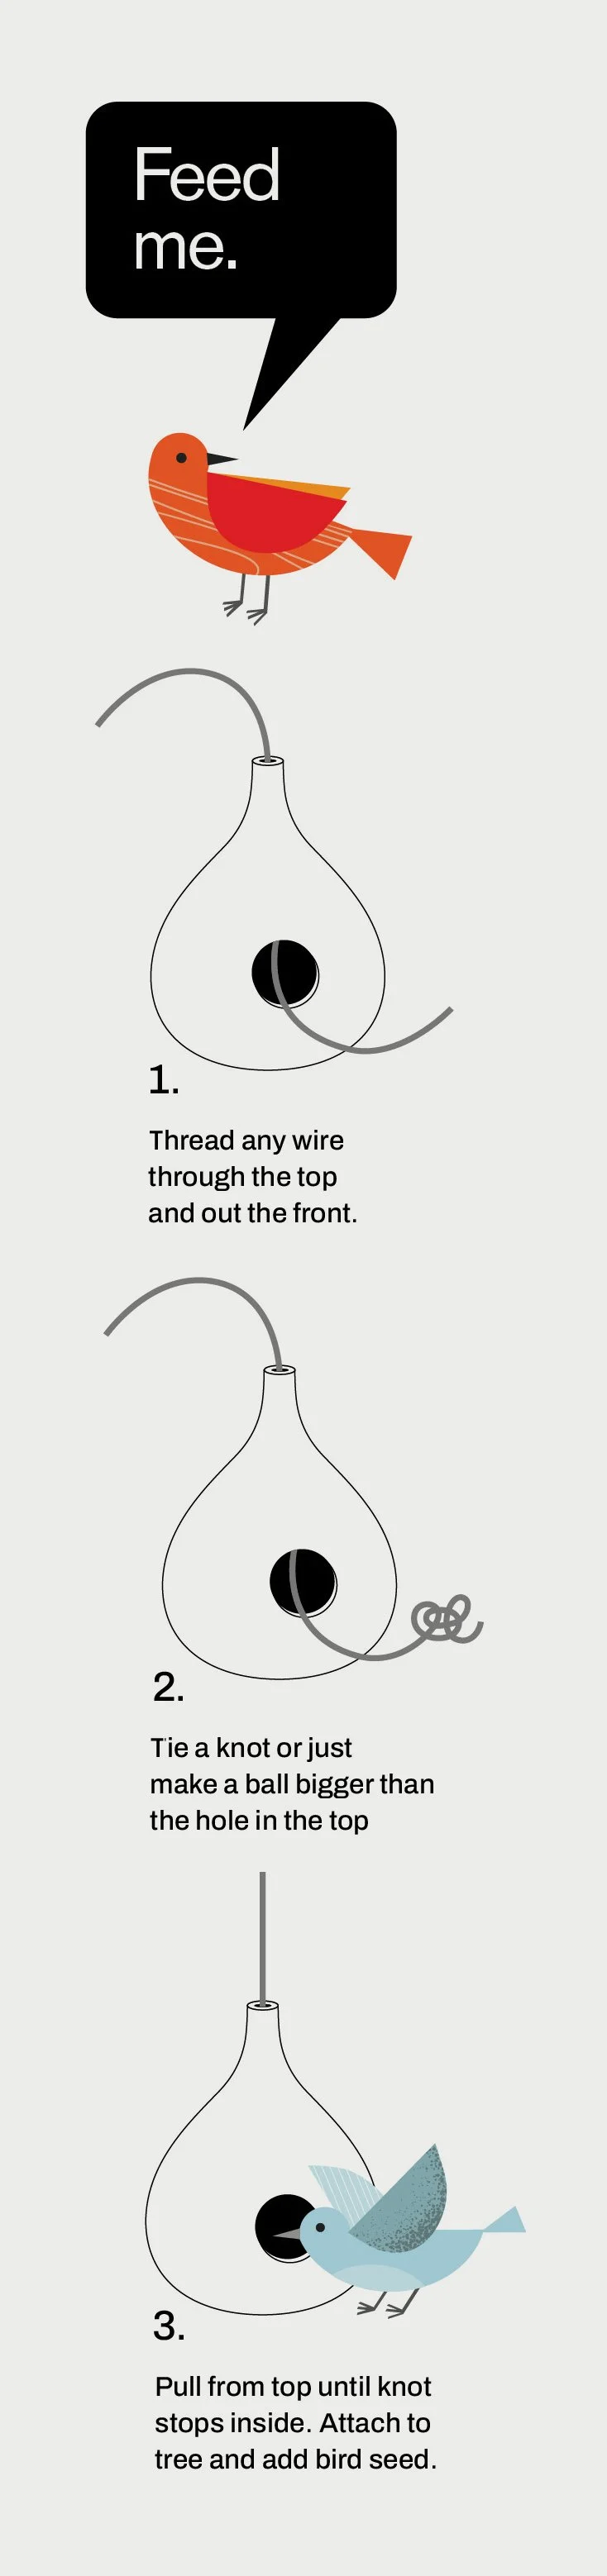
Credit: www.bobdinetz.com
Frequently Asked Questions
What Materials Do I Need For A Wire Bird Feeder?
To make a wire bird feeder, gather wire mesh, wire cutters, and pliers. You’ll also need a hook or chain for hanging. Optional materials include a tray for seeds and decorative elements like beads or bells. Ensure all materials are bird-safe and weather-resistant.
How Do I Shape The Wire Mesh?
Start by cutting the wire mesh to your desired size. Use pliers to form a cylinder or any shape you prefer. Ensure edges are smooth to avoid injuries. Secure the shape using additional wire or ties. The mesh size should be small enough to hold seeds but allow birds to access them.
What Type Of Bird Seed Should I Use?
Choose bird seed based on the birds you want to attract. Sunflower seeds are popular among many species. Mixed seeds offer variety and attract different birds. Ensure the seeds are fresh and free from mold. Avoid using processed or flavored seeds that may harm birds.
How Do I Hang The Bird Feeder Securely?
Use a sturdy hook or chain to hang your feeder. Ensure it’s attached to a strong branch or beam. Avoid placing it too close to windows or walls to prevent bird collisions. Check the feeder regularly to ensure it’s secure and refill it as needed.
Conclusion
Making a wire bird feeder is simple and fun. You only need a few materials and some patience. Birds will enjoy visiting your yard for food. Watching them can bring joy and calm. Try different seeds to see which birds come.
Keep your feeder clean for healthy birds. This project helps nature and teaches about wildlife. Start today and enjoy the beauty of birds close by.