If you love watching birds visit your garden, hanging a bird feeder is one of the best ways to attract them. But how do you hang a bird feeder securely and safely?
Using wire is a simple and effective method that you can easily master. In this guide, you’ll learn step-by-step how to hang a bird feeder with wire so it stays put, looks great, and invites more feathered friends to your outdoor space.
Keep reading—you’re just moments away from creating a perfect spot for your favorite birds to enjoy!
Choosing The Right Bird Feeder
Choosing the right bird feeder is key to attracting the birds you want and making sure your feeder lasts through all kinds of weather. The right feeder can make your backyard bird-watching experience more enjoyable and easier to maintain. Let’s look at what you need to consider before hanging a bird feeder with wire.
Types Of Bird Feeders
There are several types of bird feeders, each designed to attract different bird species.
- Tube Feeders:Great for small songbirds like finches and chickadees. They have multiple feeding ports and are easy to refill.
- Squirrel-Proof Feeders:Designed with mechanisms to keep pesky squirrels away, ensuring birds get the food.
- Platform Feeders:Open trays that attract a variety of birds but also invite unwanted visitors like squirrels and larger birds.
- Hopper Feeders:Provide shelter for the seeds and can hold a large quantity, ideal for areas with many birds.
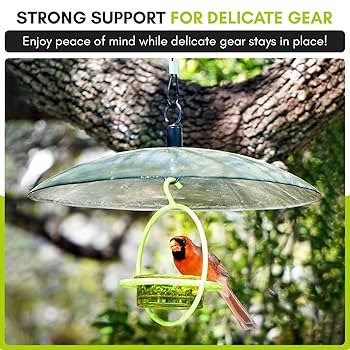
Think about the birds you want to attract. Are you hoping to see bright cardinals or small sparrows? Your choice of feeder affects which birds will visit.
Material And Durability
Bird feeders come in materials like plastic, metal, and wood. Each has pros and cons you should weigh.
- Plastic:Lightweight and affordable but can crack or fade quickly under harsh sun.
- Metal:Durable and weather-resistant, but may rust if not coated properly.
- Wood:Looks natural and blends well with the environment but requires regular maintenance to prevent rot.
From my experience, a metal feeder with a powder-coated finish offers the best balance between durability and ease of cleaning. What kind of weather does your area experience most? This will help you decide the best material.
Size And Capacity
The size of your feeder affects how often you need to refill it and how many birds can feed at once.
- Small feeders are perfect if you want to attract a few birds and don’t mind refilling often.
- Larger feeders work well if you have many visitors or want to spend less time refilling.
Think about your schedule. Do you have time to refill daily, or do you prefer something that lasts a week? Also, consider the space where you’ll hang the feeder—too large a feeder in a small space can be cumbersome.
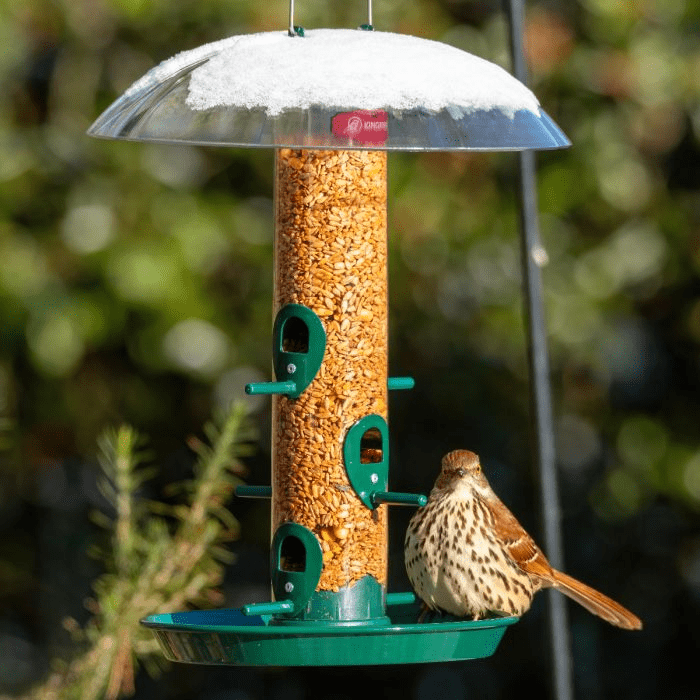
Credit: www.wildbirdsuets.com
Selecting The Wire
Selecting the right wire to hang your bird feeder is more important than you might think. The wire needs to support the feeder’s weight and withstand weather conditions without rusting or snapping. Choosing wisely will save you from frequent repairs and keep your feathered visitors safe.
Best Wire Materials
Look for wire materials that resist rust and corrosion. Stainless steel wire is a top choice because it stays strong and looks good over time. Galvanized steel wire also works well if you want something durable but more budget-friendly.
Avoid using plain iron wire or thin copper wire; they tend to rust or weaken quickly. If you prefer a natural look, coated wires can blend into tree branches while still providing strength. Have you checked what type of wire your local garden store carries?
Wire Thickness And Strength
The thickness of the wire directly affects its strength. Thin wire might seem easier to handle but can snap under the weight of a loaded feeder or during strong winds. Aim for wire that is at least 16 to 18 gauge for most bird feeders.
Thicker wire, like 14 gauge, works well for heavier feeders or if you want extra durability. But keep in mind, very thick wire may be harder to twist and secure properly. Think about how much weight your feeder will carry and choose accordingly.
Length Considerations
Buy enough wire to hang your feeder at the right height and distance from trees or walls. It’s better to have a little extra than to come up short and struggle with a tight fit. Usually, 3 to 6 feet of wire is enough for most setups.
Remember, longer wire can sway more in the wind, which might bother some birds. You might want to test different lengths to see what works best in your garden. What height do you think attracts the most birds in your area?
Finding The Perfect Spot
Choosing the right spot for your bird feeder is more important than you might think. The location affects how often birds visit and how safe they feel while eating. Let’s look at some key factors that will help you find the perfect place to hang your feeder with wire.
Ideal Height And Location
Hang your bird feeder at a height between 5 and 6 feet above the ground. This height keeps it visible to birds but out of easy reach for small children or pets. Also, pick a spot near trees or shrubs to provide birds with quick shelter if they sense danger.
Think about the sunlight and wind exposure. A spot that gets morning sun but is shaded during the hottest part of the day keeps seeds fresh longer. Avoid placing the feeder too close to windows to prevent bird collisions.
Safety From Predators
Predators like cats and squirrels can scare away birds or harm them. Make sure the feeder is at least 10 feet away from places where cats can hide or pounce. Use smooth, slippery poles or hang the feeder on a wire stretched tightly between two points to keep squirrels at bay.
Consider adding baffles or guards above or below the feeder to block access. These simple additions can make a big difference in keeping your feathered guests safe and comfortable.
Accessibility For Birds
Birds need space to land and take off easily. Ensure there is a clear area around the feeder without too many obstacles like thick branches or wires. This allows birds to feel safe and reduces the risk of injury.
Check if the feeder is visible from a distance. Bright colors or a well-placed feeder can attract more birds. Have you noticed how some feeders seem to draw bigger crowds? Location plays a huge role in that.
Preparing The Feeder For Hanging
Before hanging your bird feeder, taking the time to prepare it properly ensures safety for the birds and longevity for your feeder. The preparation includes adding the right attachments, securing the wire firmly, and making sure everything stays stable once hung. These steps are simple but crucial to keep your feeder hanging securely and attract feathered friends without any hassle.
Attaching Hooks Or Loops
Start by identifying where your feeder’s hanging points are. Most feeders have built-in loops or eyelets, but if yours doesn’t, you’ll need to add sturdy hooks or metal loops.
Choose hooks made of rust-resistant materials like stainless steel. Screw them firmly into the top or designated hanging spots of the feeder.
Make sure these hooks or loops can support the feeder’s weight when filled. A shaky hook can mean a fallen feeder—and frustrated birds.
Securing The Wire
Pick a strong wire, such as galvanized steel or coated wire, to prevent rust and snapping. Cut a length that allows you to hang the feeder at your desired height, with extra for twisting and securing.
Thread the wire through the hooks or loops and twist the ends tightly to form a secure loop for hanging. Double twisting the wire adds extra strength.
Don’t forget to use pliers to press the twisted wire ends flat and tuck them in neatly. This avoids sharp edges that could hurt your hands or the birds.
Checking Stability
After your feeder is wired up, hold it up and give it a gentle shake. Does it wobble or hang unevenly? If yes, adjust the wire length or reposition the hooks to balance the feeder.
Test the wire’s grip by pulling lightly in different directions. It should feel firm and not slip or loosen.
Remember, a stable feeder means birds can feed without disturbance, and you save yourself the trouble of constant rehanging.
Step-by-step Hanging Process
Hanging a bird feeder with wire is simple once you know the right steps. The process ensures your feeder stays secure and attracts birds safely. Let’s look at how to do this clearly and effectively.
Measuring And Cutting The Wire
Start by deciding where you want your bird feeder to hang. Measure the distance from that spot to the feeder’s hanging point. Add a few extra inches to your measurement to allow for tying knots and adjustments.
Use sturdy, rust-resistant wire to ensure durability outdoors. Cut the wire carefully with wire cutters, making sure the ends are clean and not frayed. Have you considered how much weight your feeder holds? That helps in choosing the right wire thickness.
Tying Secure Knots
Strong knots keep your feeder safe from falling. Begin by creating a loop at one end of the wire and twist it tightly around itself. This loop will be the main hanging point.
Use a double or figure-eight knot to secure the wire around the feeder’s hook or handle. Pull the knots tight and test their strength by gently tugging. If the knot slips, re-tie it firmly—loose knots are the common reason feeders fall.
Mounting The Feeder
Attach the wire loop to your chosen hanging spot, like a tree branch or hook. Make sure the spot is stable and can hold the feeder’s weight, even with birds landing on it. Check that the feeder hangs evenly to prevent spills.
After hanging, watch the feeder for a few days. Notice if the wire or knots need adjustment, especially after windy weather. Have you thought about how the feeder’s position affects bird visits? Sometimes moving it just a little can make a big difference.
Maintaining The Setup
Maintaining your bird feeder setup ensures birds stay safe and healthy. A well-kept feeder attracts more visitors and lasts longer. Regular care prevents damage and keeps the feeding area clean.
Regular Cleaning Tips
Clean the bird feeder every two weeks. Use warm water and mild soap. Rinse thoroughly to remove soap residue. Avoid harsh chemicals that can harm birds. Dry the feeder completely before refilling it.
Remove old seeds to prevent mold. Clean feeding ports and trays carefully. Use a brush to reach tight spots. Keeping the feeder clean reduces disease risk for birds.
Wire Inspection And Replacement
Check the wire regularly for rust or wear. Rust weakens the wire, risking feeder drops. Look for frayed or broken strands. Replace damaged wire immediately to avoid accidents.
Choose sturdy, weather-resistant wire for replacements. Stainless steel or coated wire lasts longer. Secure knots tightly to keep the feeder stable. Proper wire care ensures a safe feeding spot.
Seasonal Adjustments
Adjust your setup with changing seasons. In winter, place the feeder where it is sheltered from wind. In summer, avoid direct sunlight to keep seeds fresh. Move the feeder if birds avoid the spot.
Consider changing seed types by season. Offer high-energy seeds in cold months. Remove feeders during nesting season to avoid disturbing birds. Seasonal care keeps your setup effective year-round.
Troubleshooting Common Issues
Hanging a bird feeder with wire is simple, but some common problems can arise. These issues might stop birds from visiting or cause damage to the feeder. Fixing these problems ensures a safe, inviting space for birds.
Feeder Swinging Too Much
A feeder that swings too much can scare birds away. Strong winds or loose wire cause this problem. Try these tips to stop the swinging:
- Tighten the wire to reduce movement.
- Add a weight below the feeder to keep it steady.
- Use a bungee cord or spring to absorb motion.
- Place the feeder near a wall or tree for wind protection.
Wire Rusting Or Weakening
Wire exposed to rain and sun can rust or weaken. Rusty wire may break and drop the feeder. Use these solutions:
- Choose galvanized or stainless steel wire for durability.
- Check the wire regularly for signs of rust or wear.
- Replace damaged wire immediately to avoid accidents.
- Apply a weatherproof coating to protect the wire.
Birds Avoiding The Feeder
Sometimes birds ignore the feeder, even if it is hung properly. This can happen due to location or feeder condition. Try these ideas:
- Place the feeder in a quiet, safe spot away from predators.
- Keep the feeder clean to attract more birds.
- Use fresh birdseed suitable for local birds.
- Avoid moving the feeder too often to give birds time to find it.
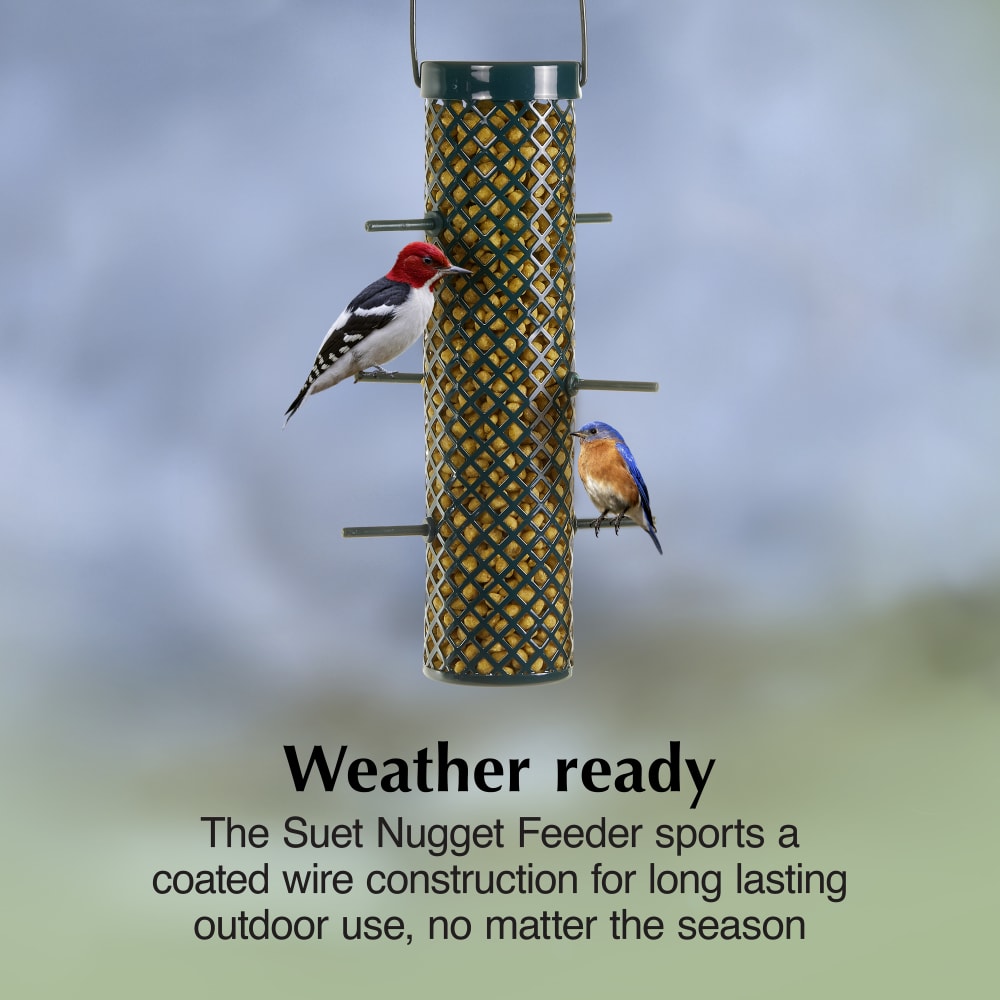
Credit: www.kingsyard.com

Credit: www.amazon.ca
Frequently Asked Questions
How Do I Hang A Bird Feeder With Wire Safely?
Use sturdy wire and secure knots to hang the feeder. Ensure the wire is strong enough to hold the feeder’s weight. Attach it to a stable branch or hook to prevent swinging and falling.
What Type Of Wire Is Best For Bird Feeders?
Galvanized or stainless steel wire is ideal. These types resist rust and withstand outdoor weather. Avoid thin or weak wire to ensure durability and safety for birds.
How High Should I Hang A Bird Feeder With Wire?
Hang the feeder 5 to 6 feet above ground. This height keeps birds safe from predators. It also makes refilling and cleaning easier for you.
Can I Use Wire To Hang Any Bird Feeder?
Yes, wire suits most feeders like tube, hopper, or platform types. Ensure the wire supports the feeder’s weight. Adjust length for stability and bird access.
Conclusion
Hanging a bird feeder with wire is simple and rewarding. Choose strong wire. Ensure it’s sturdy enough for the feeder’s weight. Secure it tightly to prevent slipping. Consider the height for easy refilling. Watch as birds enjoy the feast. This helps them, especially in colder months.
Keep the feeder clean to attract more birds. Enjoy the peace they bring to your yard. Birds add charm and life to your space. With these steps, your feeder is ready. Happy bird watching!