
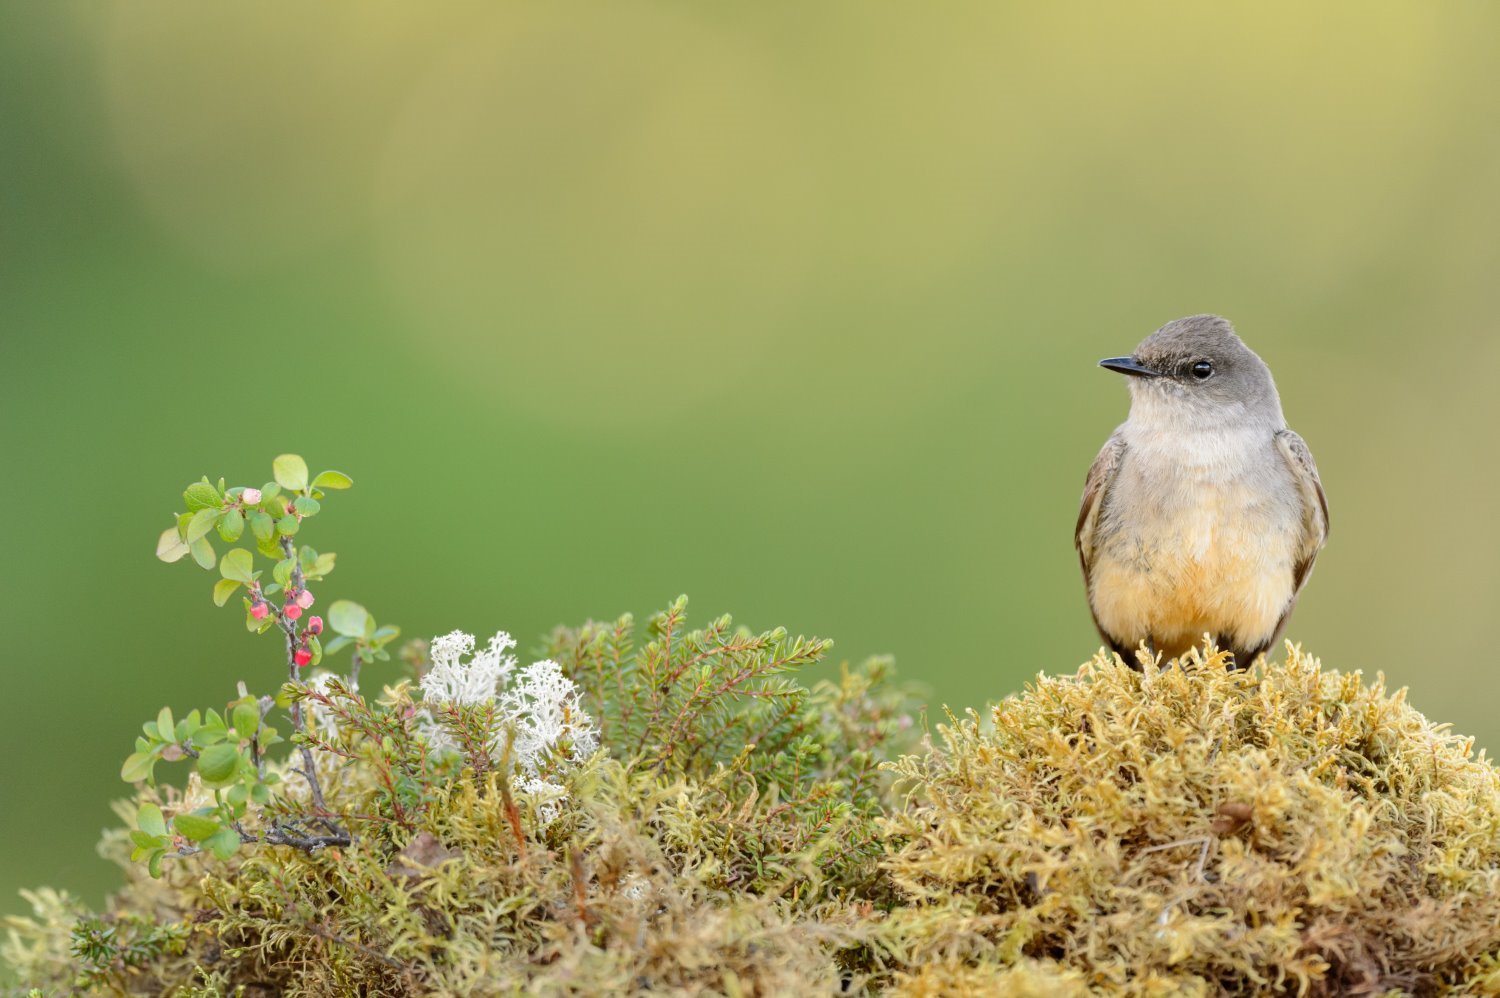
Have you ever wanted to capture the perfect shot of a bird in flight or perched on a branch? Bird photography can be both exciting and rewarding, but it also comes with its own set of challenges.
Imagine freezing that beautiful moment when a bird spreads its wings or sings its song—how amazing would that be? In this guide, you’ll discover simple tips and tricks that make photographing birds easier and more enjoyable. Whether you’re a beginner or looking to improve your skills, this article is here to help you get stunning bird photos every time.
Ready to take your bird photography to the next level? Let’s dive in!
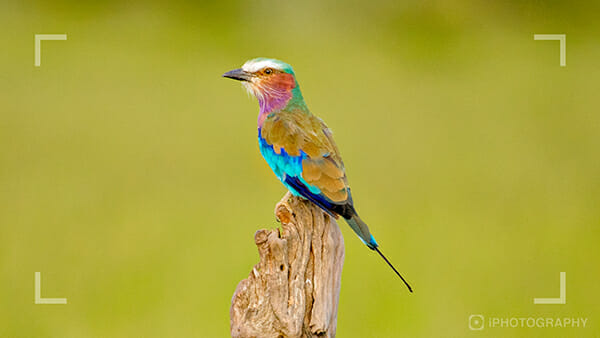
Credit: www.iphotography.com
Choosing The Right Gear
Choosing the right gear is crucial for capturing stunning bird photographs. Your equipment impacts not only image quality but also how easily you can track and shoot fast-moving birds. The best gear balances performance, portability, and your budget to help you get closer to nature’s most elusive subjects.
Best Cameras For Bird Photography
You want a camera with fast autofocus and a high frame rate to catch birds in action. Mirrorless cameras have become popular because they offer quick shooting speeds and excellent image quality. Models like the Sony A7 IV or Canon EOS R6 provide sharp images and can handle challenging light conditions.
If you prefer DSLR, the Nikon D500 or Canon 7D Mark II are solid choices with rugged builds and reliable autofocus systems. Consider cameras with good battery life since bird photography sessions can be long and remote. Ask yourself: does your camera let you react quickly when a bird suddenly appears?
Essential Lenses And Accessories
A telephoto lens with at least 300mm focal length is a must. It lets you photograph birds without disturbing them. Lenses with image stabilization help reduce blur caused by hand movement, especially when shooting handheld.
- 300mm f/4 for lightweight and sharp images
- 100-400mm zoom for flexibility across different distances
- 1.4x or 2x teleconverters to extend reach without changing lenses
Don’t forget accessories like extra memory cards and spare batteries—they can make or break your day. A comfortable camera strap can save your neck during long waits. What gear will help you stay ready when the perfect shot appears?
Tripods And Stabilizers
Steady shots are key for sharp bird photos, especially with long lenses. A sturdy tripod provides stability and lets you compose shots patiently. Look for tripods with adjustable height and quick-release plates for easy setup.
In some cases, a monopod offers a good balance between mobility and support. Gimbal heads allow smooth tracking of birds in flight. Think about the terrain you’ll be shooting on—will your tripod hold steady on uneven ground?
Mastering Camera Settings
Adjusting shutter speed and aperture helps capture sharp bird images in motion. Choosing the right ISO balances light and detail for clear photos. Understanding focus modes ensures birds stay crisp and well-defined in your shots.
Mastering camera settings is crucial for capturing stunning bird photography. The right settings can make the difference between a blurry mess and a sharp, captivating image. Let’s dive into the essential elements of camera settings to enhance your bird photography skills.Optimal Shutter Speeds
Birds are quick and unpredictable. To freeze their movement in time, you need fast shutter speeds. Aim for at least 1/1000th of a second. In my experience, using a shutter speed of 1/2000th of a second works wonders when capturing birds in flight. It ensures the wings are crisp, and the motion is perfectly frozen. Have you ever noticed how some photos capture every feather in detail? That’s the magic of the right shutter speed.Aperture And Depth Of Field
Aperture controls the depth of field, which is crucial for isolating birds from their backgrounds. A wider aperture (lower f-stop number) creates a beautiful blur behind your subject. It helps the bird stand out, drawing the viewer’s attention to the intricate details of its feathers and colors. On a bright day, setting your aperture to f/5.6 or f/8 can provide a sharp bird and a softly blurred background. This setting transforms an ordinary scene into a professional-looking portrait. Which bird would you want to see in this kind of detail?Iso And Noise Control
ISO affects the camera’s sensitivity to light. A higher ISO can brighten a scene but also introduce noise, which can ruin your shot. Balancing ISO with the other settings is key to maintaining image quality. During an overcast day, I often push my ISO to 800 or 1600. This setting allows for a faster shutter speed without sacrificing too much image quality. Remember, a little noise is preferable to a blurry image. What would you rather have—a slightly grainy photo or a missed moment? By mastering these camera settings, you can capture breathtaking bird photos that showcase the beauty and wonder of our feathered friends. Adjust, experiment, and shoot with confidence. Your next great shot is just a setting away.Bird Behavior And Habitat
Understanding bird behavior and habitat is key to capturing stunning bird photographs. Birds act differently depending on their species, environment, and time of day. Observing these patterns helps you anticipate their movements and positions, making your shots more natural and striking.
Identifying Common Species
Start by learning to recognize the birds you want to photograph. Notice their size, color, and distinctive markings. Carry a small field guide or use an app to help identify species quickly in the wild.
Knowing species helps you predict their behavior. For example, woodpeckers often cling to tree trunks, while waterfowl stay near ponds or lakes. This knowledge directs where you should focus your camera and how to approach them without causing disturbance.
Reading Bird Movements
Birds communicate a lot through their movements. Quick head turns or sudden flights may signal alertness or danger nearby. Watch for these cues to prepare your camera or change your position.
Some birds follow daily routines, such as feeding at dawn or roosting at dusk. Tracking these habits increases your chances of capturing dynamic moments. Have you noticed how a bird’s posture changes just before it takes off? Anticipating that can make all the difference in timing your shot perfectly.
Finding Ideal Locations
Birds thrive in specific habitats, like wetlands, forests, or open fields. Research local parks, nature reserves, or even your backyard to find spots where birds gather. Early mornings are often the best time to visit these locations.
Look for signs of bird activity such as nests, feeding grounds, or perching spots. Sometimes, just sitting quietly in one place invites birds to come closer. Have you ever been surprised by a bird landing just inches from your camera? Patience in the right habitat often rewards you with unique shots.

Credit: digital-photography-school.com
Techniques For Sharp Shots
Capturing sharp bird photos takes more than just pointing and shooting. It requires specific techniques that help keep the subject clear and in focus. Sharp images show the fine details of feathers and eyes. Use the following methods to improve image clarity and freeze movement.
Focusing Strategies
Select autofocus points directly on the bird’s eye. This keeps the most important part sharp. Use continuous autofocus mode to adjust focus as the bird moves. Avoid using too many focus points at once. Single-point autofocus offers better control and precision. Manually pre-focus on a spot if the bird often lands there.
Using Burst Mode
Burst mode captures multiple photos in quick succession. This increases chances of getting a sharp shot. Birds move fast and unpredictably. Taking many shots helps catch clear moments. Keep bursts short to avoid memory overload. Review images later to pick the best sharp ones.
Tracking Flying Birds
Tracking birds in flight demands steady hands and smooth movement. Use a camera with good tracking autofocus. Pan your camera smoothly to follow the bird’s path. Practice keeping the bird in the center of your frame. Use a fast shutter speed to freeze the motion. Anticipate the bird’s direction to stay ready for the shot.
Lighting And Composition
Lighting and composition play a crucial role in bird photography. The right light can highlight the bird’s colors and details, while good composition makes your photo stand out. Understanding how to use both effectively will transform your shots from ordinary to captivating.
Best Times For Natural Light
The quality of light changes throughout the day. Early morning and late afternoon, known as the golden hours, offer soft and warm light that enhances the bird’s feathers without harsh shadows. Have you noticed how birds seem more active during these times? That’s when you get both great light and interesting behavior.
Midday light is often harsh and can wash out colors or create strong shadows. If you must shoot then, try to find shaded areas or use the light creatively to add contrast. Remember, understanding light direction helps you decide where to position yourself for the best shot.
Framing And Backgrounds
Good framing focuses attention on your subject. Use natural elements like branches or leaves to create a frame around the bird. This technique adds depth and keeps the viewer’s eye within the photo.
Backgrounds matter just as much as your subject. A cluttered or bright background can distract from the bird. Look for smooth, blurred backgrounds by adjusting your aperture or changing your angle. What kind of background makes your bird pop the most?
Creative Angles
Most bird photos are taken from eye level or above, but trying different angles can make your images unique. Shooting from below can show the bird against the sky, while a side angle captures its profile and posture. Move around, don’t just stay in one spot.
Getting closer to the bird’s eye level creates intimacy and connection. It can feel like you’re seeing the bird through its own eyes. Have you experimented with low angles or unexpected viewpoints to bring freshness to your bird shots?

Credit: photzy.com
Ethical Wildlife Photography
Ethical wildlife photography is more than just capturing stunning images; it’s about protecting the birds and their environment while you work. Your actions behind the camera can have lasting effects on these creatures. So, how do you ensure your passion doesn’t come at a cost to the wildlife you admire?
Respecting Bird Habitats
Birds rely on specific habitats for food, shelter, and breeding. When you enter these areas, stay on designated paths and avoid trampling vegetation. This helps preserve the natural environment they depend on.
Think about a time you noticed a bird’s nest. Did you pause and observe from a distance, or did you move closer for a better shot? Keeping your distance prevents stress to the birds and protects their home.
Avoiding Disturbance
Birds are sensitive to sudden movements and loud noises. Use a quiet approach and move slowly when photographing. This reduces the chance of scaring them away.
Try using longer lenses so you can capture close-up shots without getting too close. Have you ever watched a bird fly off just as you raised your camera? Avoiding disturbance lets you enjoy longer, more natural moments.
Following Wildlife Regulations
Many areas have rules designed to protect wildlife. These can include restrictions on how close you can get, or bans on using flash photography. Make sure you know and follow these regulations before you start shooting.
Ignoring these rules can lead to fines or harm to the birds. Do you check local guidelines before your trips? Respecting regulations shows you care about the birds beyond just the perfect photo.
Post-processing Tips
Post-processing plays a key role in bird photography. It helps enhance details and bring out the natural beauty of your subject. Simple edits can make your photos clearer and more vibrant. Careful adjustments improve the overall impact. Focus on making the bird stand out while keeping the image natural.
Editing For Clarity And Color
Start by adjusting brightness and contrast to reveal details. Increase sharpness gently to define feathers and eyes. Boost colors carefully to keep them true to life. Use tools to reduce noise in low-light shots. Balance exposure to avoid over or underexposed areas.
Cropping For Impact
Crop to remove empty space around the bird. Focus attention on the subject by tightening the frame. Use the rule of thirds to place the bird off-center. Crop out distracting elements at edges of the frame. Maintain a natural look by preserving context when possible.
Removing Distractions
Look closely for distracting branches or spots. Use cloning or healing tools to remove unwanted objects. Be subtle to keep the photo realistic. Clear backgrounds help the bird become the main focus. Clean images appear professional and more pleasing to the eye.
Frequently Asked Questions
What Is The Best Camera For Bird Photography?
A DSLR or mirrorless camera with fast autofocus and high frame rates is ideal. Look for models with telephoto lenses to capture distant birds clearly.
How Do I Get Close To Birds Without Scaring Them?
Move slowly and wear natural colors. Use a telephoto lens to photograph from a distance and avoid sudden movements or loud noises.
What Settings Work Best For Bird Photography?
Use a fast shutter speed to freeze motion, a wide aperture for background blur, and continuous autofocus for sharp images of moving birds.
When Is The Best Time For Bird Photography?
Early morning and late afternoon offer soft, natural light. Birds are more active during these times, improving your chances of great shots.
Conclusion
Bird photography takes patience and practice. Start by observing birds quietly. Use the right camera settings for clear shots. Find good light and a steady spot to shoot. Respect nature and avoid disturbing birds. Keep trying, even if you miss some shots.
Each photo teaches you something new. Enjoy capturing the beauty of birds around you. With time, your pictures will improve naturally. Stay curious and keep exploring different bird species. Happy bird photography!