

Have you ever wanted to capture the perfect shot of a bird in flight? The kind of photo that makes people stop and admire your skill?
Flying bird photography can seem tricky, but with the right tips and techniques, you can learn how to freeze those stunning moments in the sky. You’ll discover simple steps that will boost your confidence and help you take sharper, more vibrant photos of birds on the wing.
Ready to transform your bird photography? Let’s dive in!
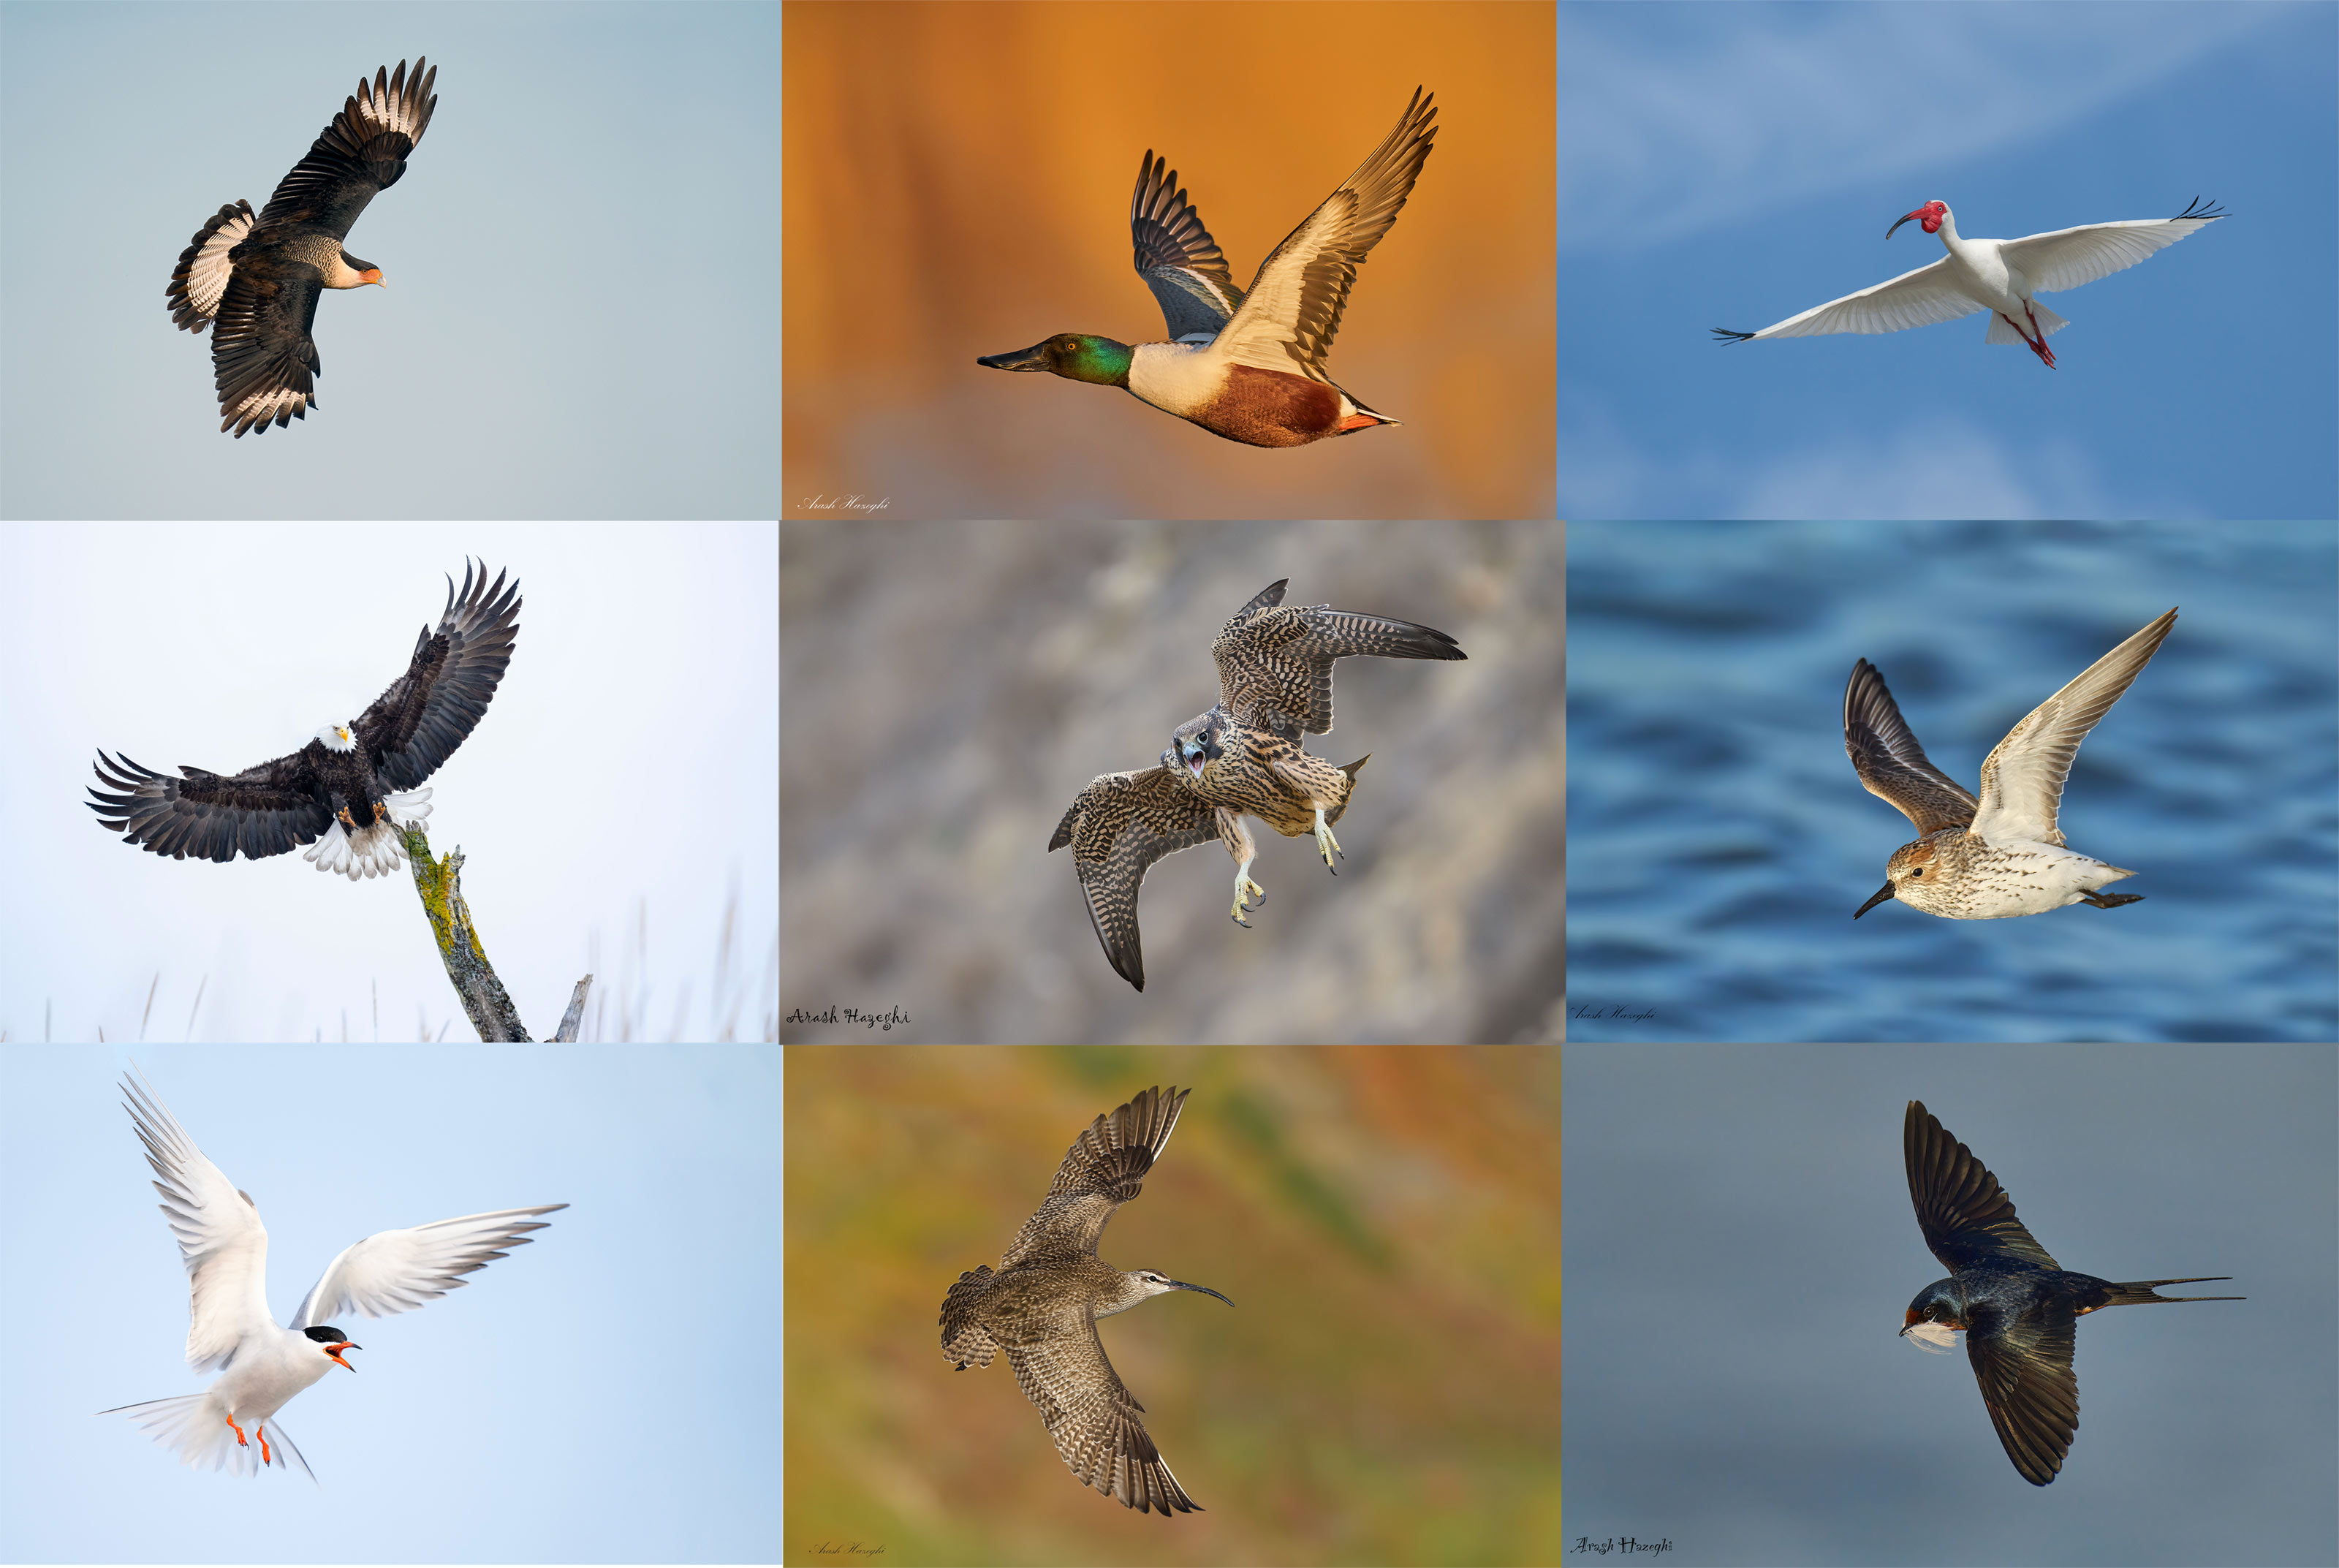
Credit: www.birdsasart-blog.com
Gear For Bird Photography
Capturing flying birds requires the right gear to get sharp, clear photos. Good equipment helps track fast movements and focus quickly. Choosing the proper camera, lenses, and accessories makes a big difference in your results.
Choosing The Right Camera
Pick a camera with fast autofocus and high burst speed. Mirrorless cameras and DSLRs work well for bird photography. Full-frame sensors capture more detail but crop sensors offer extra reach. Look for cameras that perform well in low light. This helps when birds fly in shaded areas or during dawn and dusk.
Best Lenses For Flying Birds
Long telephoto lenses are best for flying birds. A focal length of 300mm or more lets you get close without disturbing them. Zoom lenses offer flexibility to adjust framing quickly. Prime lenses usually provide sharper images and wider apertures. Fast lenses with f/2.8 or f/4 apertures help freeze motion and blur backgrounds.
Essential Accessories
- Tripod or monopod for stability during long shoots
- Extra batteries and memory cards for extended sessions
- Lens hood to reduce glare and improve contrast
- Camera strap or harness to carry gear comfortably
- Rain cover to protect equipment in bad weather
Camera Settings For Flight Shots
Set a fast shutter speed to freeze the bird’s motion during flight. Use continuous autofocus to keep the bird sharp as it moves. Adjust ISO and aperture for proper exposure in changing light conditions.
Capturing the majestic flight of a bird can be a thrilling endeavor for photographers. Getting the perfect shot requires not just timing but also mastering your camera settings. Understanding these settings will empower you to seize those fleeting moments with precision.Shutter Speed And Aperture
Setting the right shutter speed is crucial for freezing motion. Birds fly fast, so aim for a shutter speed of at least 1/1000th of a second. This will help you capture sharp images of birds in motion without any blur. Balancing your aperture settings can enhance depth and sharpness. A wider aperture (like f/4 or f/5.6) allows more light in, which is ideal for early mornings or late afternoons. It helps isolate your subject by creating a beautifully blurred background.Iso And Exposure Tips
Adjusting the ISO is essential to accommodate different lighting conditions. Start with an ISO of 400 on a sunny day. If it’s overcast or you’re shooting in low light, consider increasing the ISO to 800 or 1600. To avoid over or underexposure, keep an eye on your camera’s exposure meter. Use exposure compensation to adjust as necessary. This ensures your bird photos are vibrant and detailed, even in challenging lighting.Focus Modes And Tracking
Selecting the right focus mode can make a significant difference in your shots. Use continuous or AI Servo focus mode to track moving birds effectively. This keeps your subject in focus, even as it moves unpredictably. For accurate tracking, enable your camera’s tracking feature. It allows the camera to follow the bird across the frame, ensuring you capture crisp, focused images. Practice this technique to improve your ability to anticipate the bird’s movement. Have you ever missed a perfect shot because of incorrect settings? Adjusting these camera settings can transform your bird photography from average to extraordinary. Remember, practice and patience are key.Techniques To Capture Birds In Flight
Capturing birds in flight requires special techniques to freeze motion and keep sharp focus. Birds move fast and change direction quickly. Good timing and camera skills help create stunning images. Understanding key methods improves your chances of getting clear shots with beautiful backgrounds.
Panning For Motion
Panning means moving the camera to follow the bird as it flies. This keeps the bird sharp while blurring the background. It shows motion and speed in your photo.
- Use a slower shutter speed, around 1/60 to 1/125 seconds.
- Move the camera smoothly with the bird’s flight path.
- Practice tracking birds before pressing the shutter.
Stay steady and avoid jerky movements. This technique works best in good light.
Anticipating Bird Movements
Watch birds carefully to predict where they will fly next. Birds often repeat certain flight patterns.
- Look for clues in their body language.
- Notice if they prepare to take off or change direction.
- Stay ready with your camera focused and settings adjusted.
Anticipation saves time and helps capture moments before they pass.
Using Burst Mode Effectively
Burst mode takes many photos quickly, increasing your chances of a perfect shot.
- Hold down the shutter button to capture a series of images.
- Use burst mode when birds are flying fast or unpredictably.
- Review images later to select the sharpest and best framed.
High-speed shooting captures key moments like wing positions or flight angles.
Finding And Approaching Subjects
Finding and approaching flying birds for photography demands patience, knowledge, and a bit of strategy. You need to know where birds like to hang out and how to get close without scaring them away. Understanding their behavior and the environment can make all the difference between a blurry shot and a stunning capture.
Best Locations For Bird Photography
Birds gather in certain spots more than others. Wetlands, lakes, and rivers attract waterfowl and shorebirds. Forest edges and open fields are great for songbirds and raptors.
Local parks with mature trees often host a variety of species. Don’t overlook urban areas—pigeons, sparrows, and hawks adapt well to cities.
Visiting these places early in the morning or late afternoon increases your chances of seeing active birds.
Timing And Lighting Conditions
Soft light is your best friend. Shooting during the golden hours—shortly after sunrise or before sunset—helps capture sharp details and vibrant colors. Harsh midday sun causes strong shadows and can wash out your photos.
Birds are usually more active during early morning and late afternoon. Watch for feeding or flight patterns during these times to anticipate moments worth capturing.
Cloudy days offer even lighting that reduces glare and harsh contrasts, making it easier to capture fine details.
Approach And Stealth Tips
Birds have excellent eyesight and spook easily. Move slowly and avoid sudden movements. Take small steps and pause frequently to let birds get used to your presence.
Wear neutral colors that blend into the environment. Loud noises or strong scents can scare birds off, so keep your voice down and avoid strong perfumes.
Using natural cover like bushes or trees can help you get closer. When possible, observe birds from a distance first to learn their behavior before trying to approach.
Composing Stunning Bird Photos
Composing stunning bird photos requires more than just clicking the shutter at the right time. It’s about creating a visual story that draws viewers into the moment and highlights the beauty of the bird in flight. Your composition choices will set your images apart and help you capture those breathtaking shots that feel alive and dynamic.
Framing And Background Choices
Think carefully about what surrounds your bird in the frame. A cluttered or distracting background can take attention away from the subject. Look for clean skies, soft gradients, or natural elements like branches that add context without overpowering the bird.
Try positioning the bird off-center using the rule of thirds. This adds balance and interest. Also, consider the direction the bird is flying—leave space in front of it so the viewer’s eye can follow the motion naturally.
Capturing Wing Details And Expressions
Wings tell the story of flight. Freeze the motion at the peak of a wing flap to reveal feather patterns and textures. Pay attention to the bird’s head and eyes; sharp focus here brings life and emotion to the photo.
Next time you’re out shooting, observe how different species move their wings uniquely. Capturing a subtle tilt of the head or a focused gaze can make your photo feel personal and connected.
Using Natural Light Creatively
Light can transform a simple bird photo into something extraordinary. Early morning or late afternoon light adds warmth and soft shadows, enhancing textures and colors. Position yourself so the light hits the bird from the side or behind for dramatic effects.
Have you tried backlighting a flying bird? It creates a glowing outline around the feathers, adding depth and magic. Experiment with different angles and watch how light changes the mood of your shots.

Credit: digital-photography-school.com
Post-processing For Impact
Post-processing plays a key role in making flying bird photos stand out. It helps bring out details that the camera may miss. Editing can enhance colors, sharpness, and overall impact. Proper adjustments give your photo a polished, professional look.
Editing Basics For Bird Photos
Start with basic adjustments like exposure, contrast, and white balance. These set the tone of your image. Keep highlights and shadows balanced to show the bird clearly. Avoid over-editing to keep a natural look. Use software like Lightroom or Photoshop for easy control.
Enhancing Sharpness And Colors
Sharpness makes feathers and eyes crisp. Use sharpening tools carefully to avoid noise. Boost colors slightly to make the bird pop against the sky or background. Adjust saturation and vibrance, but keep colors realistic. Clear details draw attention and create impact.
Cropping And Final Touches
Crop to focus on the bird and remove distractions. Use the rule of thirds to place the bird in a strong position. Check edges for any unwanted elements. Add subtle vignettes to direct the viewer’s eye. Final touches like noise reduction improve image quality.
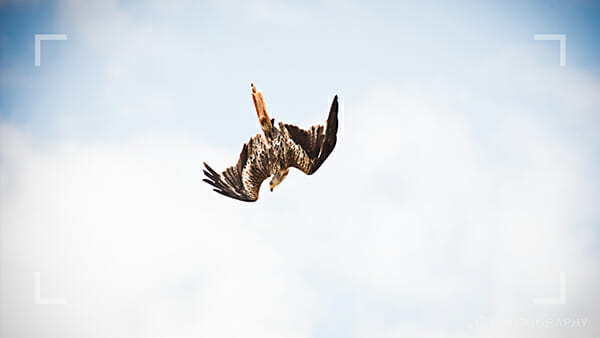
Credit: www.iphotography.com
Frequently Asked Questions
What Camera Settings Work Best For Flying Bird Photography?
Use a fast shutter speed (1/1000s or higher) to freeze motion. Set aperture around f/5. 6 for sharpness and use continuous autofocus for tracking birds.
How Do I Focus On Fast-moving Birds In Flight?
Use continuous autofocus mode (AI Servo or AF-C) and select a dynamic or zone focus area. This helps keep birds sharp while they move quickly.
What Lenses Are Ideal For Photographing Flying Birds?
Telephoto lenses between 300mm and 600mm are best. They allow close-up shots from a distance and help capture fine details of flying birds.
How Can I Improve Composition In Bird Flight Photos?
Frame the bird with space ahead for natural movement. Use the rule of thirds to balance the image and highlight the bird’s motion.
Conclusion
Capturing flying birds takes patience and practice. Use the right camera settings to freeze motion clearly. Focus on the bird’s eyes for sharp photos. Watch the bird’s behavior to predict its flight path. Good lighting makes your images stand out.
Keep trying different angles and distances. Enjoy the process and learn from each shot. Your photos will improve with time and effort. Flying bird photography brings you closer to nature’s beauty. Keep your camera ready and stay patient.