
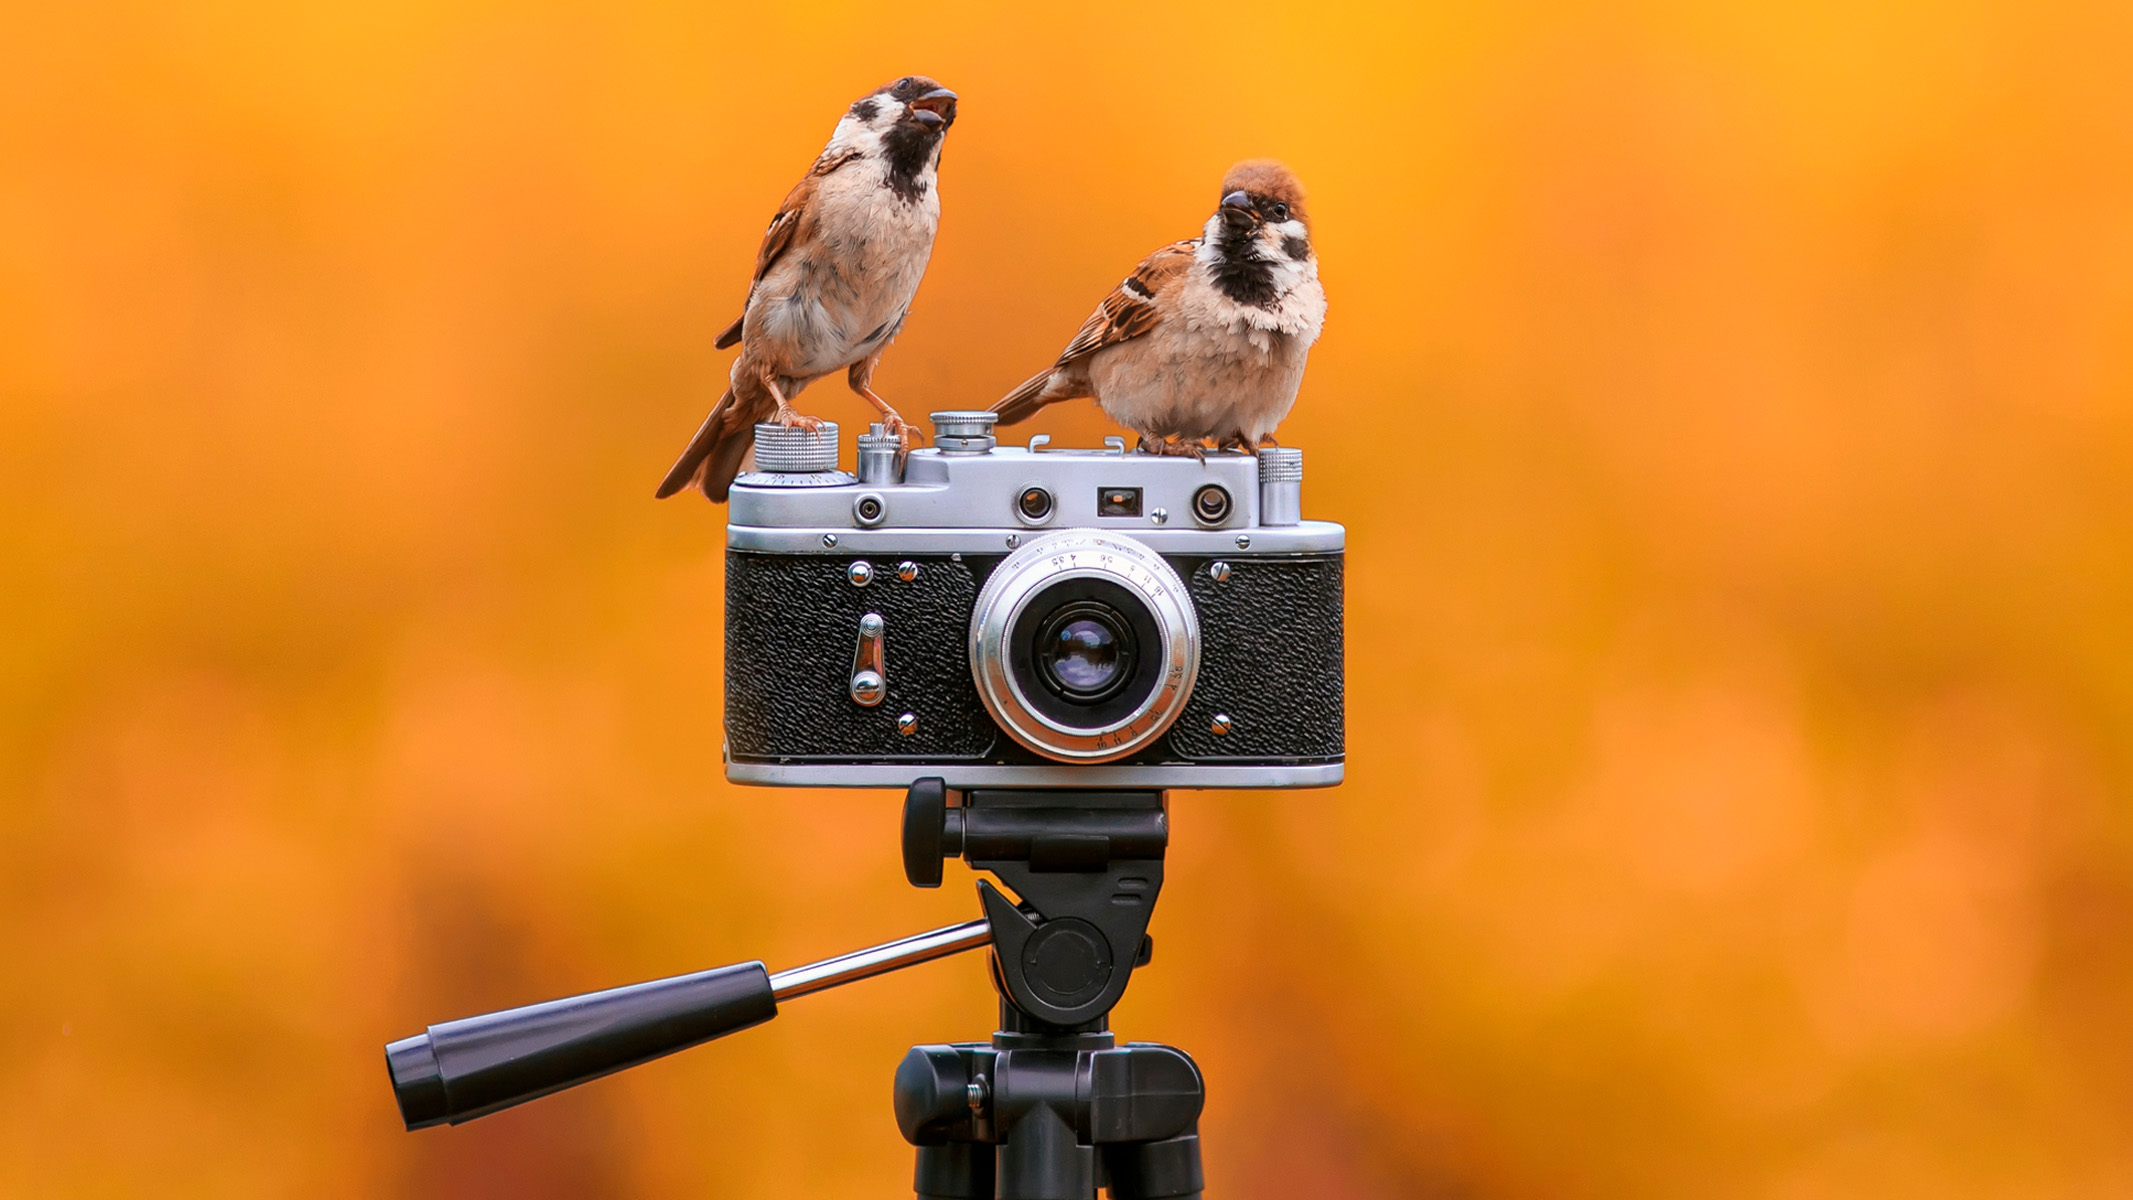
Are you ready to take your photography skills to new heights? Bird photography is a rewarding and exciting hobby that allows you to capture the beauty of nature right through your lens.
Imagine the thrill of snapping a shot of a majestic eagle in flight or a tiny hummingbird hovering around a vibrant flower. The possibilities are endless, and the results can be breathtaking. You might be wondering how to get started or how to improve your current bird photography skills.
Don’t worry; you’re not alone! Many budding photographers feel overwhelmed at first, but with the right guidance, you can turn your passion into stunning visual stories. In this guide, you’ll discover practical tips and tricks to help you capture those perfect moments with precision and creativity. Curious about which equipment will give you the best shots? Or perhaps you’re looking for techniques to make the most of natural lighting? Keep reading, and you’ll learn all this and more. The excitement of bird photography is just a few clicks away, and your journey to capturing nature’s wonders begins now!
Choosing The Right Gear
Choosing the right gear is crucial in bird photography. Your equipment can either limit or enhance your ability to capture sharp, vibrant images of birds in action. Understanding what tools will best suit your style and environment helps you prepare for unpredictable moments in nature.
Best Cameras For Bird Photography
A camera with fast autofocus and high frame rates makes a huge difference when shooting birds. Mirrorless cameras like the Sony A7 IV or Nikon Z9 offer quick focus tracking and silent shooting, which keep you unnoticed by wary birds.
DSLRs such as the Canon EOS-1D X Mark III still hold their ground with rugged build and excellent battery life. Think about your budget and whether you prefer lighter gear for long hikes or heavier equipment for more stability.
Lenses That Capture Details
Long telephoto lenses are a must to get close without disturbing your subjects. Lenses with focal lengths between 300mm and 600mm are popular choices because they bring distant birds into sharp focus.
Look for lenses with image stabilization to reduce blur, especially when shooting handheld. Prime lenses often deliver better sharpness but zoom lenses provide flexibility in framing your shot quickly.
Essential Accessories
- Tripod or monopod:Helps steady your camera during long waits or slow shutter speeds.
- Extra batteries and memory cards:Birding sessions can last hours, so carry backups to avoid missing moments.
- Camouflage gear:Blending into the environment reduces disturbance and increases your chances of close encounters.
- Remote shutter release:Minimizes camera shake when capturing shots from a distance.
Have you ever missed a perfect shot because your gear wasn’t ready? Preparing your equipment thoughtfully lets you focus on the birds, not your camera settings.
Credit: www.flywrightphotography.com
Mastering Camera Settings
Getting the camera settings right is vital for bird photography. Birds move fast and light changes quickly. Adjusting your camera helps capture sharp and clear images. Understanding shutter speed, aperture, and ISO makes a big difference. These settings control how much light your camera takes in and how motion is frozen or blurred. Let’s explore how to set these for the best bird photos.
Optimal Shutter Speeds
Shutter speed controls how long the camera sensor is exposed to light. Fast shutter speeds freeze bird movements. Use speeds of 1/1000 second or faster for flying birds. Slower speeds can cause blur if the bird moves. For perched birds, you can try slower speeds like 1/500 second. Test different speeds to match the bird’s activity and light available.
Aperture And Depth Of Field
Aperture controls the size of the lens opening. It affects how much of the image is in focus. Use a wide aperture (small f-number) like f/4 to blur the background. This makes the bird stand out clearly. A smaller aperture (higher f-number) like f/8 or f/11 increases depth of field. It keeps more of the bird and surroundings sharp. Choose aperture based on how much background detail you want.
Iso Settings For Clarity
ISO affects the camera sensor’s sensitivity to light. Lower ISO values produce clearer images with less noise. Use ISO 100 to 400 on bright days for the best quality. Increase ISO in low light to keep shutter speed fast. Avoid very high ISO, which creates grainy photos. Balance ISO with shutter speed and aperture for sharp, bright images.
Finding The Perfect Location
Finding the perfect location is crucial for capturing stunning bird photographs. The right spot boosts your chances of spotting diverse species and getting closer without disturbing them. Knowing where and when to go can make your bird photography experience both rewarding and enjoyable.
Top Birdwatching Spots
Some places are known for being birdwatching havens. National parks, wetlands, and nature reserves often attract a wide variety of birds. Coastal areas and riverbanks can also be excellent, especially during migration seasons.
Look for local birding groups or online forums to get recommendations tailored to your region. Sometimes, hidden gems close to home offer surprising opportunities. Have you checked out any nearby parks or natural areas that might be less crowded?
Timing Your Visits
Birds are most active during early mornings and late afternoons. These times provide softer light, which improves photo quality and reduces harsh shadows. Visiting during these periods increases the chance of capturing birds in natural behaviors like feeding or preening.
Seasonal changes matter too. Migration seasons bring an influx of different species, offering more variety. Think about planning your trips around spring and fall to witness unique bird activity.
Scouting For Bird Activity
Before setting up your camera, spend time observing the area. Watch for signs like bird calls, movement in trees, or nests. This lets you anticipate where birds might appear, helping you position yourself strategically.
Try to blend into the environment by wearing neutral colors and minimizing noise. Patience is key—sometimes waiting quietly in one spot pays off better than constantly moving. What subtle signs can you spot that hint at bird presence around you?

Credit: www.reddit.com
Techniques For Stunning Shots
Capturing stunning bird photographs requires more than just good equipment. Understanding the right techniques can make your shots sharper and more vibrant. These methods help you connect with your subject and enhance photo quality.
Approaching Birds Without Disturbing Them
Birds are easily scared. Move slowly and quietly to avoid startling them. Use natural cover like trees or bushes to hide your presence. Patience is key. Wait for the birds to get comfortable with you nearby. Avoid sudden movements or loud noises. Wearing neutral-colored clothes helps blend into the environment. Use a zoom lens to keep distance while still capturing close-up shots.
Using Natural Light Effectively
Light changes the mood and detail of your photos. Early morning and late afternoon offer soft, warm light that highlights feathers. Avoid harsh midday sun that causes strong shadows and glare. Position yourself with the sun behind you to light the bird evenly. Cloudy days provide diffused light, which reduces contrast. Experiment with different angles to see how light affects colors and textures.
Capturing Birds In Flight
Birds in flight show grace and energy. Use a fast shutter speed to freeze motion clearly. Continuous autofocus helps keep the bird sharp as it moves. Track the bird smoothly with your camera to avoid blurriness. Burst mode lets you take multiple shots quickly, increasing the chance of a perfect capture. Practice timing your shots to match wingbeats and flight patterns. Background choice matters; a clean sky or blurred trees make the bird stand out.
Post-processing Tips
Post-processing is where your bird photos truly come to life. It’s not just about fixing mistakes but enhancing what you captured in the wild. Thoughtful editing can highlight the bird’s colors, sharpen details, and remove anything that distracts from the main subject.
Editing For Color And Sharpness
Start by adjusting the colors to make your bird stand out. Sometimes photos look dull straight from the camera, so boosting saturation or vibrance helps. Be careful not to overdo it; natural tones make your image believable.
Sharpening is just as important. Adding a bit of sharpness can bring out the intricate feathers and eyes, making your subject pop. I’ve found that applying sharpening selectively—just on the bird—rather than the entire image gives the best results.
Cropping For Impact
Crop your photo to remove empty space and focus attention on the bird. A tighter crop can emphasize the bird’s posture and expression, turning a good shot into a striking one. Think about the rule of thirds; positioning the bird off-center often creates a more dynamic image.
Don’t be afraid to experiment with different crops. Sometimes a square crop works better than a landscape or portrait. Ask yourself: does this crop make the bird the hero of the frame?
Removing Distractions
Distractions like branches, leaves, or blurred objects can pull attention away from your bird. Use editing tools to clone out or blur these distractions carefully. It’s a subtle art—removing too much can make the photo look unnatural.
Sometimes, just darkening or desaturating the distracting elements is enough. This keeps the environment but lets your bird remain the focal point. What distractions do you notice in your photos that you could easily fix?
Ethical Bird Photography
Ethical bird photography is about more than just capturing stunning images. It’s about honoring the well-being of the birds and their environment. Your actions behind the camera can either protect or harm the wildlife you seek to appreciate.
Respecting Wildlife Habitats
Birds rely on their habitats for food, shelter, and breeding. Disturbing these spaces can have lasting negative effects on their survival. When you enter a birding area, stick to established trails and avoid trampling vegetation.
Think about the impact your presence might have before you move closer. Could your footsteps crush a nest hidden in the grass? Taking a step back often means protecting more than just the birds—it preserves the entire ecosystem.
Avoiding Stress To Birds
Birds can be surprisingly sensitive to human presence. Flash photography, sudden movements, or loud noises can cause them to flee, wasting their energy or abandoning nests. Try using a telephoto lens to maintain a respectful distance.
Have you ever noticed a bird freeze or fly away when you get too close? That reaction signals stress, which you want to minimize. Patience and quiet observation often yield better photos and happier birds.
Following Local Guidelines
Every region has rules to protect its wildlife, and bird photography is no exception. These guidelines might include seasonal restrictions, protected areas, or limits on how close you can approach nests. Ignoring these can lead to fines or, worse, harm to the birds.
Before you head out, research the local regulations or speak with park rangers. Respecting these rules shows your commitment to ethical photography and ensures that birdwatching remains sustainable for everyone.

Credit: www.tombolphoto.com
Frequently Asked Questions
What Equipment Is Best For Bird Photography?
A DSLR or mirrorless camera with a telephoto lens is ideal. Use at least 300mm focal length. A tripod helps stabilize shots. Consider fast autofocus and high burst rates for capturing quick bird movements.
How To Find The Best Locations For Bird Photography?
Look for natural habitats like wetlands, forests, or parks. Research local birdwatching spots and migration paths. Early mornings and evenings offer the best light and active birds. Use apps or guides to identify popular birding areas.
What Settings Work Best For Bird Photography?
Use a fast shutter speed (1/1000 sec or faster) to freeze motion. Set a wide aperture (f/4-f/6. 3) for a blurred background. Adjust ISO for proper exposure without noise. Shoot in continuous mode to capture multiple frames per second.
How To Approach Birds Without Scaring Them Away?
Move slowly and quietly to avoid startling birds. Wear neutral-colored clothing to blend into surroundings. Use blinds or hides for concealment. Patience and observation are key; wait for birds to feel comfortable near you.
Conclusion
Bird photography takes patience and practice. Study bird behavior to capture great moments. Use the right gear and settings for sharp images. Stay quiet and move slowly to avoid scaring birds. Try different angles and lighting to make photos interesting.
Enjoy the process and learn from each shot. With time, your bird photos will improve. Keep exploring nature and have fun with your camera.