

Are you looking to add a charming touch to your photography setup? Making a birds nest photography prop can bring a natural, cozy feel to your photos.
Imagine your subjects surrounded by a beautifully crafted nest that looks both real and inviting. In this guide, you’ll discover simple steps to create your own nest using easy-to-find materials. Whether you’re a beginner or a seasoned photographer, this prop will help you capture stunning, memorable shots.
Keep reading, and you’ll be ready to create your perfect birds nest prop in no time!
Credit: www.etsy.com
Materials Needed
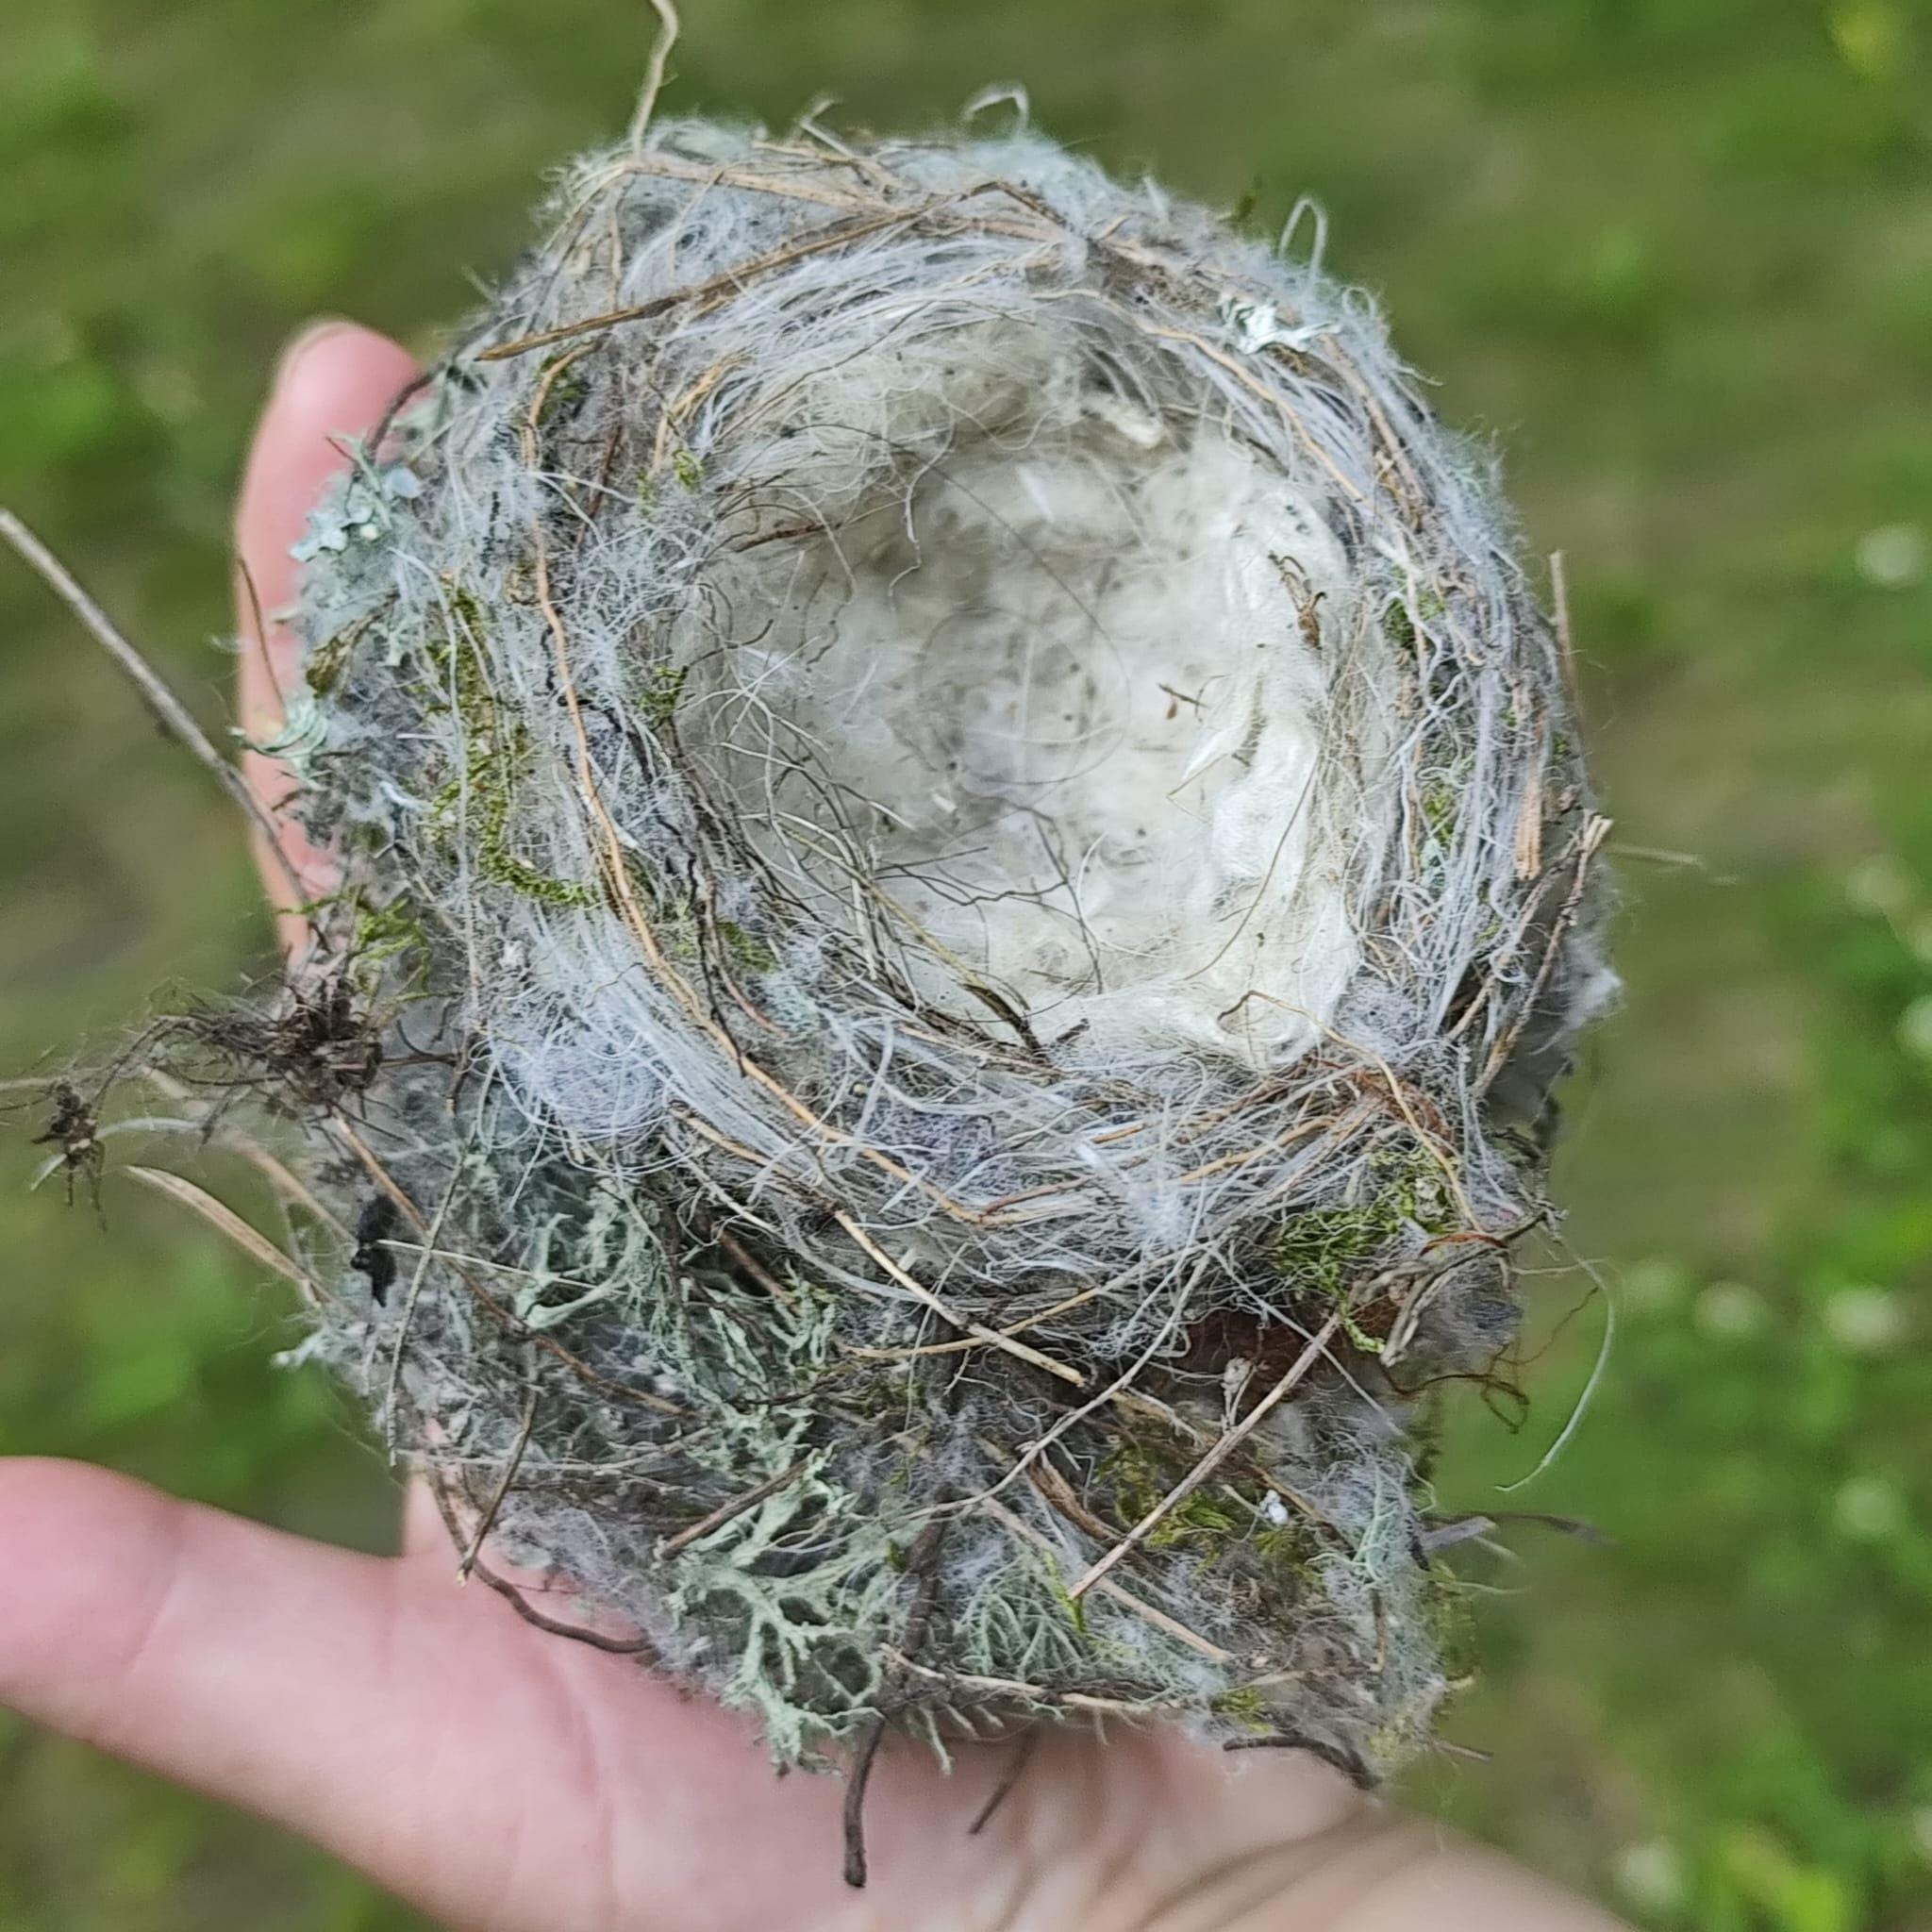
Gather natural twigs, soft moss, dried grass, and a small bowl or basket to shape the nest. Simple tools like scissors and glue help assemble the pieces neatly. These materials create a realistic and charming bird’s nest prop for photography.
To create a captivating bird’s nest photography prop, gather essential materials. Choosing the right elements brings authenticity and charm. Below, you will find the necessary items categorized for ease of understanding and collection.Natural Elements
Using natural elements adds realism to your prop. Collect items from your garden or a local park. These elements bring texture and color. – Twigs: Choose various sizes for a natural look. – Moss: Adds a soft, earthy touch. – Leaves: Use dried leaves for a rustic feel. – Feathers: Look for small, fluffy feathers.Craft Supplies
Craft supplies help bind and decorate the nest. They enhance the structure and aesthetics of your prop. – Floral wire: Provides stability and shape. – Hot glue: Secures elements together. – Brown paint: Touch up any visible glue spots. – Decorative eggs: Adds a photogenic touch.Tools Required
Using the right tools ensures your craft process is smooth. They help in assembling and shaping the nest effectively. – Scissors: Cut twigs and wires to size. – Hot glue gun: Apply glue with precision. – Paintbrush: Use for applying paint to small areas. – Wire cutters: Trim the floral wire easily. Gathering these materials ensures your bird’s nest prop is both beautiful and functional.
Credit: www.amazon.ca
Choosing The Right Base
Choosing the right base is essential for creating a birds nest photography prop that looks natural and stays secure during your shoot. The base acts as the foundation, holding everything together while giving you the flexibility to style the nest just the way you want. Picking the correct base can save you time and frustration, especially when you want your prop to look authentic and support your subject safely.
Selecting A Sturdy Foundation
Your base needs to be strong enough to support the weight of the materials and your subject, especially if you’re photographing newborns or small props. Consider using materials like a small wicker basket, a shallow wooden bowl, or a thick wire ring wrapped with floral tape. These options provide a firm structure that won’t collapse or tip over easily.
Think about the surface where you’ll place the nest too. A flat, stable foundation prevents wobbling, which can ruin your shot or cause safety issues. Have you ever had a prop shift mid-shoot? Choosing a sturdy base helps you avoid that stress.
Size And Shape Considerations
The size of your base should match the scale of your subject and the look you’re aiming for. A base that’s too large might overpower the nest, while one that’s too small can make the setup look cramped and uncomfortable. Measure your subject or props beforehand to find a balanced size.
The shape matters as well. Round bases are classic and mimic real bird nests, but oval or slightly irregular shapes can add a more organic feel. Don’t hesitate to experiment with different shapes to see which complements your style and the story you want to tell through your photography.
Building The Nest Structure
Building the nest structure is the key step in creating a realistic bird’s nest prop. This part shapes the look and feel of the nest. Focus on crafting a strong base and a natural appearance. Use materials that mimic real twigs and branches for authenticity. A well-built structure holds its shape during your photo shoot.
Layering Twigs And Branches
Start by collecting small twigs and thin branches. Choose pieces that are flexible but sturdy. Lay them in a circular pattern to form the base. Overlap the twigs to create a dense, textured look. Add more layers, moving inward to shape the nest bowl. Keep the layers uneven for a natural effect. Avoid perfectly aligned twigs; nature is random.
Securing With Glue Or Wire
Use hot glue or floral wire to hold the twigs in place. Apply glue carefully to avoid messiness. Wrap wire around thicker branches for extra support. Check the nest’s stability by gently pressing it. Add more glue or wire if the structure feels loose. Let the glue dry completely before use. This ensures the nest stays intact during photography.
Adding Soft Nesting Materials
Adding soft nesting materials to your bird’s nest prop can transform it from a simple structure into a cozy, inviting space. These materials add texture, warmth, and a touch of natural beauty that enhances the overall look of your photography setup. Think about how these small details can make your photos feel more authentic and appealing.
Using Moss And Grass
Moss and grass are excellent choices for soft, natural-looking nest fillers. Moss offers a lush, green cushion that feels soft to the touch and brings a fresh, earthy vibe to the nest. Grass, especially dried or hay-like strands, adds a rustic texture that complements the natural theme.
When gathering moss, choose pieces that are clean and dry. You can layer moss at the base of the nest, creating a soft bed that helps your subject sit comfortably. Grass works well if you gently weave or tuck it around the edges, giving the nest a fuller, more natural shape.
Incorporating Feathers And Yarn
Feathers add delicate detail and a touch of whimsy to your nest prop. Look for small, soft feathers that mimic what you’d find in a real bird’s nest. You don’t have to stick only to natural colors; subtle pastel shades can brighten your setup without looking artificial.
Yarn is a creative way to add softness and color contrast. Choose thin yarn strands that you can loosely weave or curl inside the nest. This adds a cozy feel and can help secure other materials in place.
Have you noticed how small touches like feathers or yarn can change the mood of a photo? Experiment with different textures and colors until you find the perfect balance for your style.
Finishing Touches
Finishing touches bring your bird’s nest prop to life. These details make your photos pop and feel more natural. Simple tweaks can create a stunning visual appeal. Focus on subtle improvements to keep the nest realistic and charming.
Color Enhancements
Choose soft, earthy tones for a natural look. Use light brown, beige, and green shades. Gently brush dry paint or pigment powders to add depth. Avoid bright colors that look fake. Blend colors smoothly for realism. Highlight some twigs and moss with slightly different shades. This adds contrast and interest.
Adding Decorative Elements
Small details make a big difference. Add faux eggs in soft pastel colors. Use tiny feathers to line the inside of the nest. Place small pieces of moss or dried flowers around the edges. Avoid overcrowding to keep it simple and elegant. These elements add texture and charm. They make the prop feel fresh and inviting.

Credit: www.amazon.ca
Tips For Photographing The Nest
Capturing the perfect shot of your bird’s nest prop requires more than just placing it on the table and clicking. The way you handle lighting, angles, and background can completely change the mood and focus of your photo. Let’s dive into some practical tips that will help you bring out the best in your nest and make your photos stand out.
Lighting And Angles
Natural light usually works best for bird’s nest photography. Try shooting near a window during the golden hours—early morning or late afternoon—when light is soft and warm. Harsh midday sunlight can create unwanted shadows and highlights.
Play with angles to find the most interesting perspective. Shooting from above can showcase the nest’s intricate details, while a side angle might emphasize its depth and texture. Don’t be afraid to move around your subject and experiment.
Use reflectors or white cards to bounce light into shadowy areas and balance the exposure. Even a simple piece of white paper can help reduce dark spots. Have you noticed how subtle lighting changes can highlight the tiniest twigs or moss?
Background And Props
Choose a background that complements the natural look of your bird’s nest without overpowering it. Neutral colors like soft browns, greens, or creams often work well. Avoid busy patterns that distract from the nest’s details.
Adding small props can enhance the story your photo tells. Items like tiny eggs, feathers, or small flowers add context and interest. Keep the props minimal to avoid cluttering the frame.
Think about textures too. A wooden table or burlap cloth can add rustic charm and contrast nicely with the nest. What kind of vibe do you want your photo to evoke? Play with different backgrounds until it feels right.
Frequently Asked Questions
What Materials Are Needed For A Bird’s Nest Prop?
You need natural twigs, moss, dried grass, and floral wire. These materials create a realistic and sturdy bird’s nest prop. Collect items from nature or craft stores for best results.
How Do You Shape A Bird’s Nest Prop?
Start by forming a circular base with twigs. Weave moss and dried grass around the twigs. Secure with floral wire to keep the shape intact and natural-looking.
Can I Use Synthetic Materials For The Nest?
Yes, synthetic twigs and moss work well. They offer durability and easy cleaning. However, natural materials provide a more authentic appearance for photography.
How To Make The Bird’s Nest Safe For Babies?
Use soft, non-toxic materials inside the nest. Avoid sharp or hard objects that can harm babies. Ensure the prop is clean and secure before use in photoshoots.
Conclusion
Creating a bird’s nest prop adds charm to your photos. It’s simple and fun to build. Use natural materials like twigs and moss for best results. This prop brings a warm, cozy feel to pictures. Try different sizes to match your style.
Your photos will look more creative and unique. Enjoy making your own bird’s nest for special shoots. It’s a small touch that makes a big difference. Keep experimenting and have fun capturing beautiful moments.